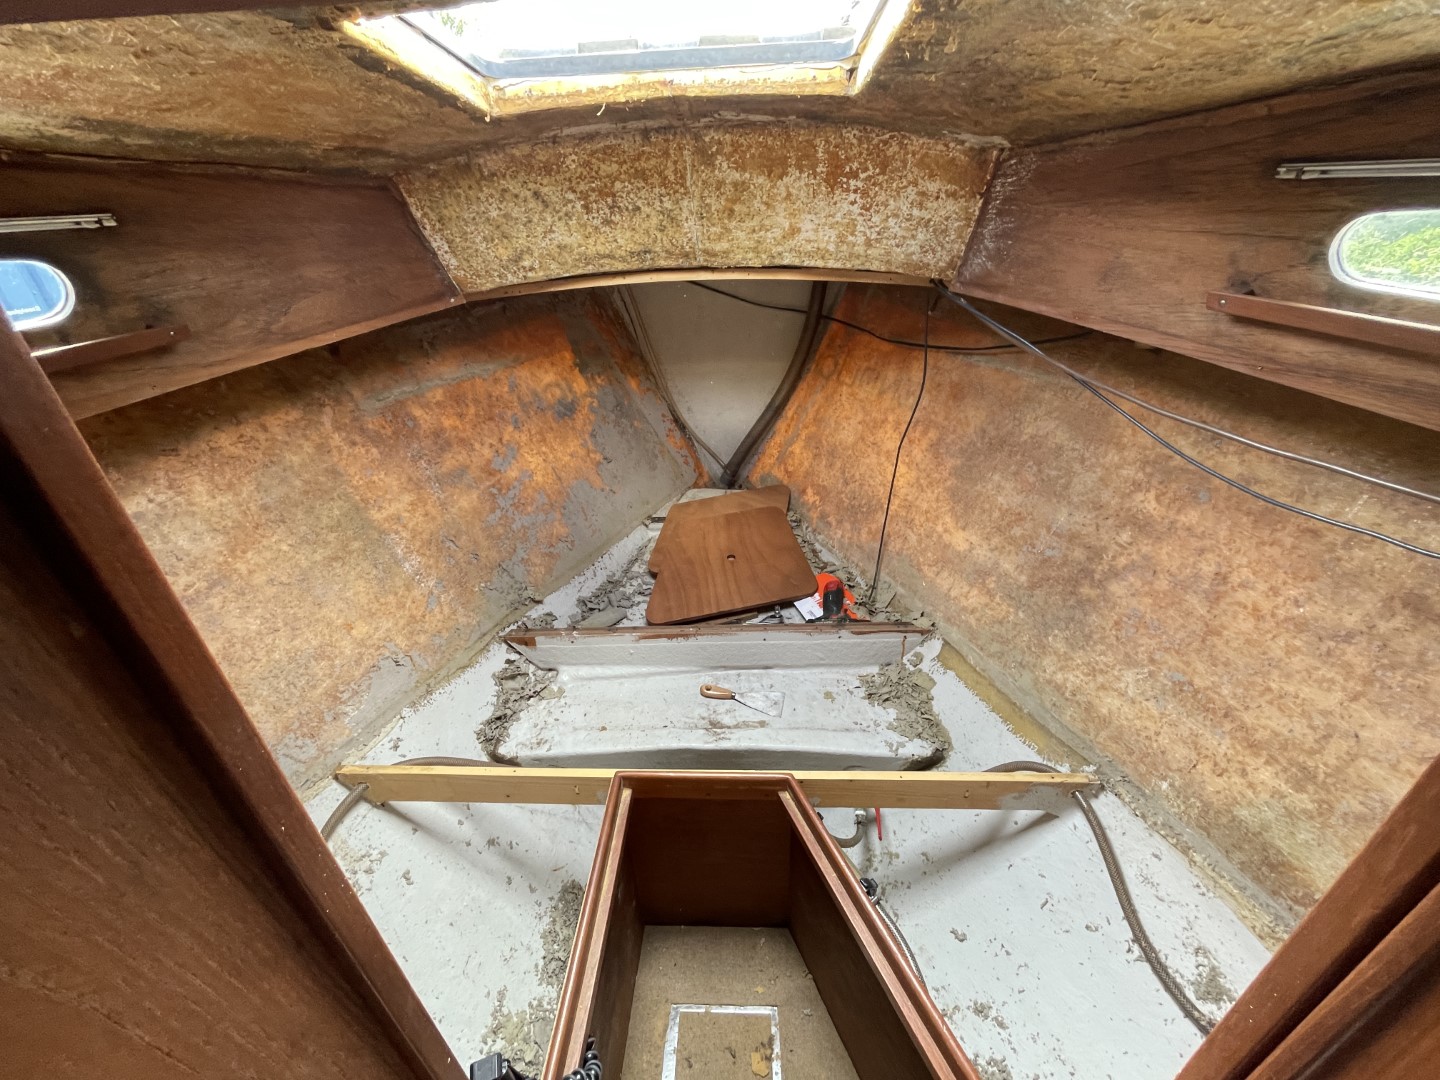
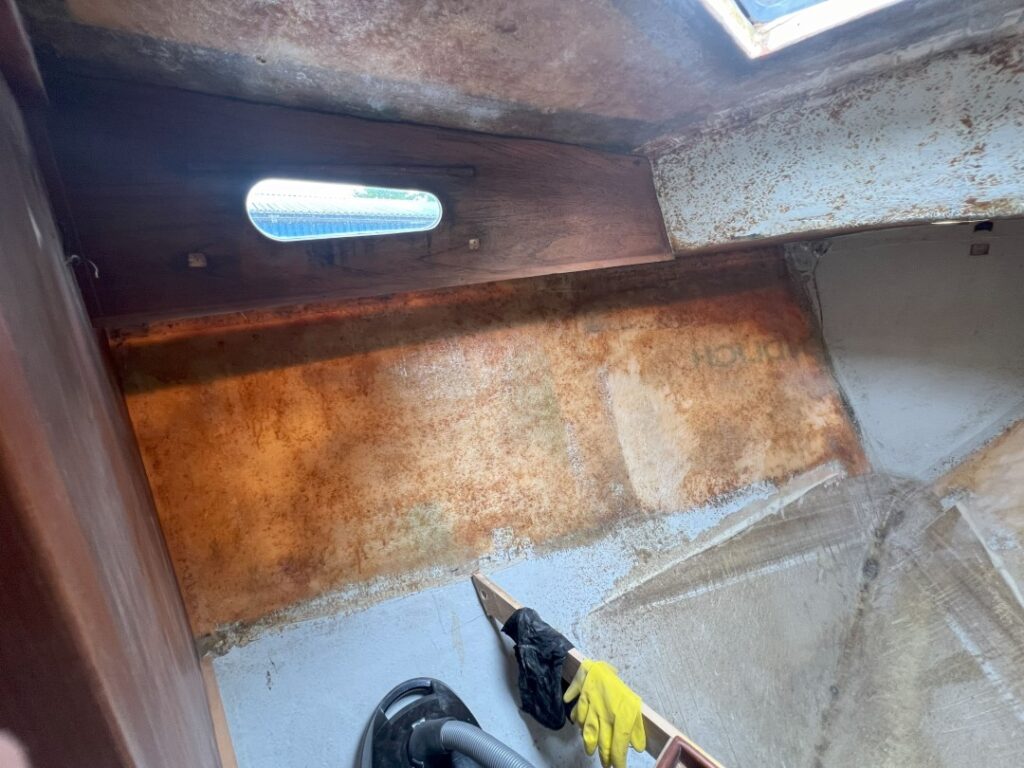
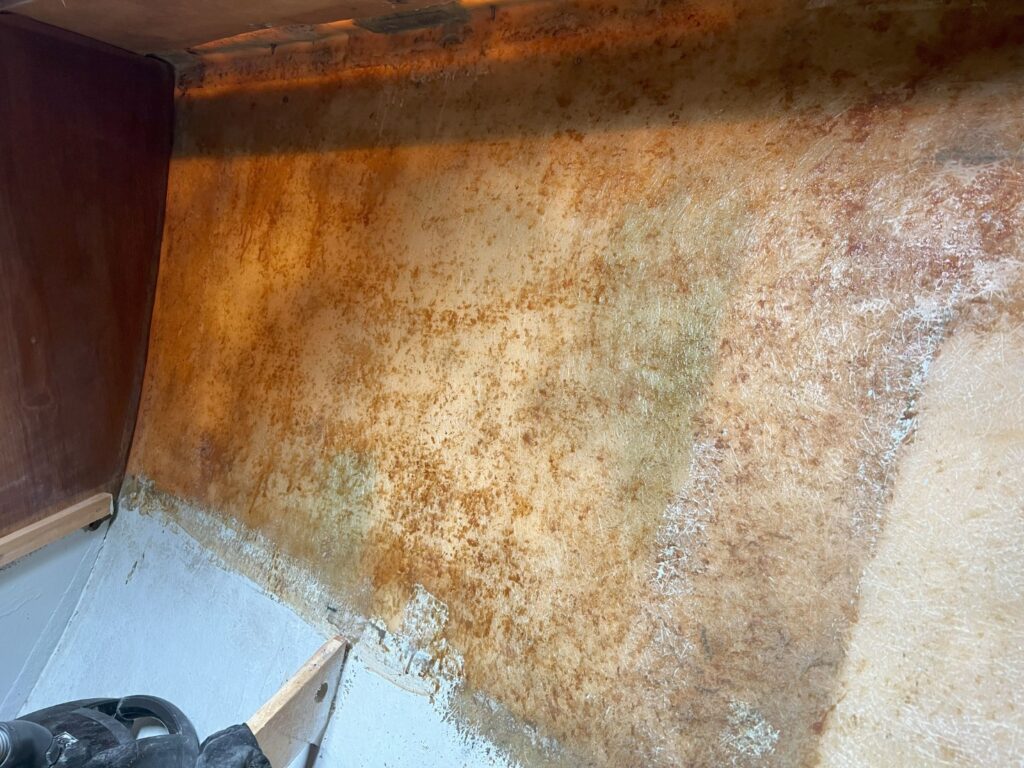
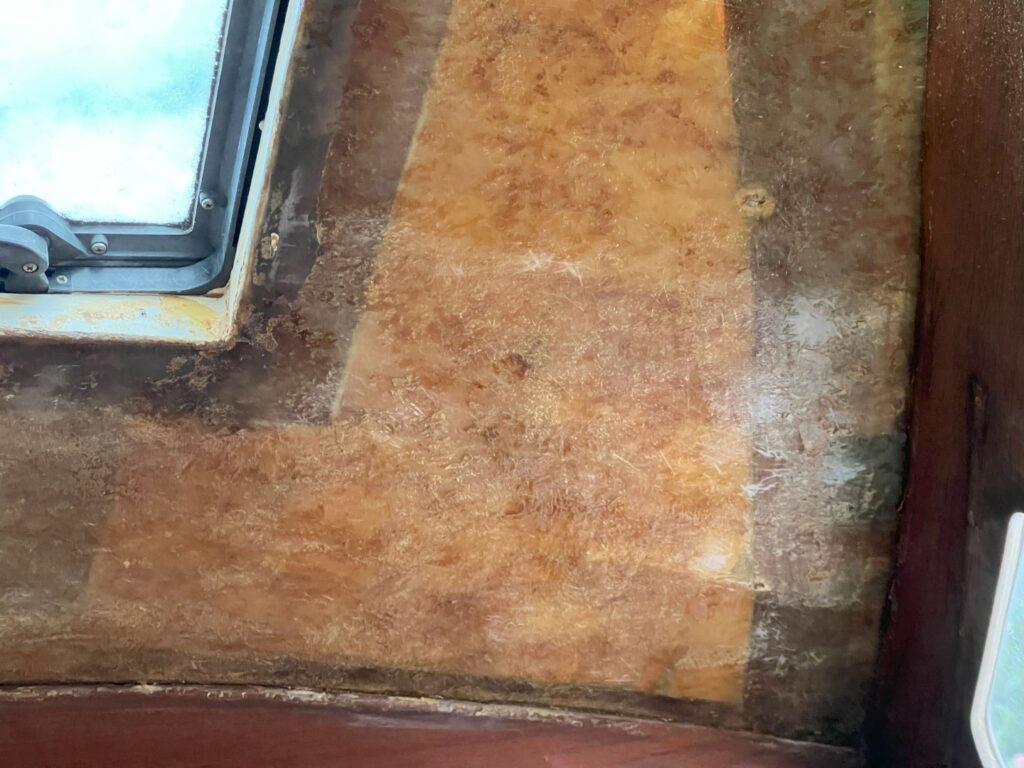
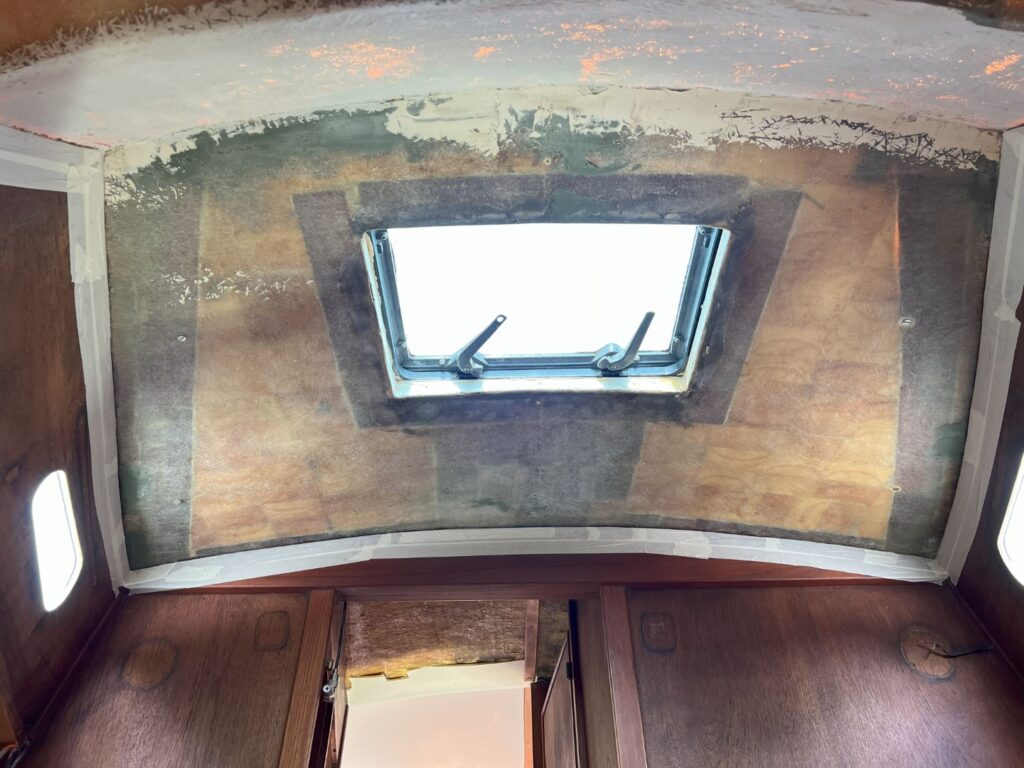
During our refit on our Fellowship 28, we decided to rip out the old, moldy, and smelly carpets that had been glued to the fiberglass interior walls with some kind of contact adhesive. After pulling out the carpets, we used a brass brush on a drill to get rid of any leftover carpet fibers and insulation bits. What was left behind was a fiberglass surface completely covered in rock-hard, impossible-to-remove glue residue that had long since hardened.

Since our plan was to paint over that surface, we knew every bit of the adhesive had to go to get a somewhat decent result. We gave scraping a try—using the same scraper we had for the carpet—but quickly realized it wasn’t working at all. What followed was a multi-day odyssey of trial and error, testing every method we found on the internet, until we finally found something that worked for us.
So here’s a rundown of the methods we tried, what worked, and what didn’t—hopefully, it helps if you’re in a similar situation.
Mechanical Methods
Scraping
Using scrapers to manually remove the adhesive seemed like a good starting point. The idea is to scrape off as much as you can without damaging the fiberglass. It’s the least invasive method, but you’ll need a lot of patience. For us, though, it didn’t work at all. The glue was way too hard and impossible to scrape off, so we gave up pretty quickly. I think whether this works for you depends a lot on the type of residue you’re dealing with. I’d say give it a try, but don’t expect too much.
Sanding
We tried using a refinishing sander with 40 to 80 grit paper. It kind of worked, but not really well. The surface inside our boat is very uneven, and the fiberglass was still visible, so it would have taken hours to get the surface level. Plus, the sandpaper tore up quickly. We also noticed that after a while, the hard adhesive softened and turned gooey again, which just clogged up the sandpaper and made it useless.
I can imagine this method working better with a powerful orbital sander or even an angle grinder with 40 grit, but you have to be careful not to damage the fiberglass.I was worried about causing too much damage, especially with the angle grinder, since I didn’t want to make deep grooves in the fiberglass, that will be clearly visibile if you plan on just painting later on.
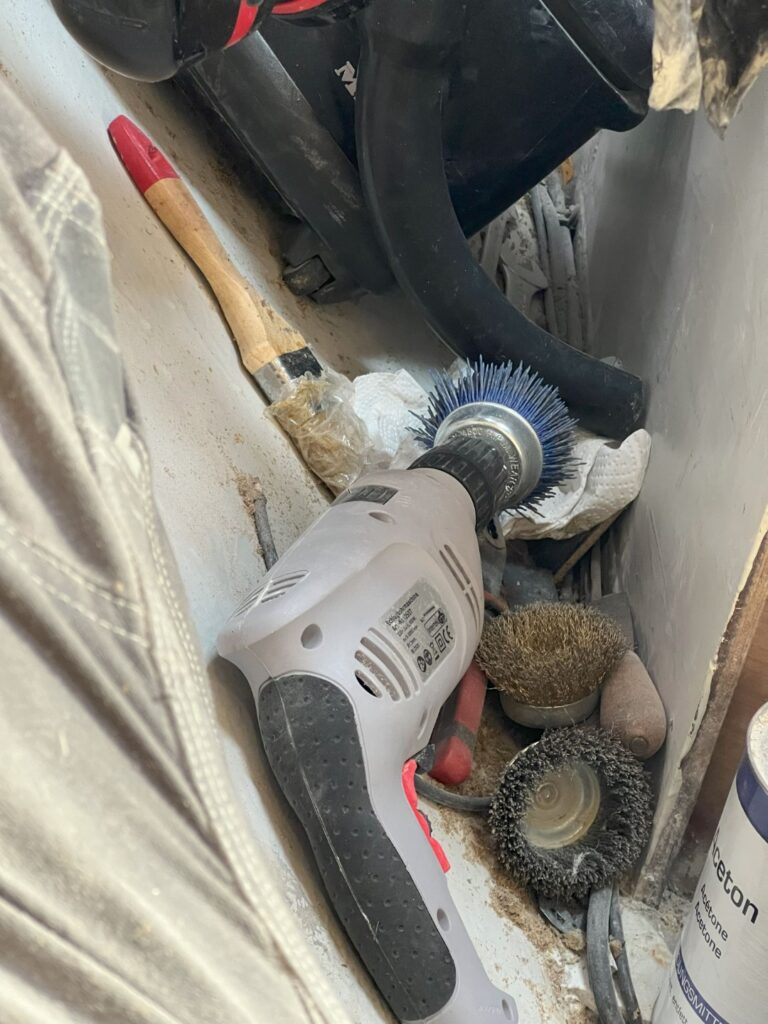
Brush on Drill
We started off with a brass brush on a drill, but it turned out to be way too soft to remove the adhesive. A steel brush worked a lot better, but I wouldn’t recommend using it around your boat. Eventually, I ordered a set of different hard nylon brushes, and those were perfect for the job. You’ll need a fast, corded drill for this. We went through our first cheap drill really fast—finished the forward cabin, and the drill was completely blown out. I ended up returning it to Amazon and getting a refund, which I’m glad for because I didn’t want to ruin my more expensive drill.
In the end, the hard plastic brushes and a fast drill got most of the residue off. I’d say this was the best tool we found for the job.
Solvents
General Solvents
Commonly used solvents like acetone, mineral spirits, or isopropyl alcohol seem to work for a lot of people, but I think this really depends on the type of glue you’re trying to remove. We tried acetone, and while it did work, it would’ve taken forever (and probably a ton of acetone) to get through the whole forward cabin. The key here is to let the solvent soak in for a bit before trying to rub it off—it won’t work otherwise.
The problem we had with acetone was that it evaporated way too quickly for our situation. I think you might improve the effectiveness by laying some plastic wrap over the fabric you’re using, which could help keep the acetone from evaporating so fast. Also, try different fabrics—we found that thick cotton shirts absorbed all the acetone and didn’t work well. Thin, specialized cleaning rags worked a lot better. This method worked especially well for us in smaller, hard-to-reach corners where there wasn’t much adhesive left to remove.
Specialty Adhesive Removers
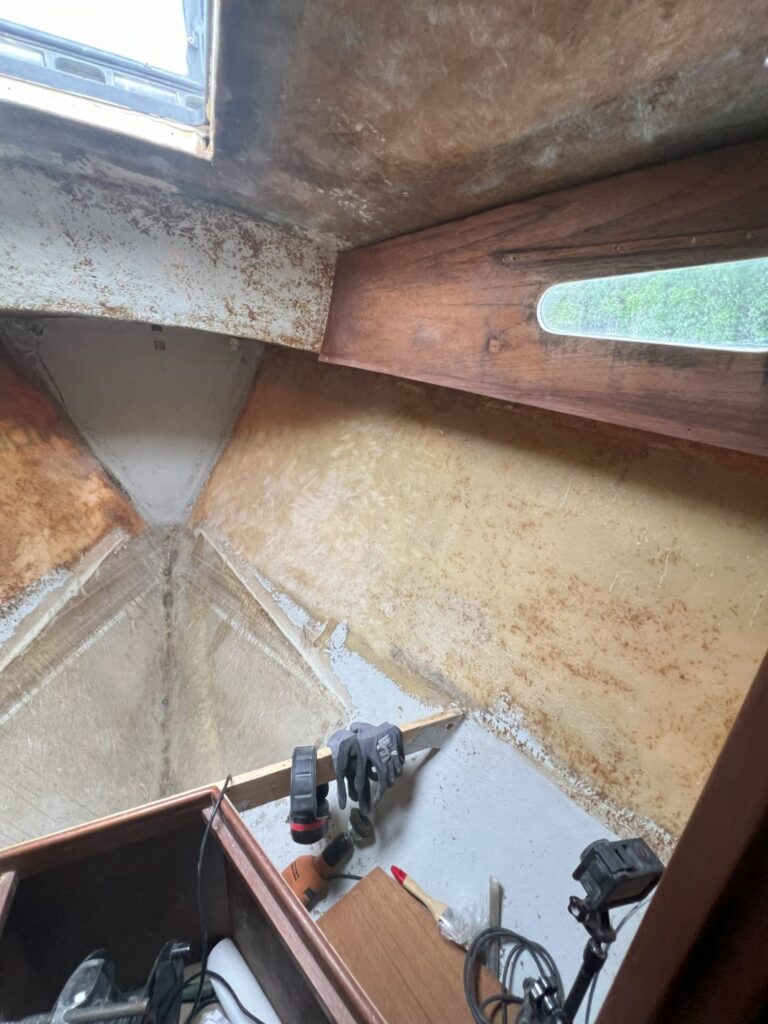
A combination of a specialty adhesive remover and the drill with a medium-hard plastic brush ended up being the game changer for us. We used the cheapest glue remover from the local hardware store, and it did the job, but I’ve read that people have had great success with the 3M product—though it’s a bit pricey.
One really important thing is to test the adhesive remover on a small spot first and figure out how long you need to let it soak. Start with shorter times and work on small sections at a time. This is written all over the product instructions, but we learned the hard way! We made the mistake of letting it soak for around 50 minutes on one section, and it ended up slightly damaging the fiberglass, even pulling out thin fibers when we used the drill on that section. So, be careful with how long you let it sit.
Heat
If you have a heat gun handy, you can try heating up the glue and then scraping it off. From what I’ve read, this method can get pretty messy, but it’s worth a shot. Unfortunately, we didn’t have a heat gun with us during this project, so we couldn’t test it out ourselves. However, we still have the aft berth to clean up, and I’ll update this section in the future once we’ve given it a try.
Conclusion: How We would Do It If We Had to Do It Again
With the knowledge we have now, we would definitely do things differently. Here’s the plan we’d follow, step by step, depending on the glue:
- Start with simple scrapers: Always give this a shot first. It might work, and at least you won’t risk damaging anything.
- If the glue’s too stubborn, try nylon brushes: Different strengths on a drill should help find what works best.
- If the glue still won’t come off, use specialty glue remover: But test it on a small patch first, figure out exactly how long to soak it, and then work patch by patch until the job’s done.
- Finish off tricky spots with an acetone rag: This works well for those hard-to-reach areas and stubborn bits.
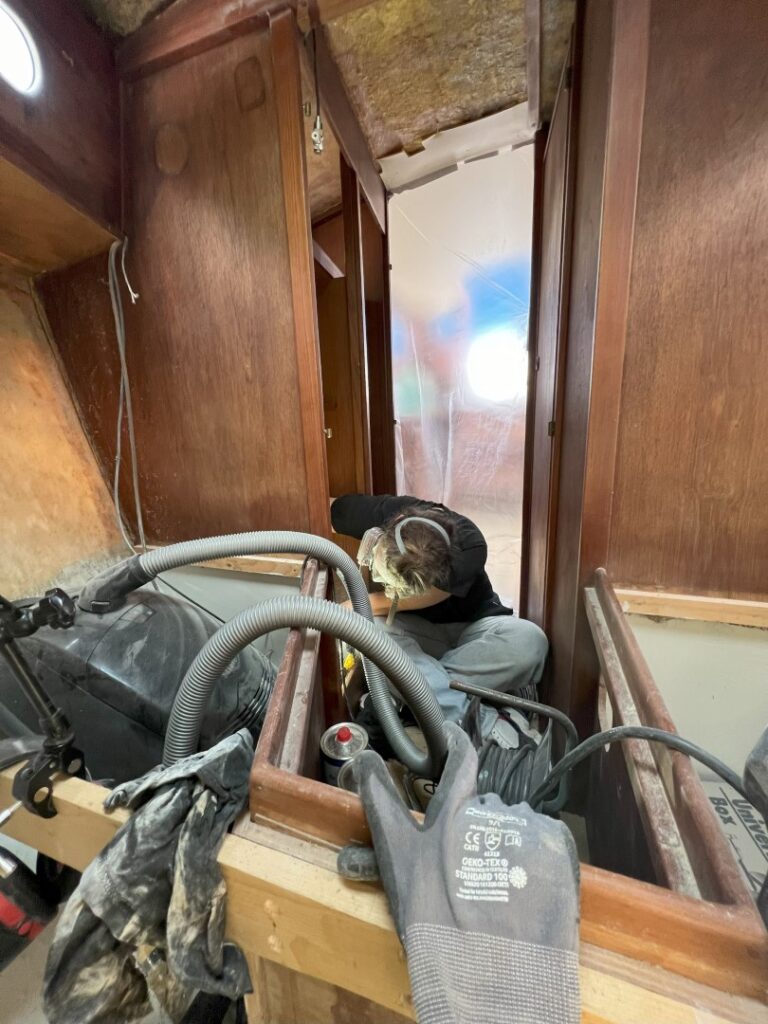
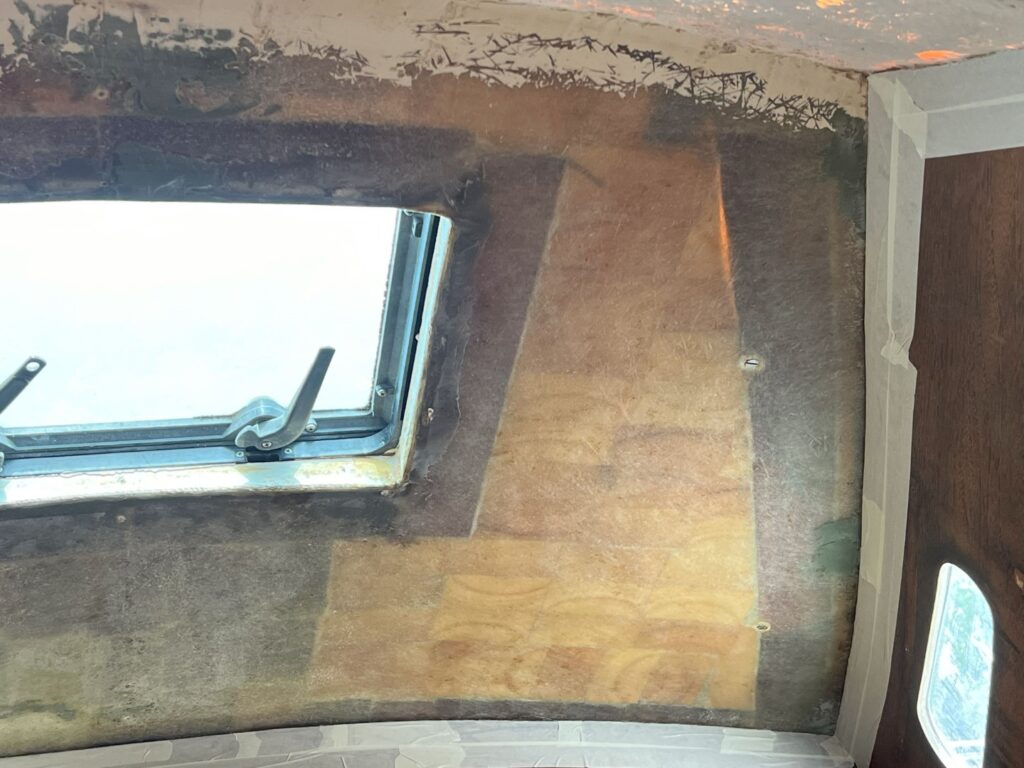
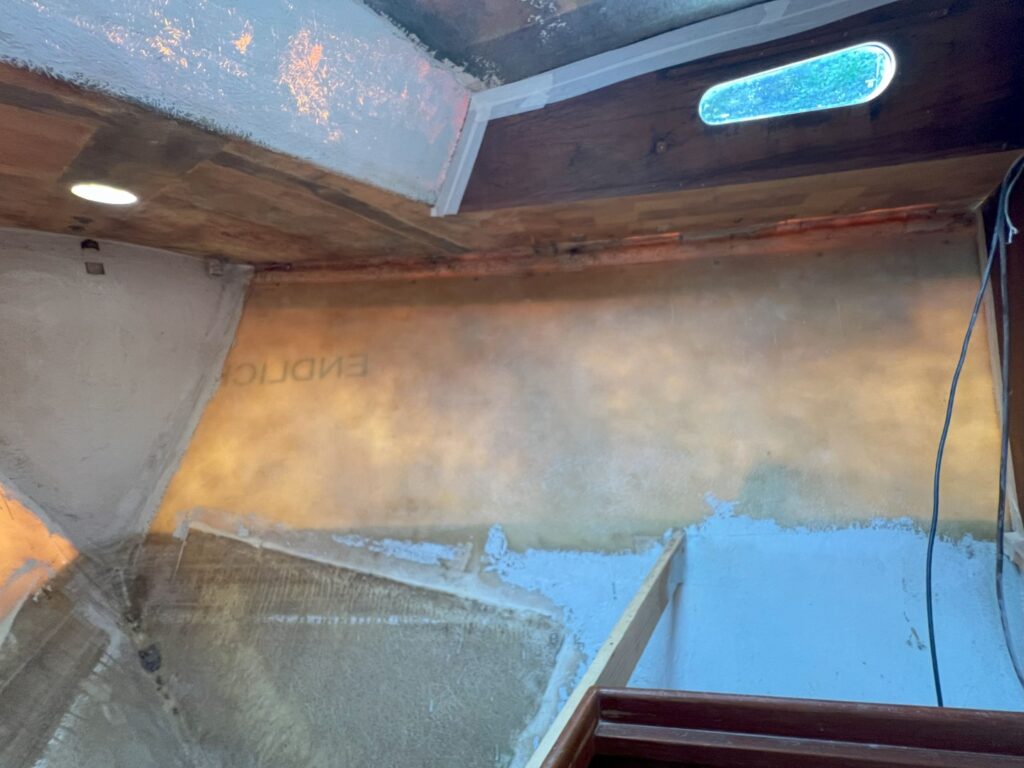
Once we found the right method for us, we finished the entire port side and the ceiling in half a day, whereas it took us several days to complete the starboard side.


The most annoying part was how much time we wasted on other methods at the start, plus having to order part after part to try new things. We ended up with a bunch of brass brushes (not strong enough), some steel brushes (too strong and not recommended because they produce rust on your boat), and piles of gluey, useless sandpaper. And we had to get a new drill, though we got a refund on that.
Honestly, this is one of those tasks you wouldn’t wish on your worst enemy. Next time, I’d definitely order a Tyvek suit straight away to protect from the dust and mess.