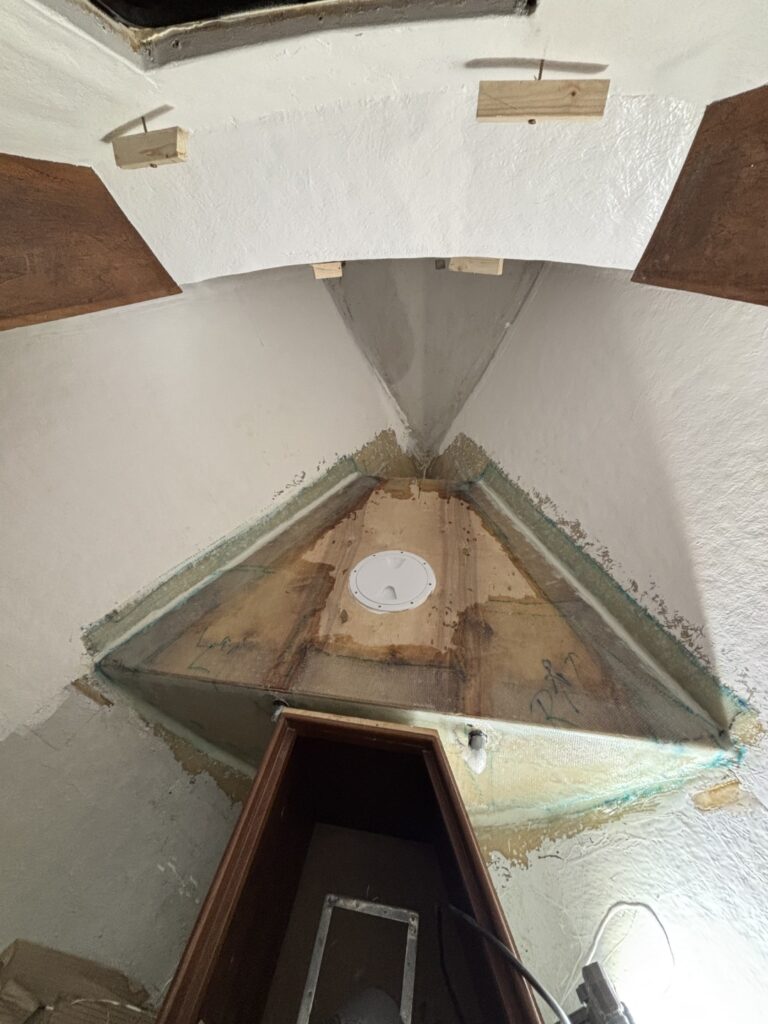
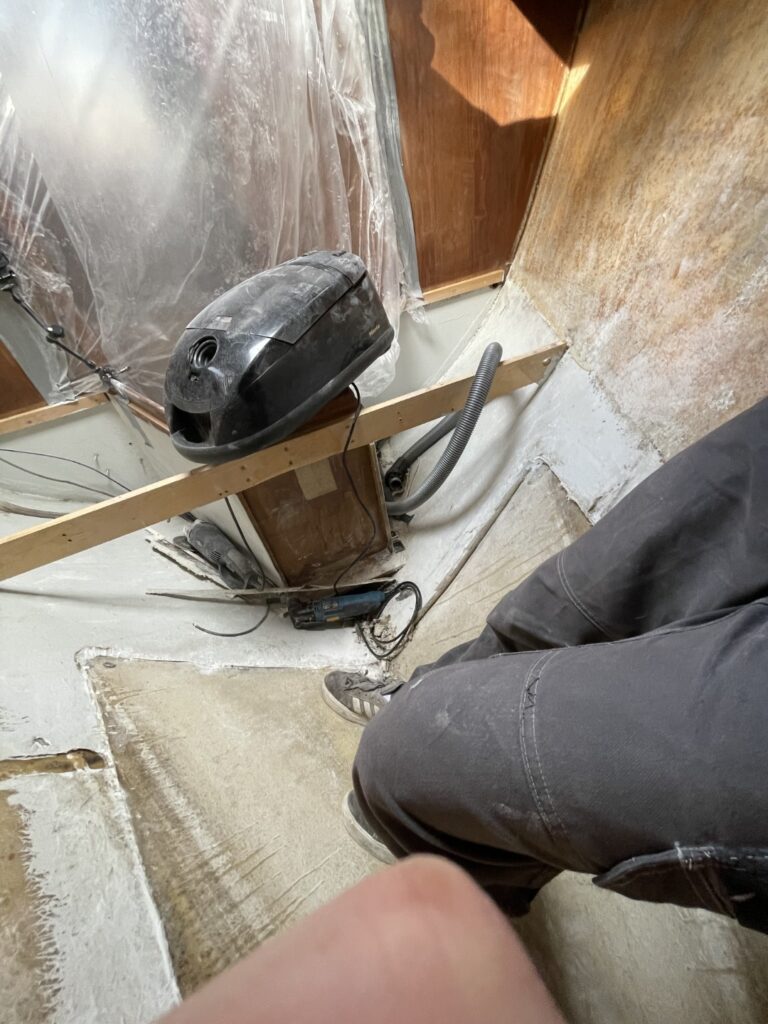
Our Fellowship 28 had a small, very moldy, glued-in water tank under the v-berth when we bought her. From the start, it was clear that we wanted to rip it out and replace it with a bigger, fresh water tank that we could also drink from. As you can tell from the picture below, this was definitely not something we considered doing with the old tank.
We did some research and weighed the options: a flexible water bladder, a premade PE or stainless steel tank, or a custom-made PE/stainless steel tank. In the end, we concluded that an integral water tank would be the best solution for several reasons—but wow, did we underestimate the work it would take.
Evaluating Our Water Tank Options
Flexible Tanks
We never seriously considered this option, as it seemed more like a temporary solution, and from what I’ve read, chafe always becomes an issue after some time. We also didn’t have a good, safe spot to place it after removing the old tank, so we would have had to laminate bulkheads anyway. On the plus side, they are cheaply available and could work as a temporary fix.
Pre-Made PE & Stainless Steel Tanks
We ruled out premade tanks, as it was crucial to maximize the small space available on our 28ft boat. The shapes and sizes we found never really fit into the forward cabin—not even the V-shaped ones. All of them had the issue of wasting a lot of interior space. We also didn’t find them to be particularly cheap, and the stainless steel ones were out of our budget anyway.
Custom-Built PE or Stainless Steel Tank
Simply far too expensive for our budget, but I would say these can be a good option if you want to save a considerable amount of working hours and don’t mind the cost.
Integral Laminated Water Tank
An integral tank just seemed like the perfect solution for us—it uses all the available space, adds strength to the hull, and maximizes our water storage capacity. The only downside is the work hours involved, which we really underestimated.
Building the Tank
We researched as much as we could before starting the construction, and the best resources we found were the videos by James Baldwin, who has built several of these tanks over the years—many of them documented on his YouTube channel. You can also find useful information on sailing forums, including pictures and other construction reports. I will link more of these resources at the end of this article, as I found real-world examples to be the most helpful when planning your own build.
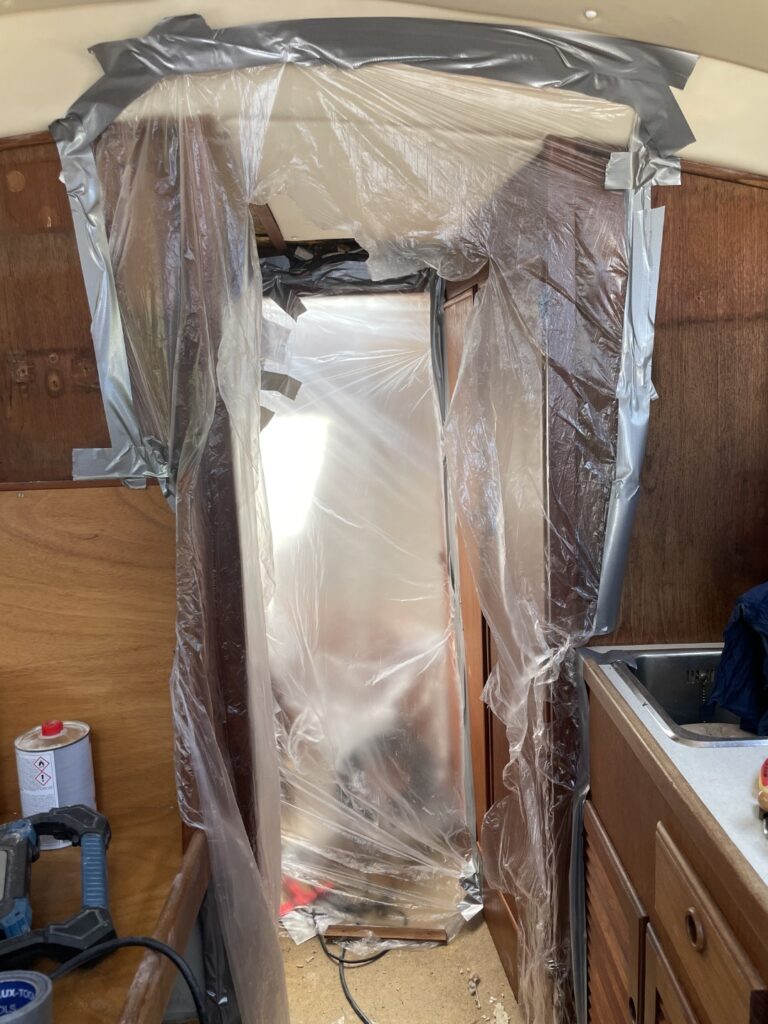
Preparing the Forward Cabin
We ripped everything out of the forward cabin, which was already an excessive amount of work given that the moldy side liner was glued to the hull with some kind of irremovable contact adhesive. After that, we cut out the old tank, which had been glued in place. I had feared this would be the hardest part, but it actually came out quite easily—unlike the glue. We cut the old tank into pieces and discarded it afterward. If you’re also dealing with extremely hard-to-remove contact adhesive, read here to see what worked for us.
I started off using the multitool but quickly found it was far too slow for the job of cutting out the entire tank. Once I switched to the angle grinder, the task sped up enormously—but so did the mess. Everything became extremely dusty, and the fiberglass dust got everywhere, so I highly recommend wearing a Tyvek suit for this task. I didn’t wear a proper one at first because of the heat at the time, and I was itchy and scratching for days. I found only the proper Tyvek suit to be working well, the cheap ones I am wearing on some of the photos are pretty useless.

To prepare the surfaces for the epoxy and fiberglass layup, we sanded the entire area with a random orbital sander and 60-grit / 40-grit sandpaper. Be sure to wear a proper respirator for all of this work.

Sizing the Water Tank
For us, the size was determined by the available space and the height of the existing V-berth. We simply tried to use as much of it as possible.
If you’re worried about too much weight in the bow, keep in mind that you don’t have to completely fill the tank if you don’t want to—especially if you’re just hopping from bay to bay where drinking water is available. We’ll only be able to calculate the total volume when we do the first fill with water.
Building Templates and Cutting Plywood to Size
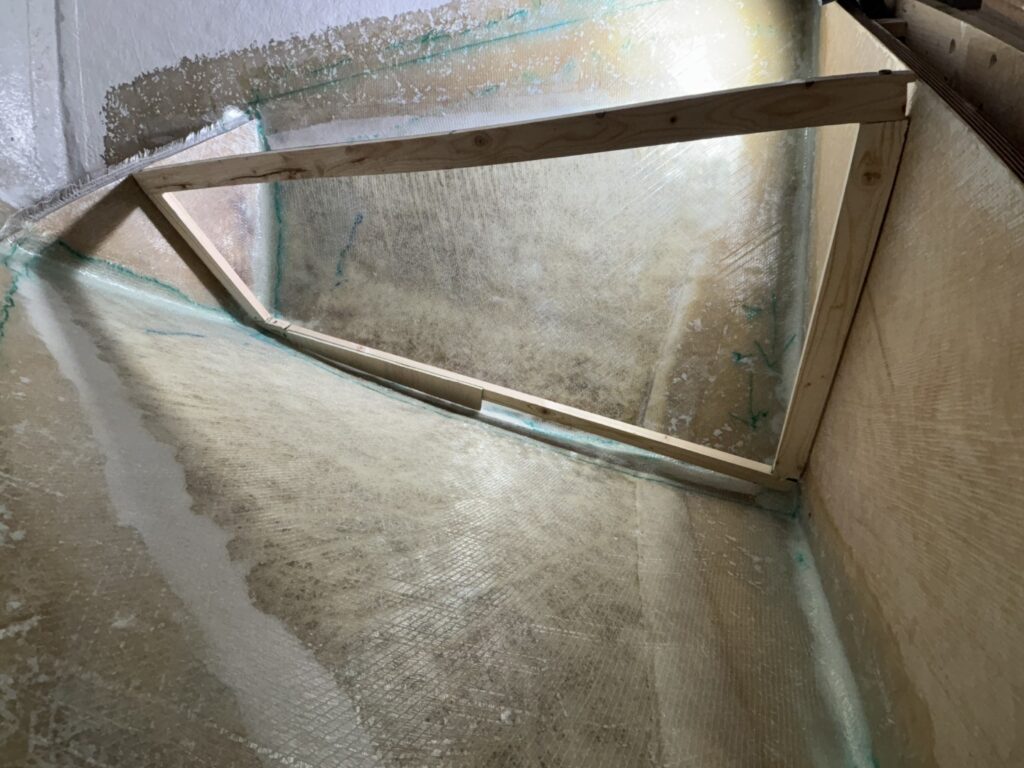
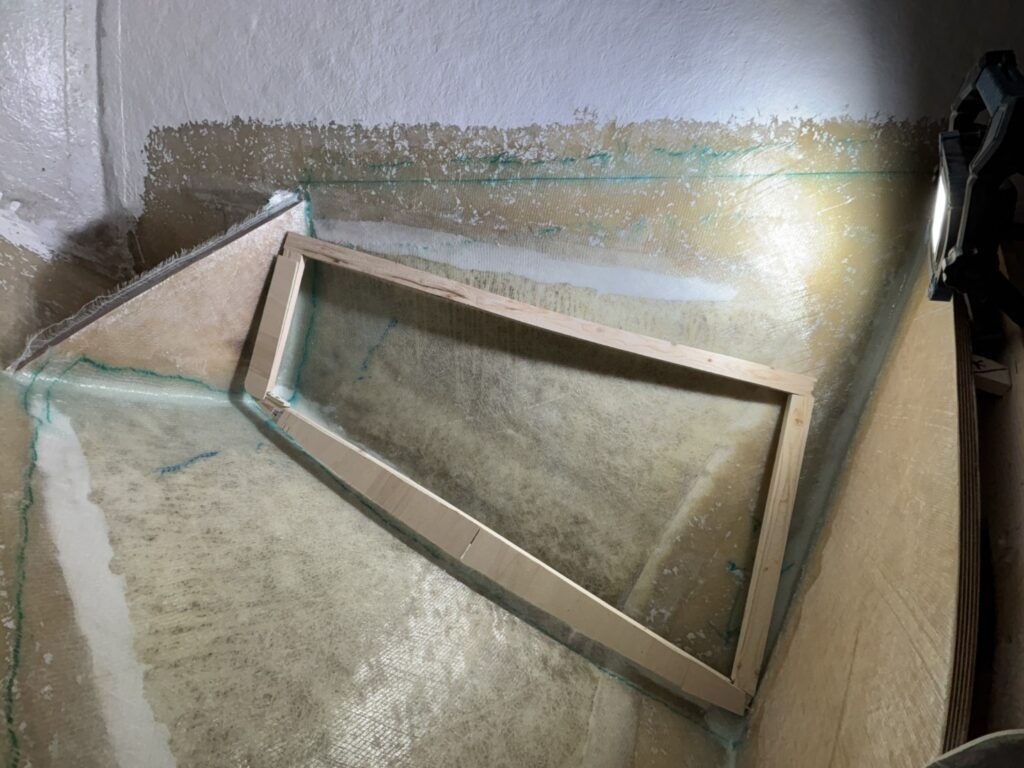
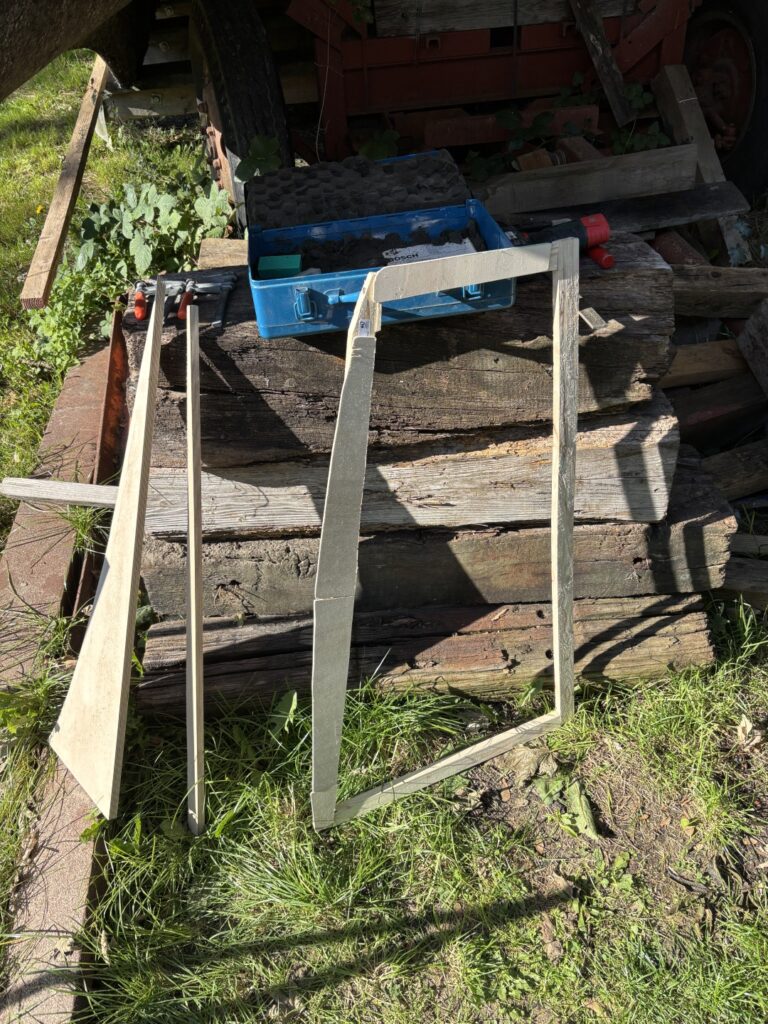
The next step is to build templates for fitting your plywood bulkheads. We tried both cardboard and constructing templates with cheap, thin plywood, and both worked pretty well. However, for more precise templates, we found that a frame made of wooden slats with thin plywood glued on was the most accurate, especially to get the curvature correctly.
For building the templates out of wood, I recommend starting with a rough-fitting wooden frame and then gluing sections of thin plywood or cardboard on top of it, one after another. However, this method takes a bit more time. We first built the templates for the front and back bulkheads and glassed everything in place before working on the baffles, as I wanted to be 100% sure everything fit. But if you’re confident, the entire process can be done in one step.


We decided to use waterproof-glued (marine grade or BFU/AW100 in Germany) plywood for building our tank. Ideally, we would have chosen a composite material to avoid any future water intrusion and rot, but there were no reasonably priced options available. For sizing the marine plywood, we used 15 mm plywood for everything—bulkheads, baffles, and the top. All of it was covered with two layers of fiberglass for the baffles and three layers for the bulkheads. You could use thinner plywood for the baffles, but we only had 15mm available.
Glassing in the Bulkheads and Baffles
Wherever possible, we pre-glassed the plywood and sanded it before glassing it into the boat—when time allowed. However, it’s also no problem to do it all in one step. For the bulkheads, we pre-glassed the larger one and sanded it down with 80-grit. We glued it in with thickened epoxy and laid fiberglass tabbing wet-on-wet over the fillets. If you’re interested in the correct order for tabbing, check out our blog post.
For the small bulkhead, we glued it in with thickened epoxy and did the coating and tabbing in one fiberglass piece. In the end, I’d say it didn’t make a difference. For the tabbing, we used three layers of fiberglass strips—14cm, 12cm, and 10cm wide—over wet-on-wet fillets, which should be plenty strong.
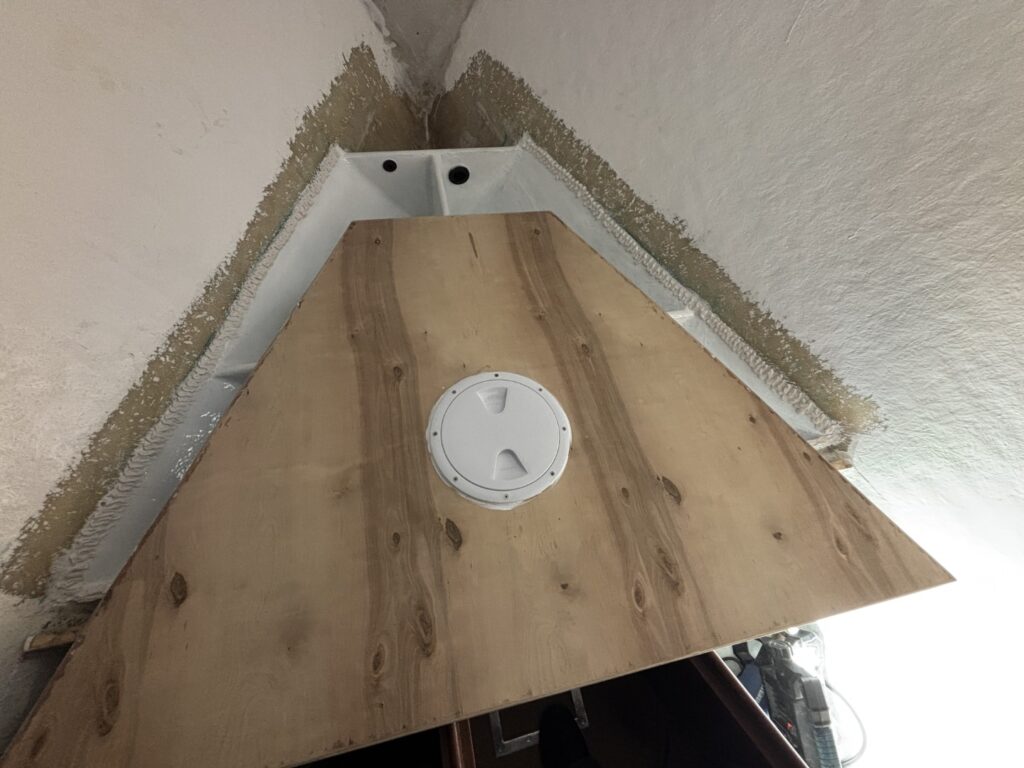
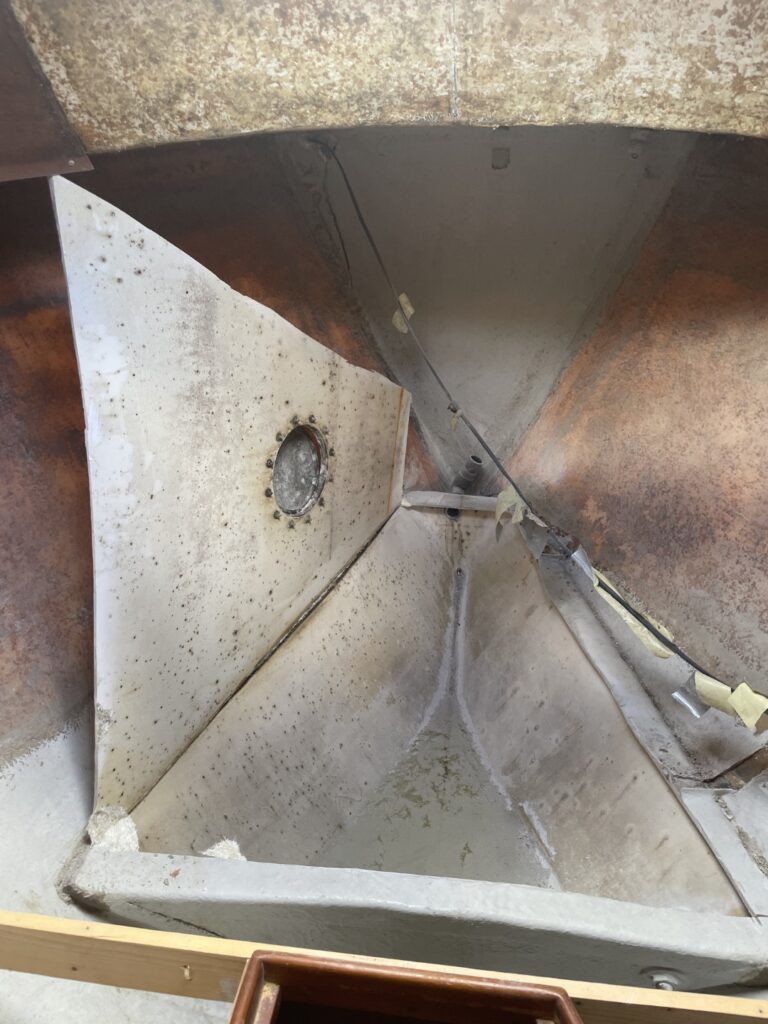
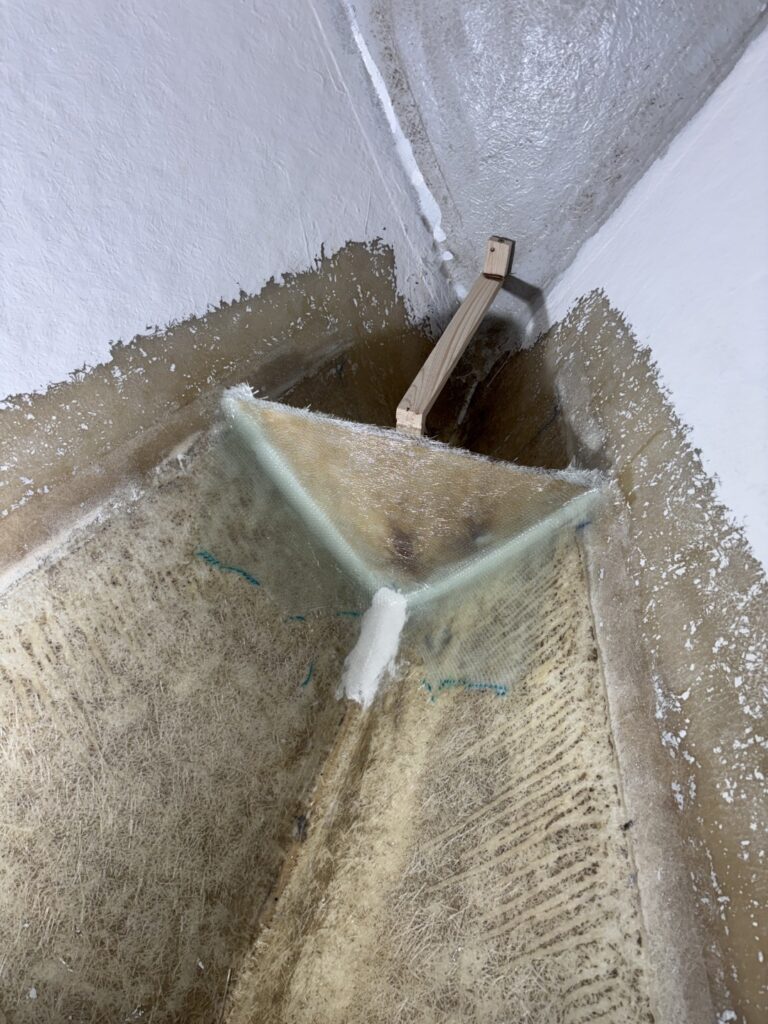
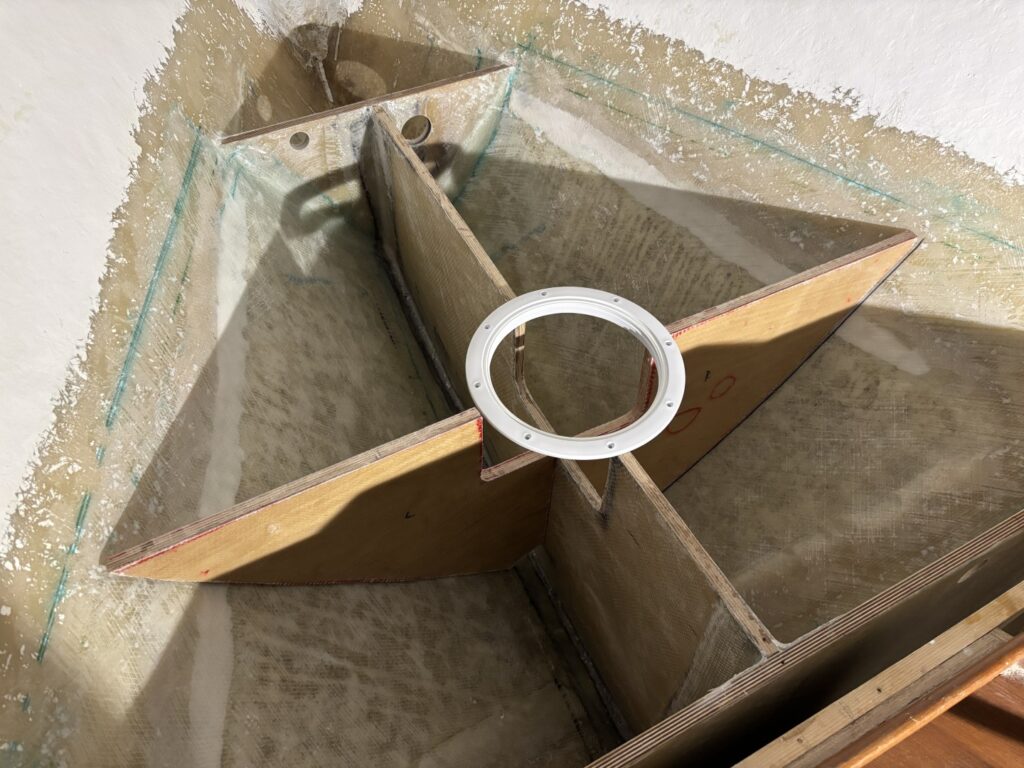
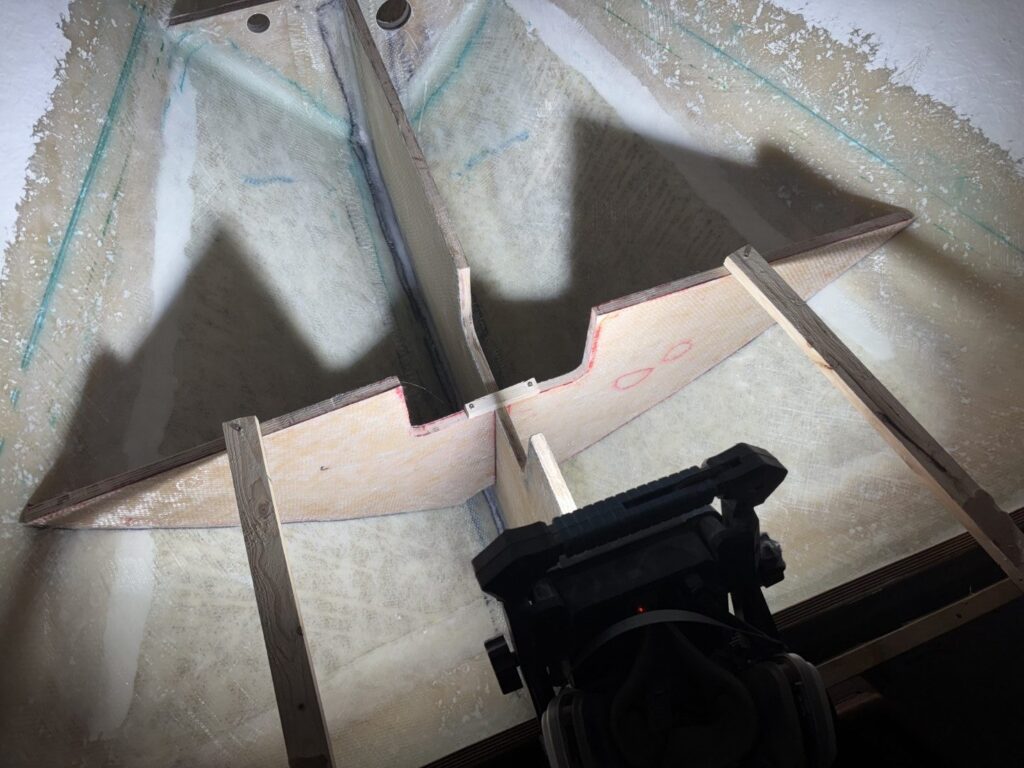
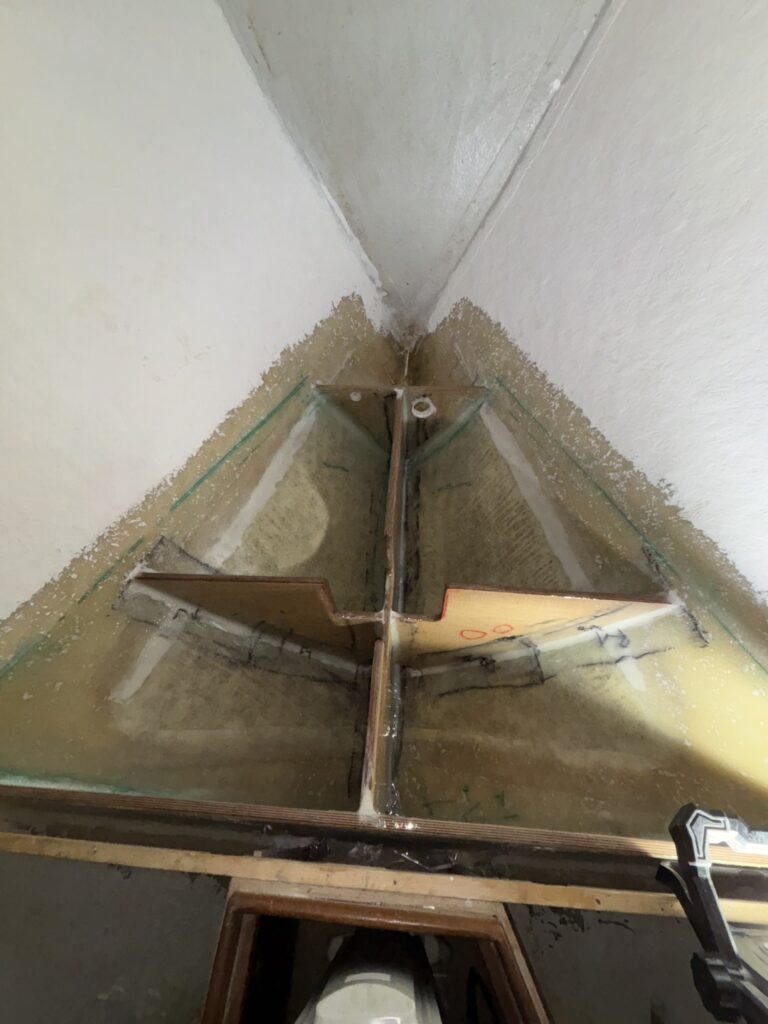
After the bulkheads were glassed in, we fitted the templates for the baffles to size and glassed them in the same way, but with only two covering layers of fiberglass. At this point, you should also test and decide where you want your access hole/inspection port to be located later on. We tested different positions to ensure we could reach all corners of the tank from the chosen inspection port location before glassing and cutting out an access area in the baffles.
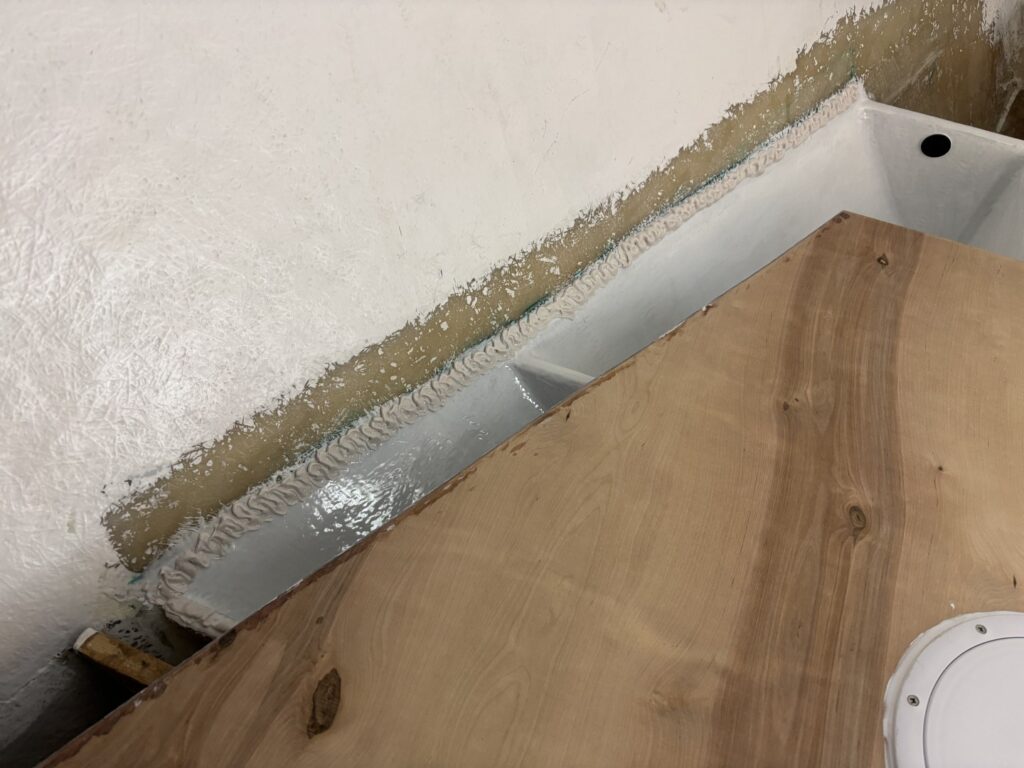
I strongly recommend finding a way to fix the baffles and templates in place while curing—either with small screws into the hull, as shown in James’ build, or similar to our method shown in the photos. We first tried without fixing them, and it was very difficult to keep them in place. If you accidentally push against them, the entire work could be ruined. I also noticed that the bulkhead was slowly sliding on the epoxy putty in areas where the hull’s pitch was too steep.


Building the Tank Top
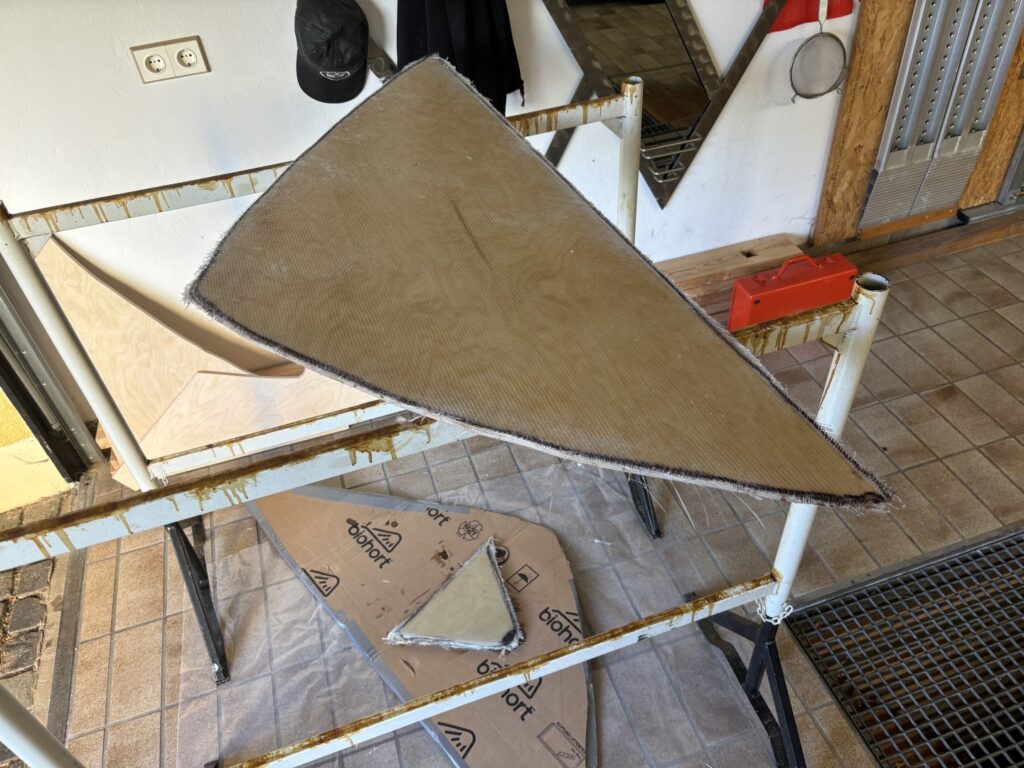
With the baffles and bulkheads in place and the location of the inspection port set, we were ready to build a template for the tank top. For this, we used a wooden frame that also represented the height of the tank top (15 mm) and glued thin cardboard on top to precisely match the hull shape, similar as with our other templates.
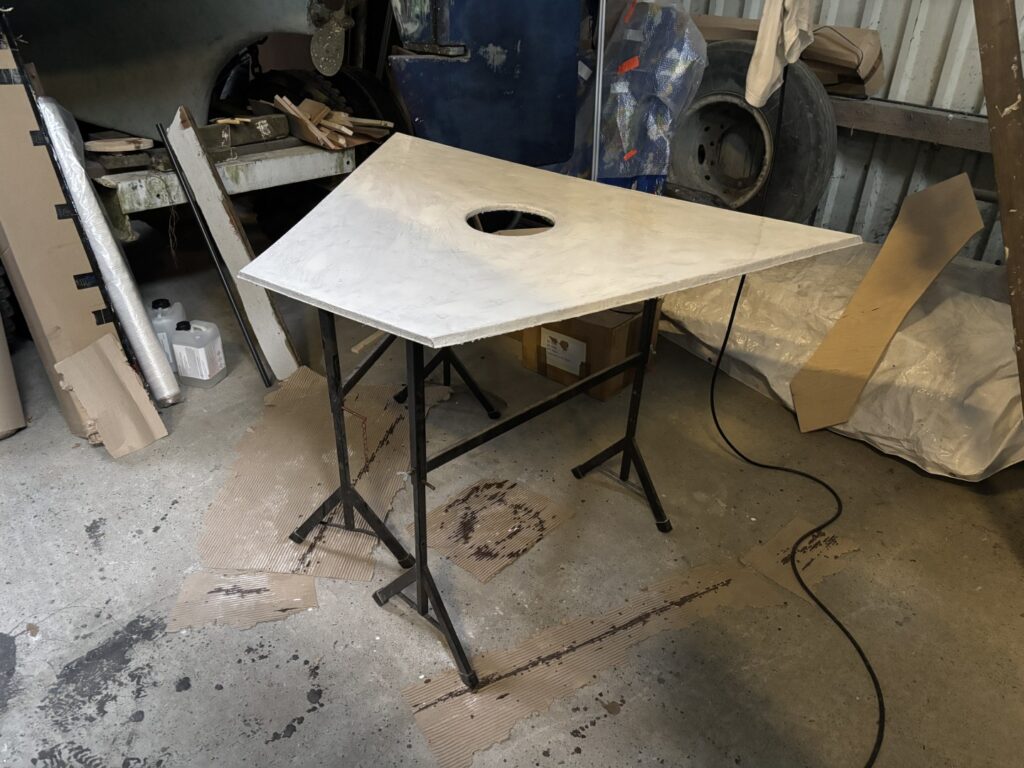
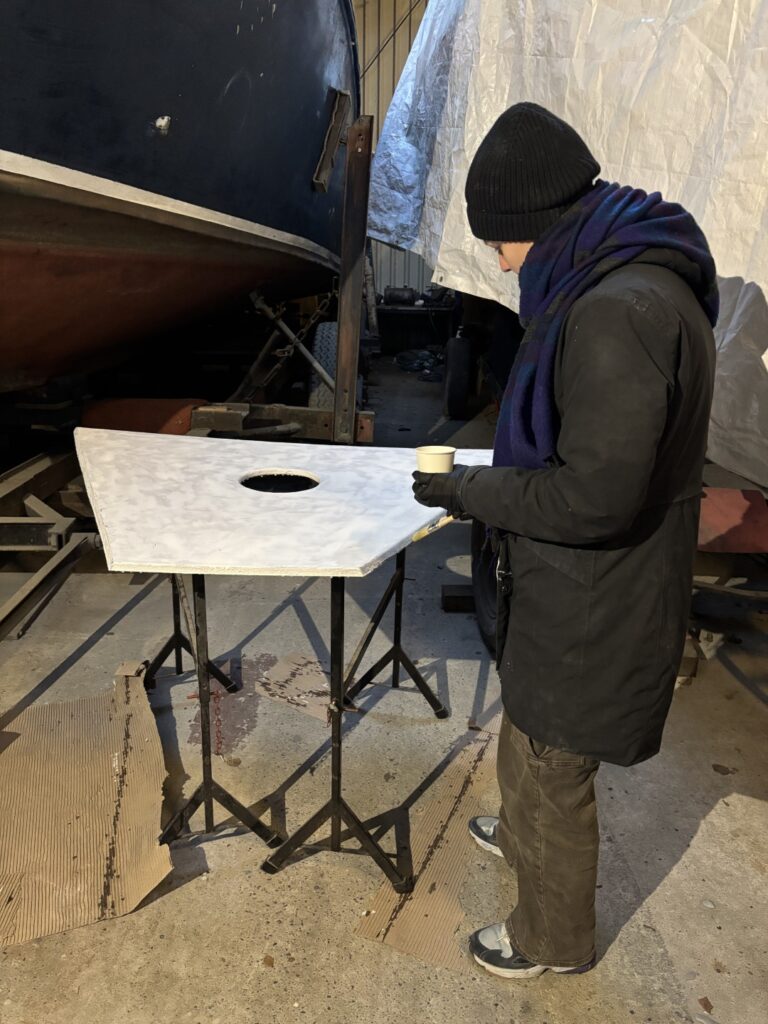
Since the hull is beveled, the cut-to-size tank top didn’t fit right away, so we used a belt sander to bevel the edges accordingly. Both sides were then glassed with two layers of fiberglass. We made the mistake of placing the pre-cut tank top on two work trestles that were not optimally positioned, which caused the plywood to bend slightly. By the next morning, the fiberglass had cured, and it was no longer possible to remove the bend. This was a stupid mistake that caused a lot of issues later—so maybe you can learn from our error and avoid the same problem!
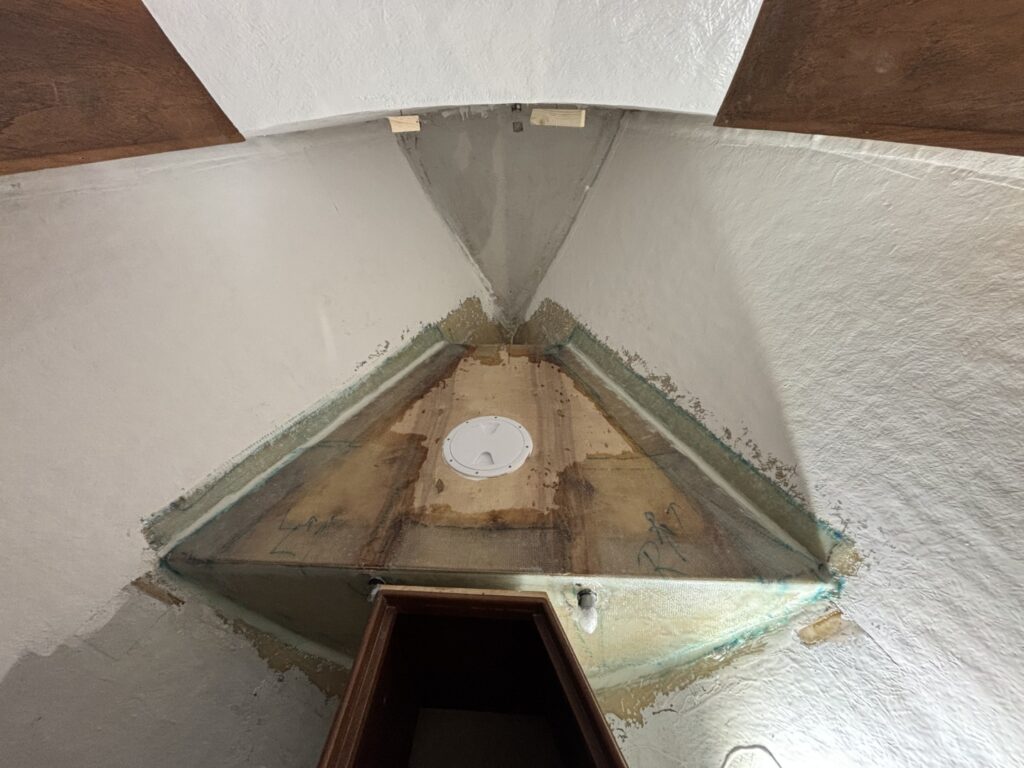
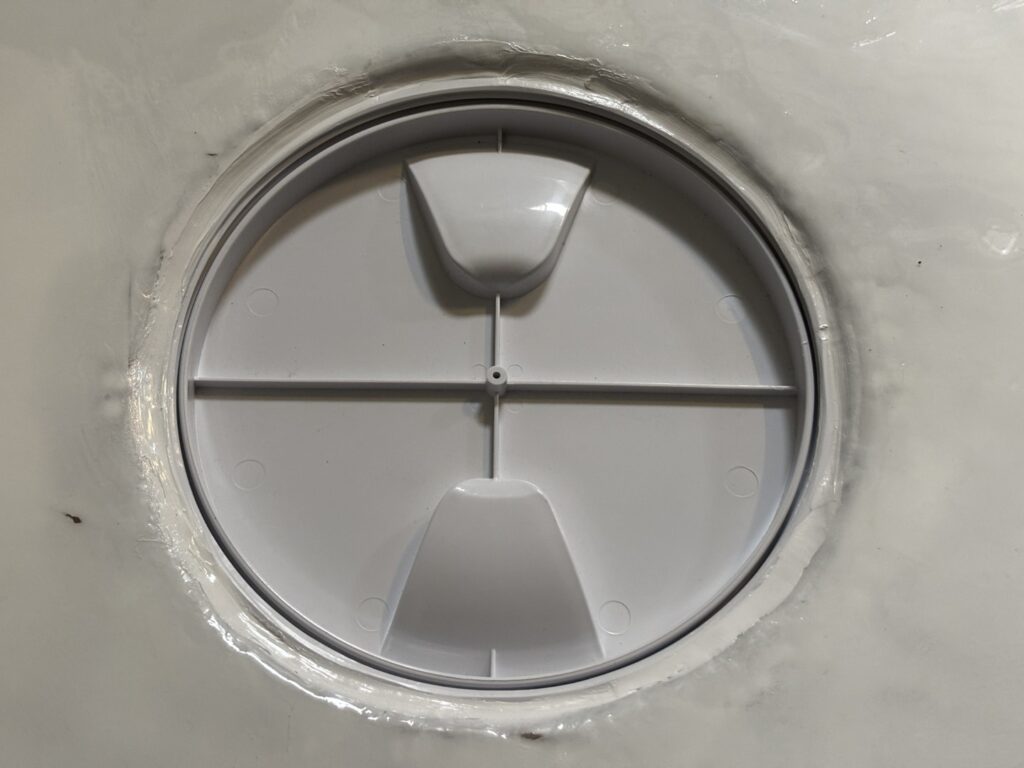
We cut the hole for the inspection port with a jigsaw and rounded the edges by hand sanding. When sizing the inspection hole and the edges of the tank top, make sure to leave at least 2–3 mm of extra room, depending on how many epoxy layers you plan to build up. We applied at least 10 layers of epoxy, adding white pigment to the first three. The last three layers were done with food-safe epoxy. Brewcoat and similar products are also epoxy-based and might be a better choice in terms of consistency and application, but nothing was available here in Germany.
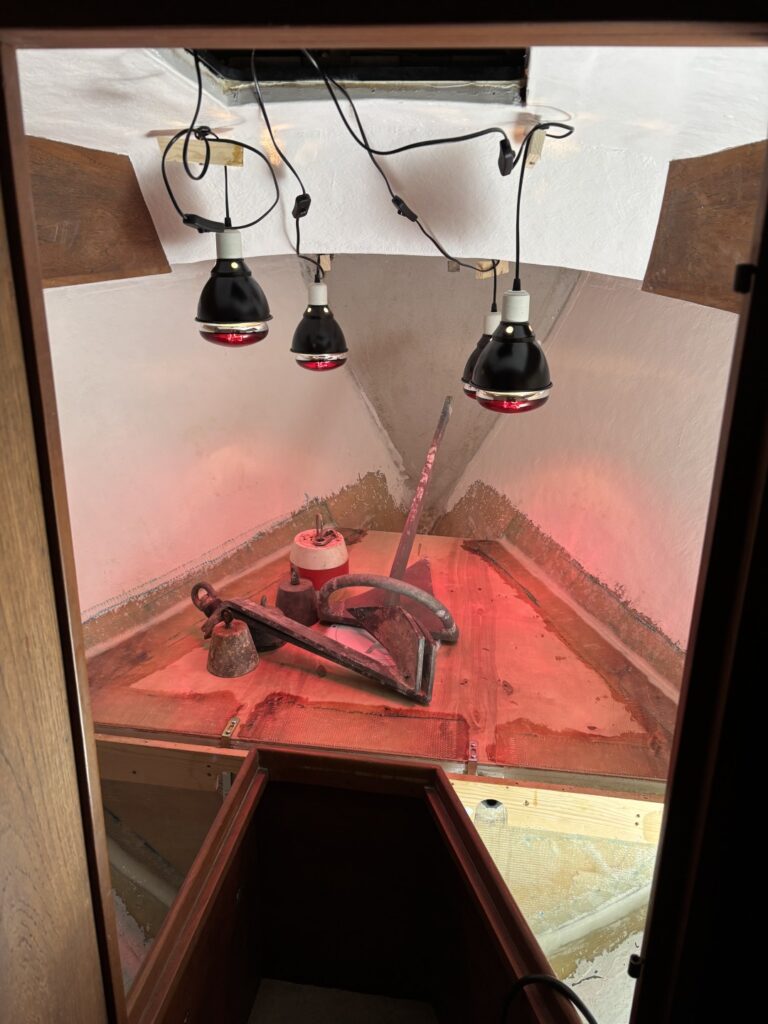
As a final step, we screwed in the inspection port and sealed it with Sikaflex 522, which is also food-safe. However, there are other options, such as Ottoseal, which is specifically approved for drinking water contact. We used peel ply on the edges of the tank to improve adhesion for the thickened epoxy later, but it was probably unnecessary. (If you’re glassing in winter, make sure to let it cure completely before peeling it off—we learned that the hard way!)


Waterproofing the Fitting Holes & Coating the Tank
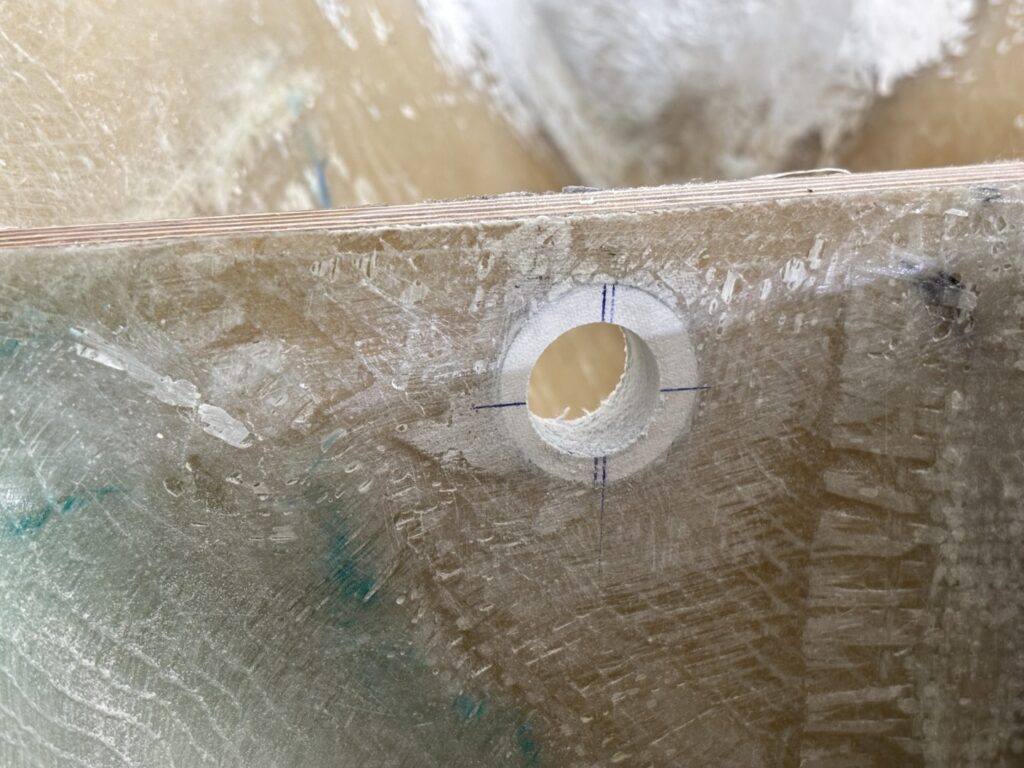
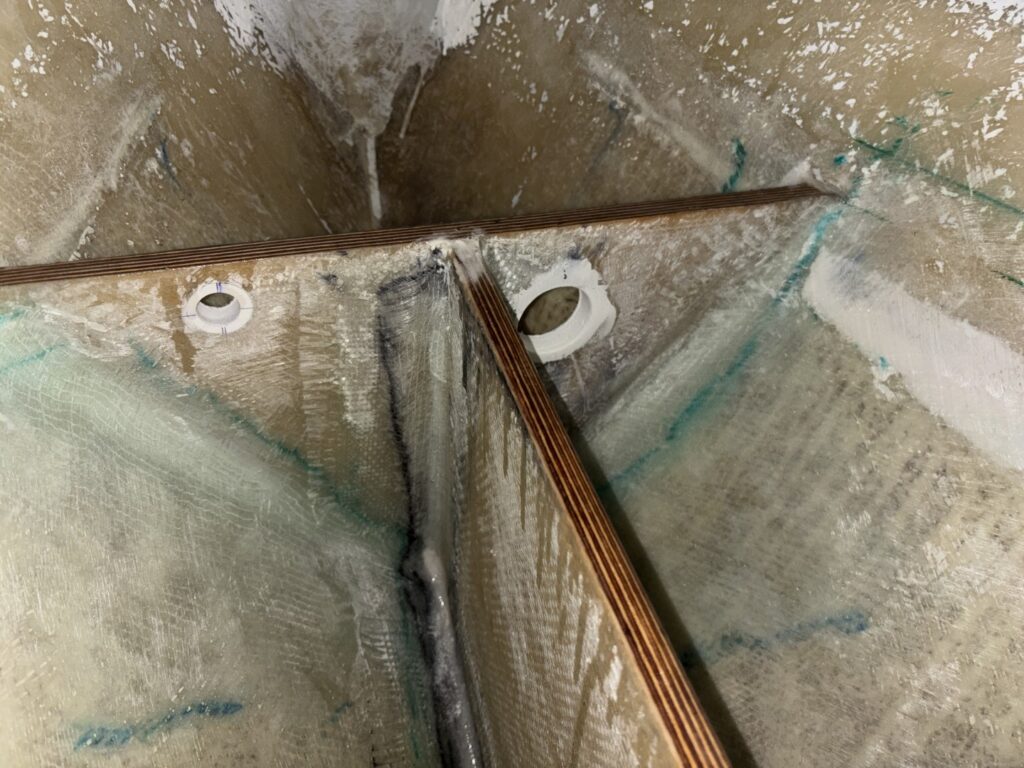
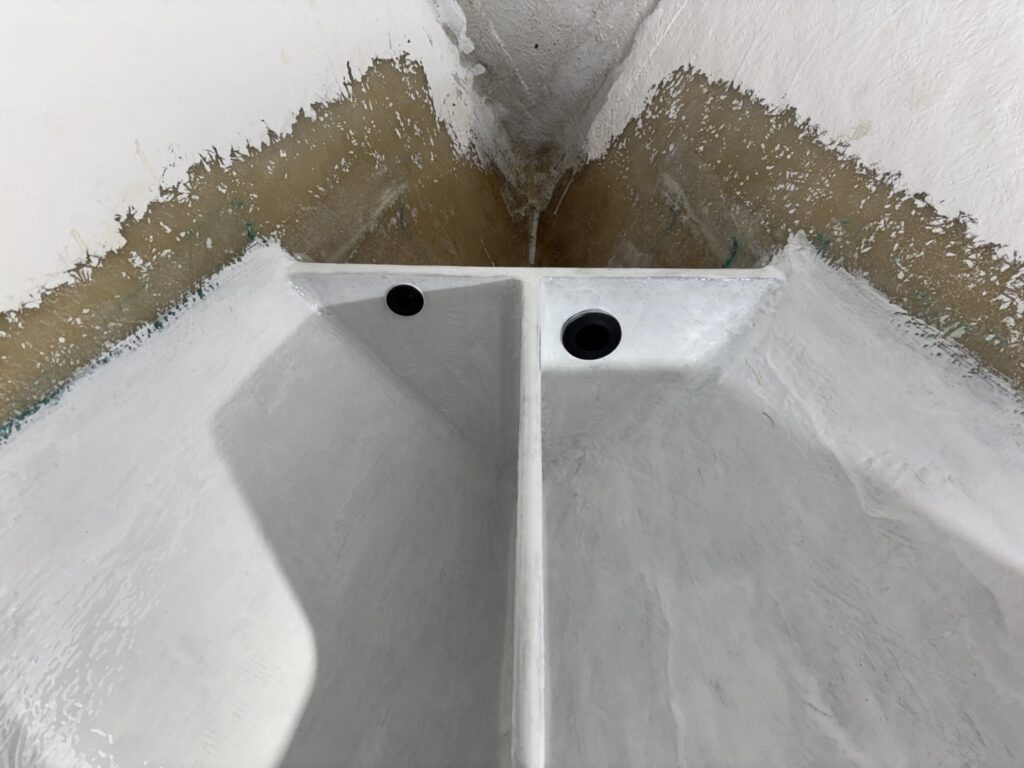
I drilled the fitting holes slightly larger, filled them with thickened epoxy, and then re-drilled them 1mm wider than the fitting size. I don’t think this is strictly necessary, but I’m a bit paranoid about water intrusion at these spots.
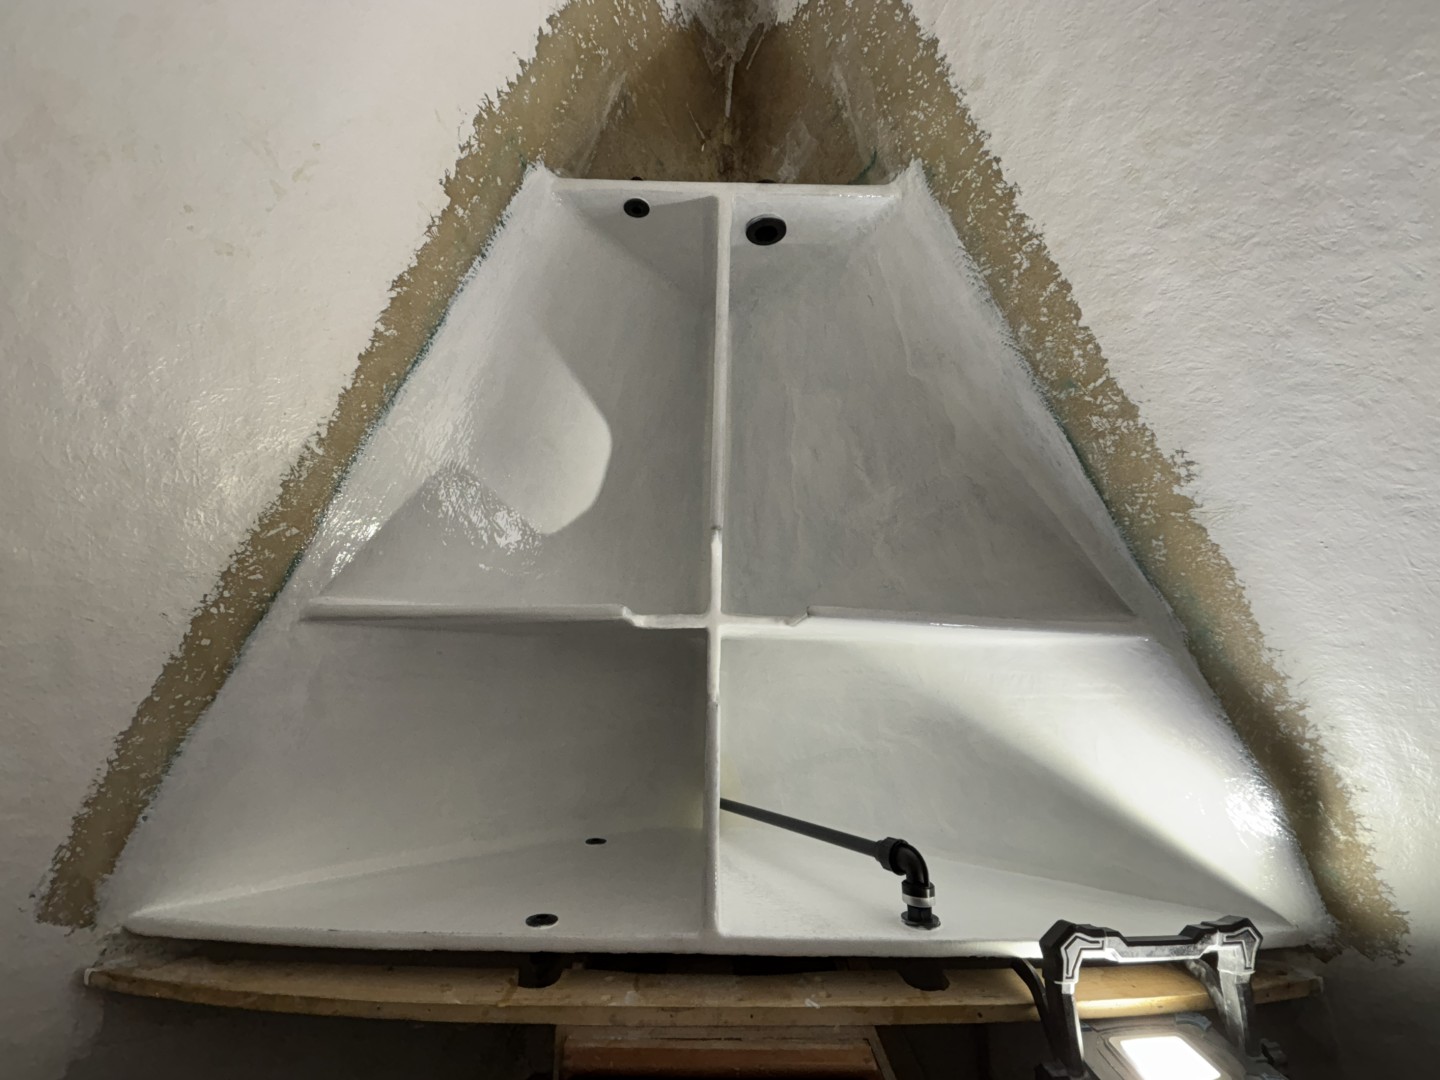
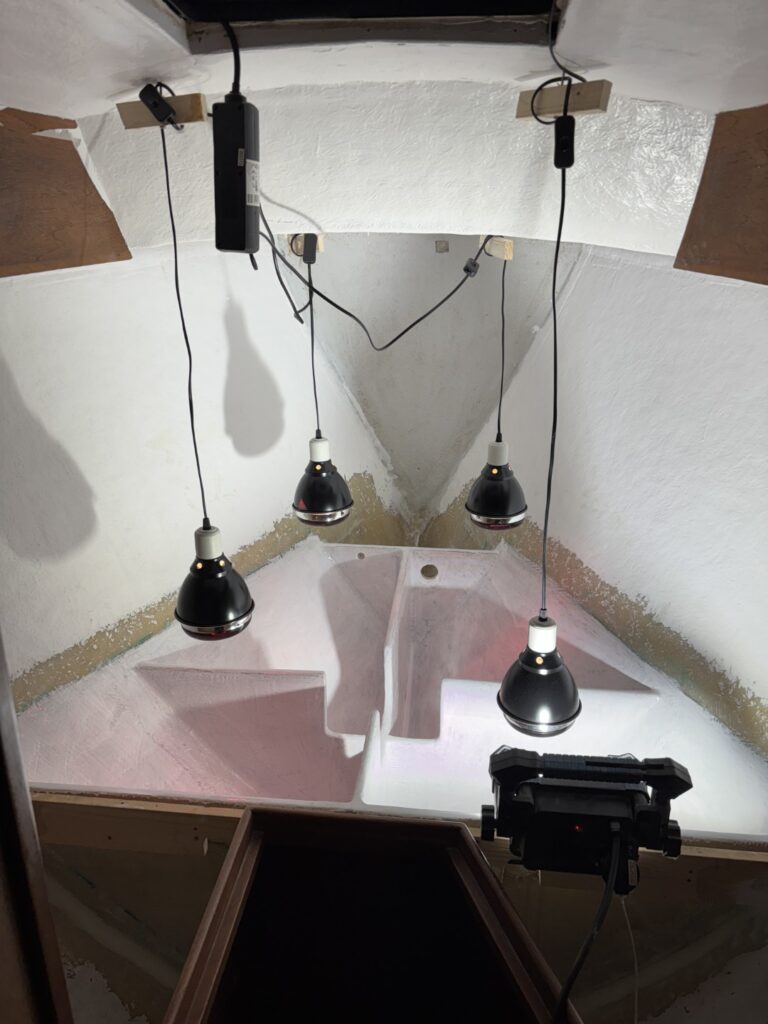
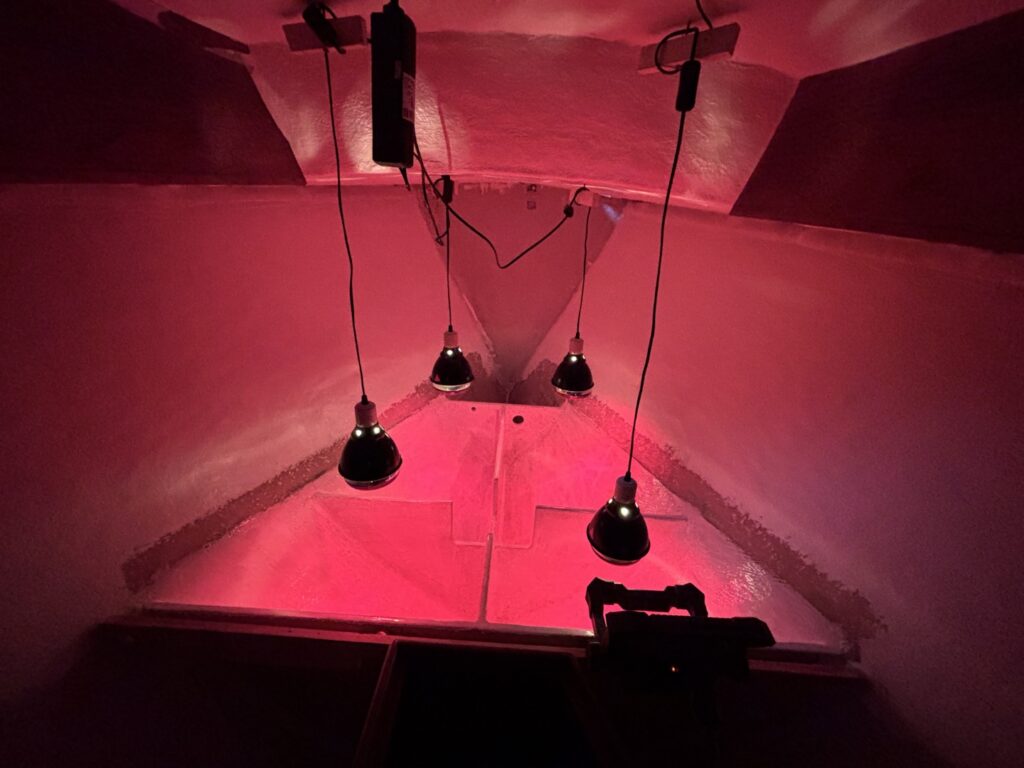
We sanded everything inside the tank and rounded the edges of the baffles and baffle holes. The rounding isn’t really necessary, and I’d skip it next time. Also, it’s not required to sand as much as we did—the key is to apply enough epoxy coats, as any small roughness will be evened out that way. Focus on the sharp and rough spots instead. We applied at least 10 coats, adding white pigment to the first ones and slightly thickening the epoxy with silica for better consistency.


Fitting the Fittings
It took some time to find the perfect fittings and pickup tube for the water tank. The wall thickness proved to be a challenge, but using a belt sander, I was able to grind down the nuts and end fittings so they would fit in the end. All of the fittings had rubber gaskets—both on the inside fittings and where they were placed on the tank walls. I used Sikaflex 522 to secure them. If yours don’t have rubber gaskets on the inside, you can use Sikaflex there as well. I was happy with the pickup tube I bought, but you could also use a brass tube or something similar.
The following fittings were installed:
- 1½-inch water inlet
- 2× 1/4-inch 90-degree fittings for the sight tube
- 1/4-inch air vent
- 20mm tube to 3/4-inch fitting with a 1/4-inch hose connection


Fitting the Tank Top
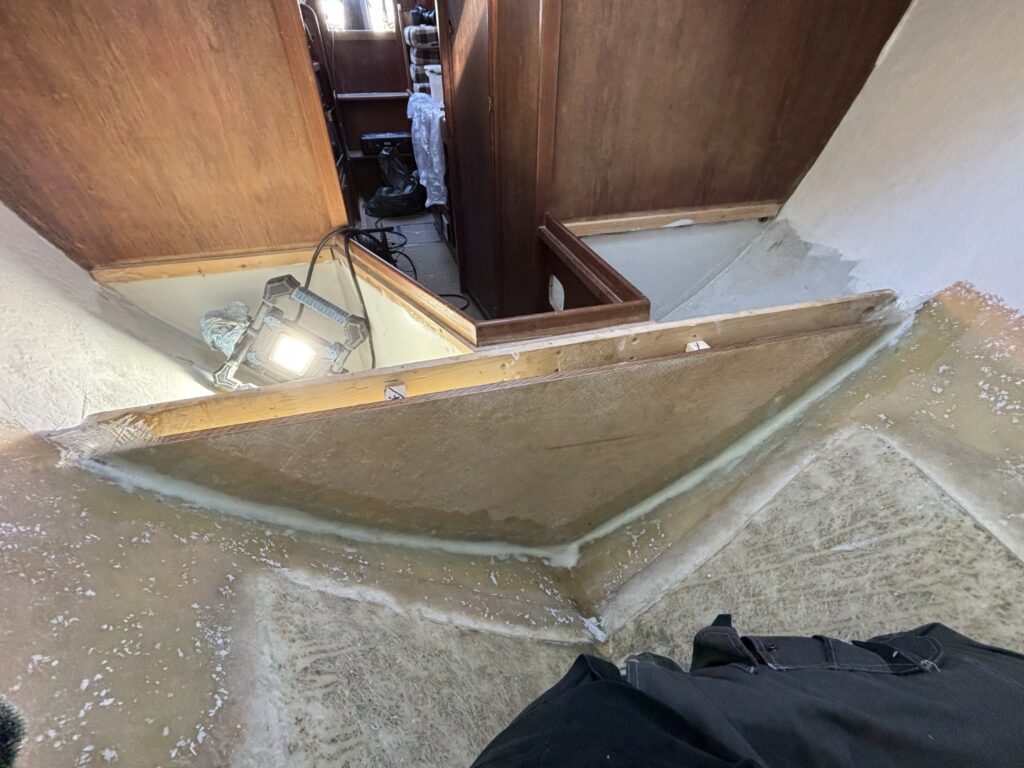
The final step was fitting the top, which turned out to be the most difficult part since it was bent. We sealed the tank along the edges with thickened epoxy but didn’t apply any on the baffles, as the top didn’t make even contact there. This wasn’t an issue for stability, and since everything was coated with enough epoxy layers, it didn’t matter in the end. However, the edge gaps were larger than we expected. After placing the tank top, we had to fill the edges, and the epoxy from earlier sagged slightly more on the inside than I would have liked. Everything was sealed in the end, and since the beveled edges were also fully coated, water intrusion wasn’t a concern—but having a level tank top would have made things much easier.
To keep the top in place and press down the bent sections, we used angles. With the angles secured, we also glassed over the seams with three layers of fiberglass and filled the top edges, then glassed over the newly created fillets with three more layers of fiberglass.
If I had known earlier how much the bent top would complicate the installation, I would have redone it after the first fiberglass layers and used the wood for backing plates or something similar—take it for what it’s worth. Overall, I’m happy with how the tank turned out, even though it took a lot more time than we expected. The only remaining steps are to sand and paint everything white.