After buying and inspecting our Fellowship 28 “Quak” it was clear that most of the seacocks had never been changed. I was especially sure about the one that they built a bulkhead over, which made it a lot harder to remove. We also had one made of plain plastic just closed by a plug, and another one for the Airmar triducer that we planned on removing anyway.
The overall goal was to have as few thru-hulls as necessary and reduce the total number to 6:
- 2 thru-hulls for the cockpit drains
- 1 thru-hull for the engine sea water intake
- 1 thru-hull for the galley sink drain
- 1 thru-hull for the toilet outlet
- 1 combined thru-hull for the toilet raw water intake, saltwater pump, and head sink drain
Why we chose TruDesign
In my opinion, there are only two choices for thru-hulls: either bronze or composite fittings like TruDesign. I would not want any brass (dezincification), DZR brass (better, but still a risk), or stainless steel (crevice corrosion) under the waterline, even if changing them every couple of years. Bronze and composite, on the other hand, have an excellent lifespan and durability.
We opted for TruDesign due to the following reasons:
- They are frost- and corrosion-resistant.
- They can be bedded with epoxy to become an integral part of the hull.
- They require no lubrication thanks to a Teflon-impregnated ball running on Teflon rings (we had several of the old ones seize up).
Removing the old thru-hulls
With a big enough wrench, removing most of the old thru-hulls was no problem. However, a few proved particularly difficult, mostly because space limitations meant we couldn’t get our large wrench in there.
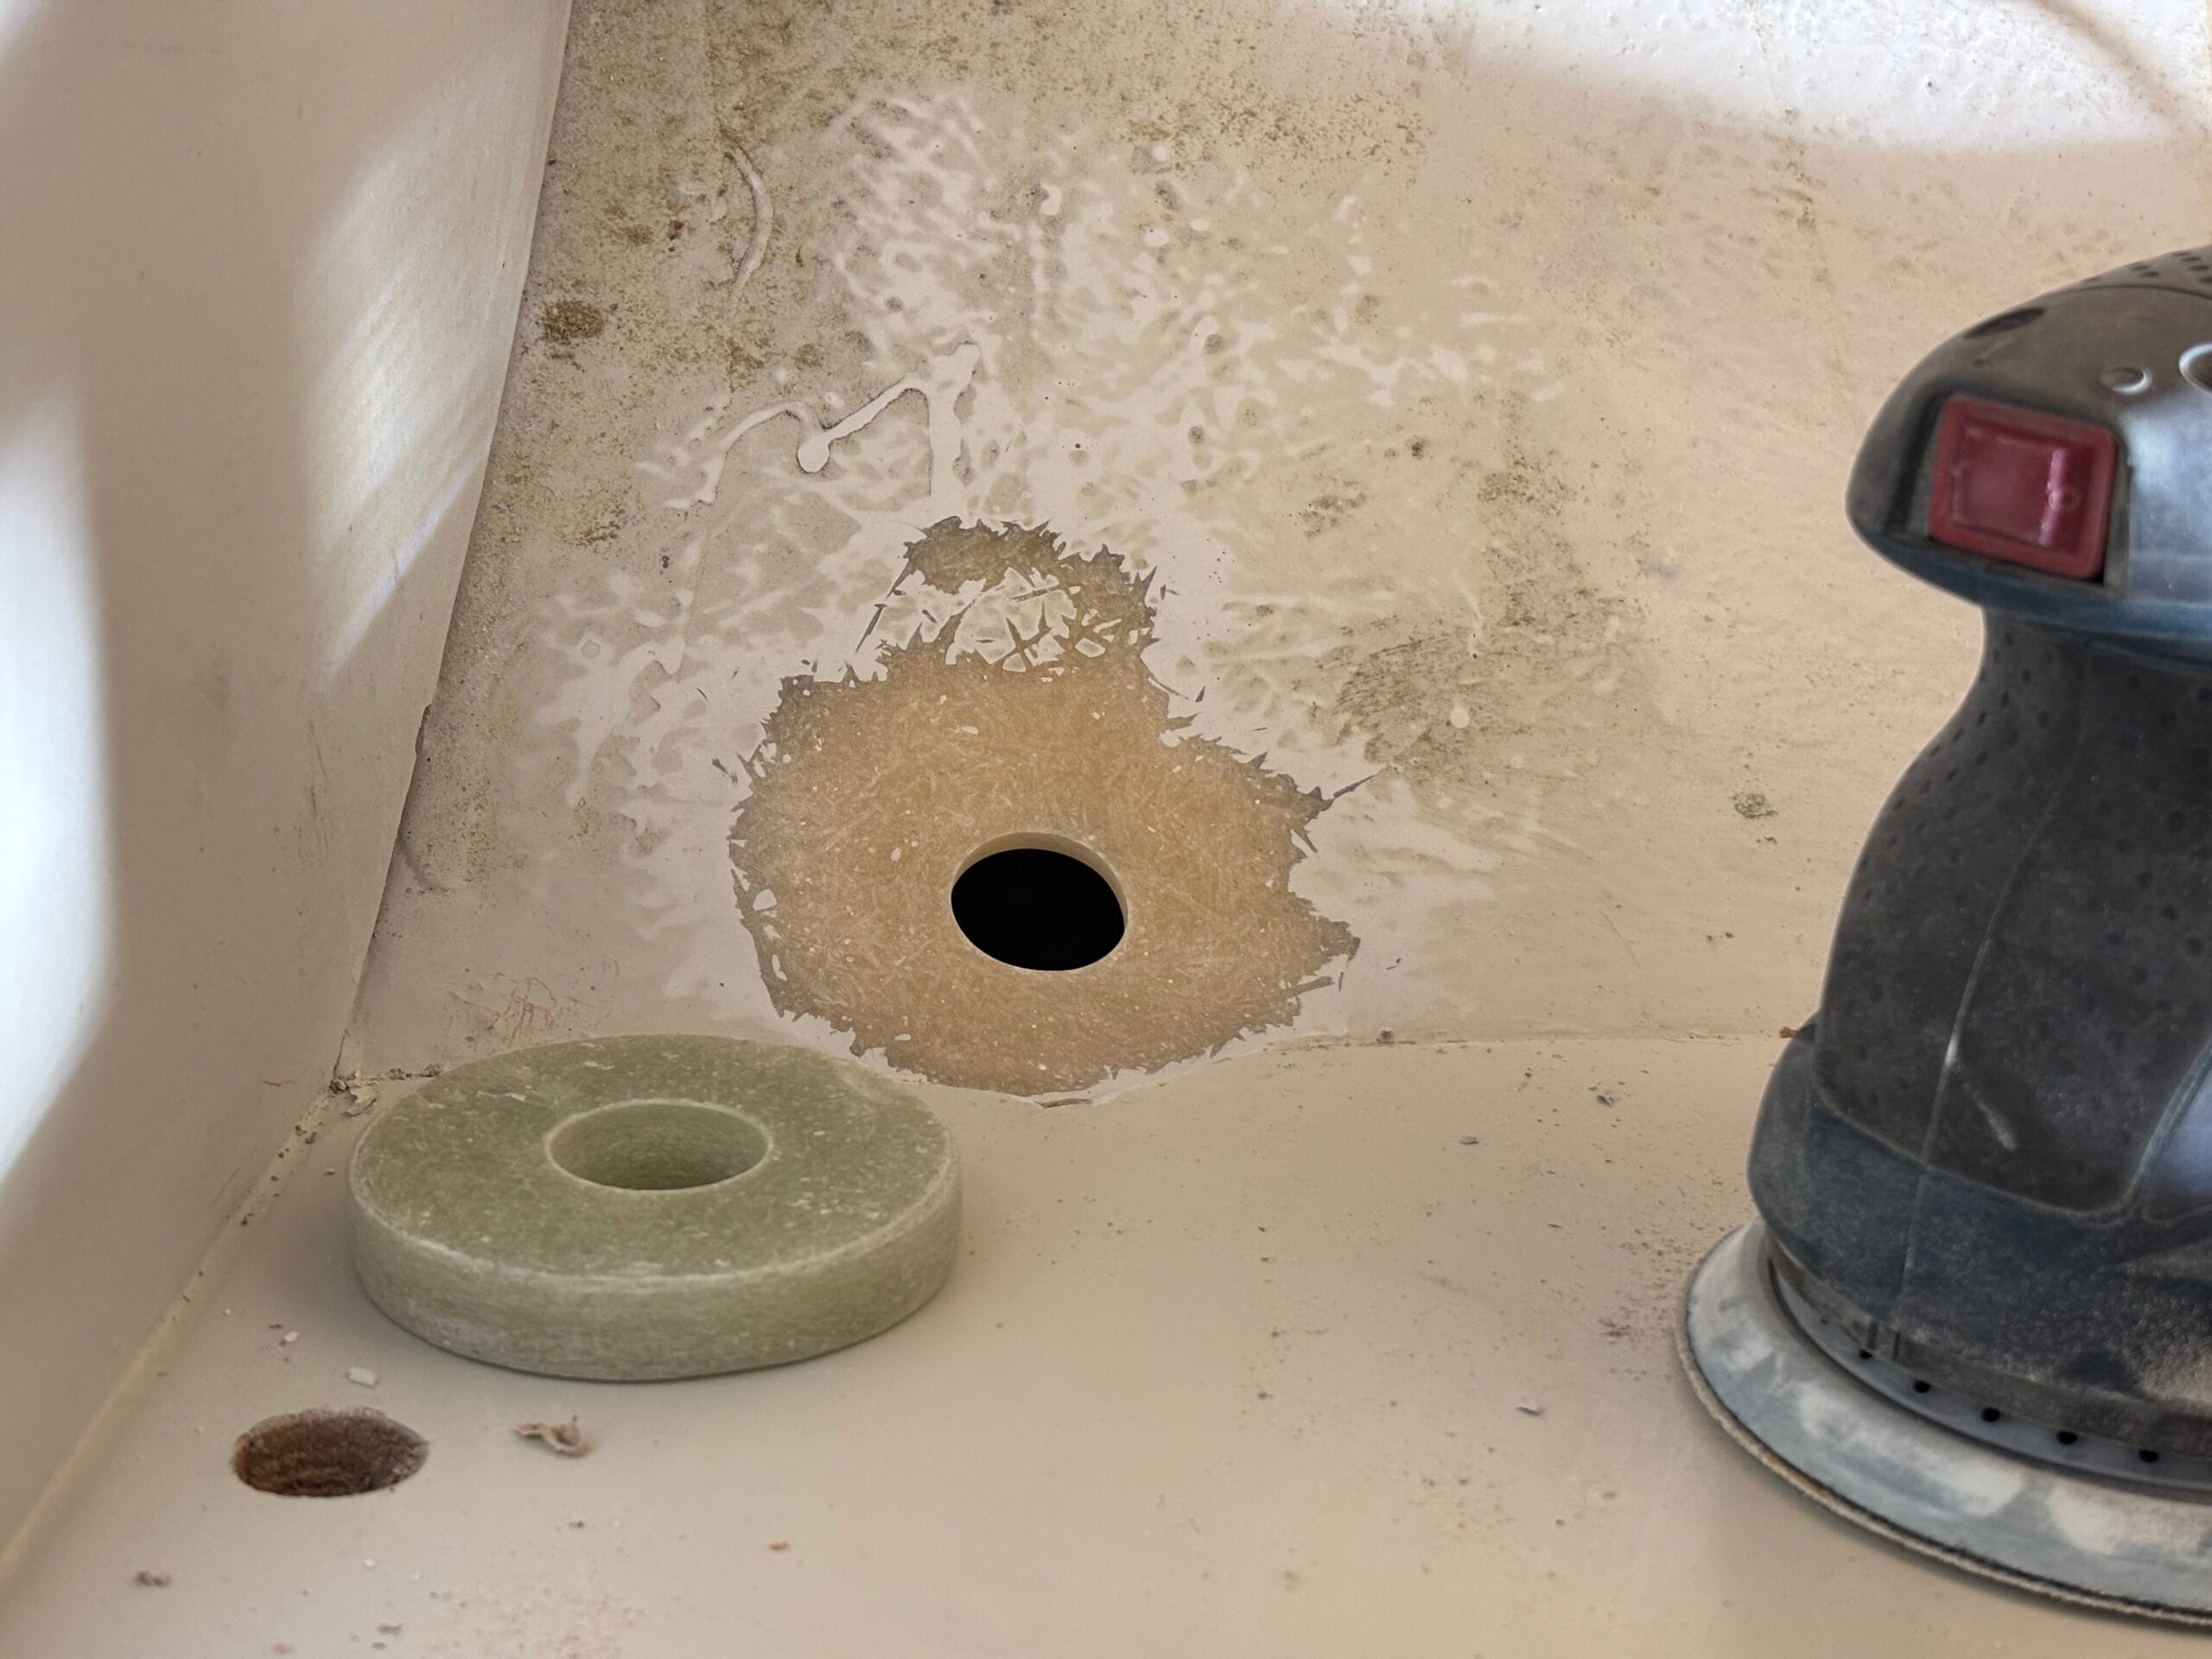
While there are many different ways to tackle this, we went for the easy route: grinding them off from the outside with an angle grinder until the fitting could simply be pushed inside. The main thing to watch out for here is to be extremely careful not to damage the hull. On the plus side, if you are bedding the new ones with epoxy, any minor damage will automatically be filled and sealed by the thickened epoxy anyway.
Installing the new TruDesign thru-hulls and seacocks
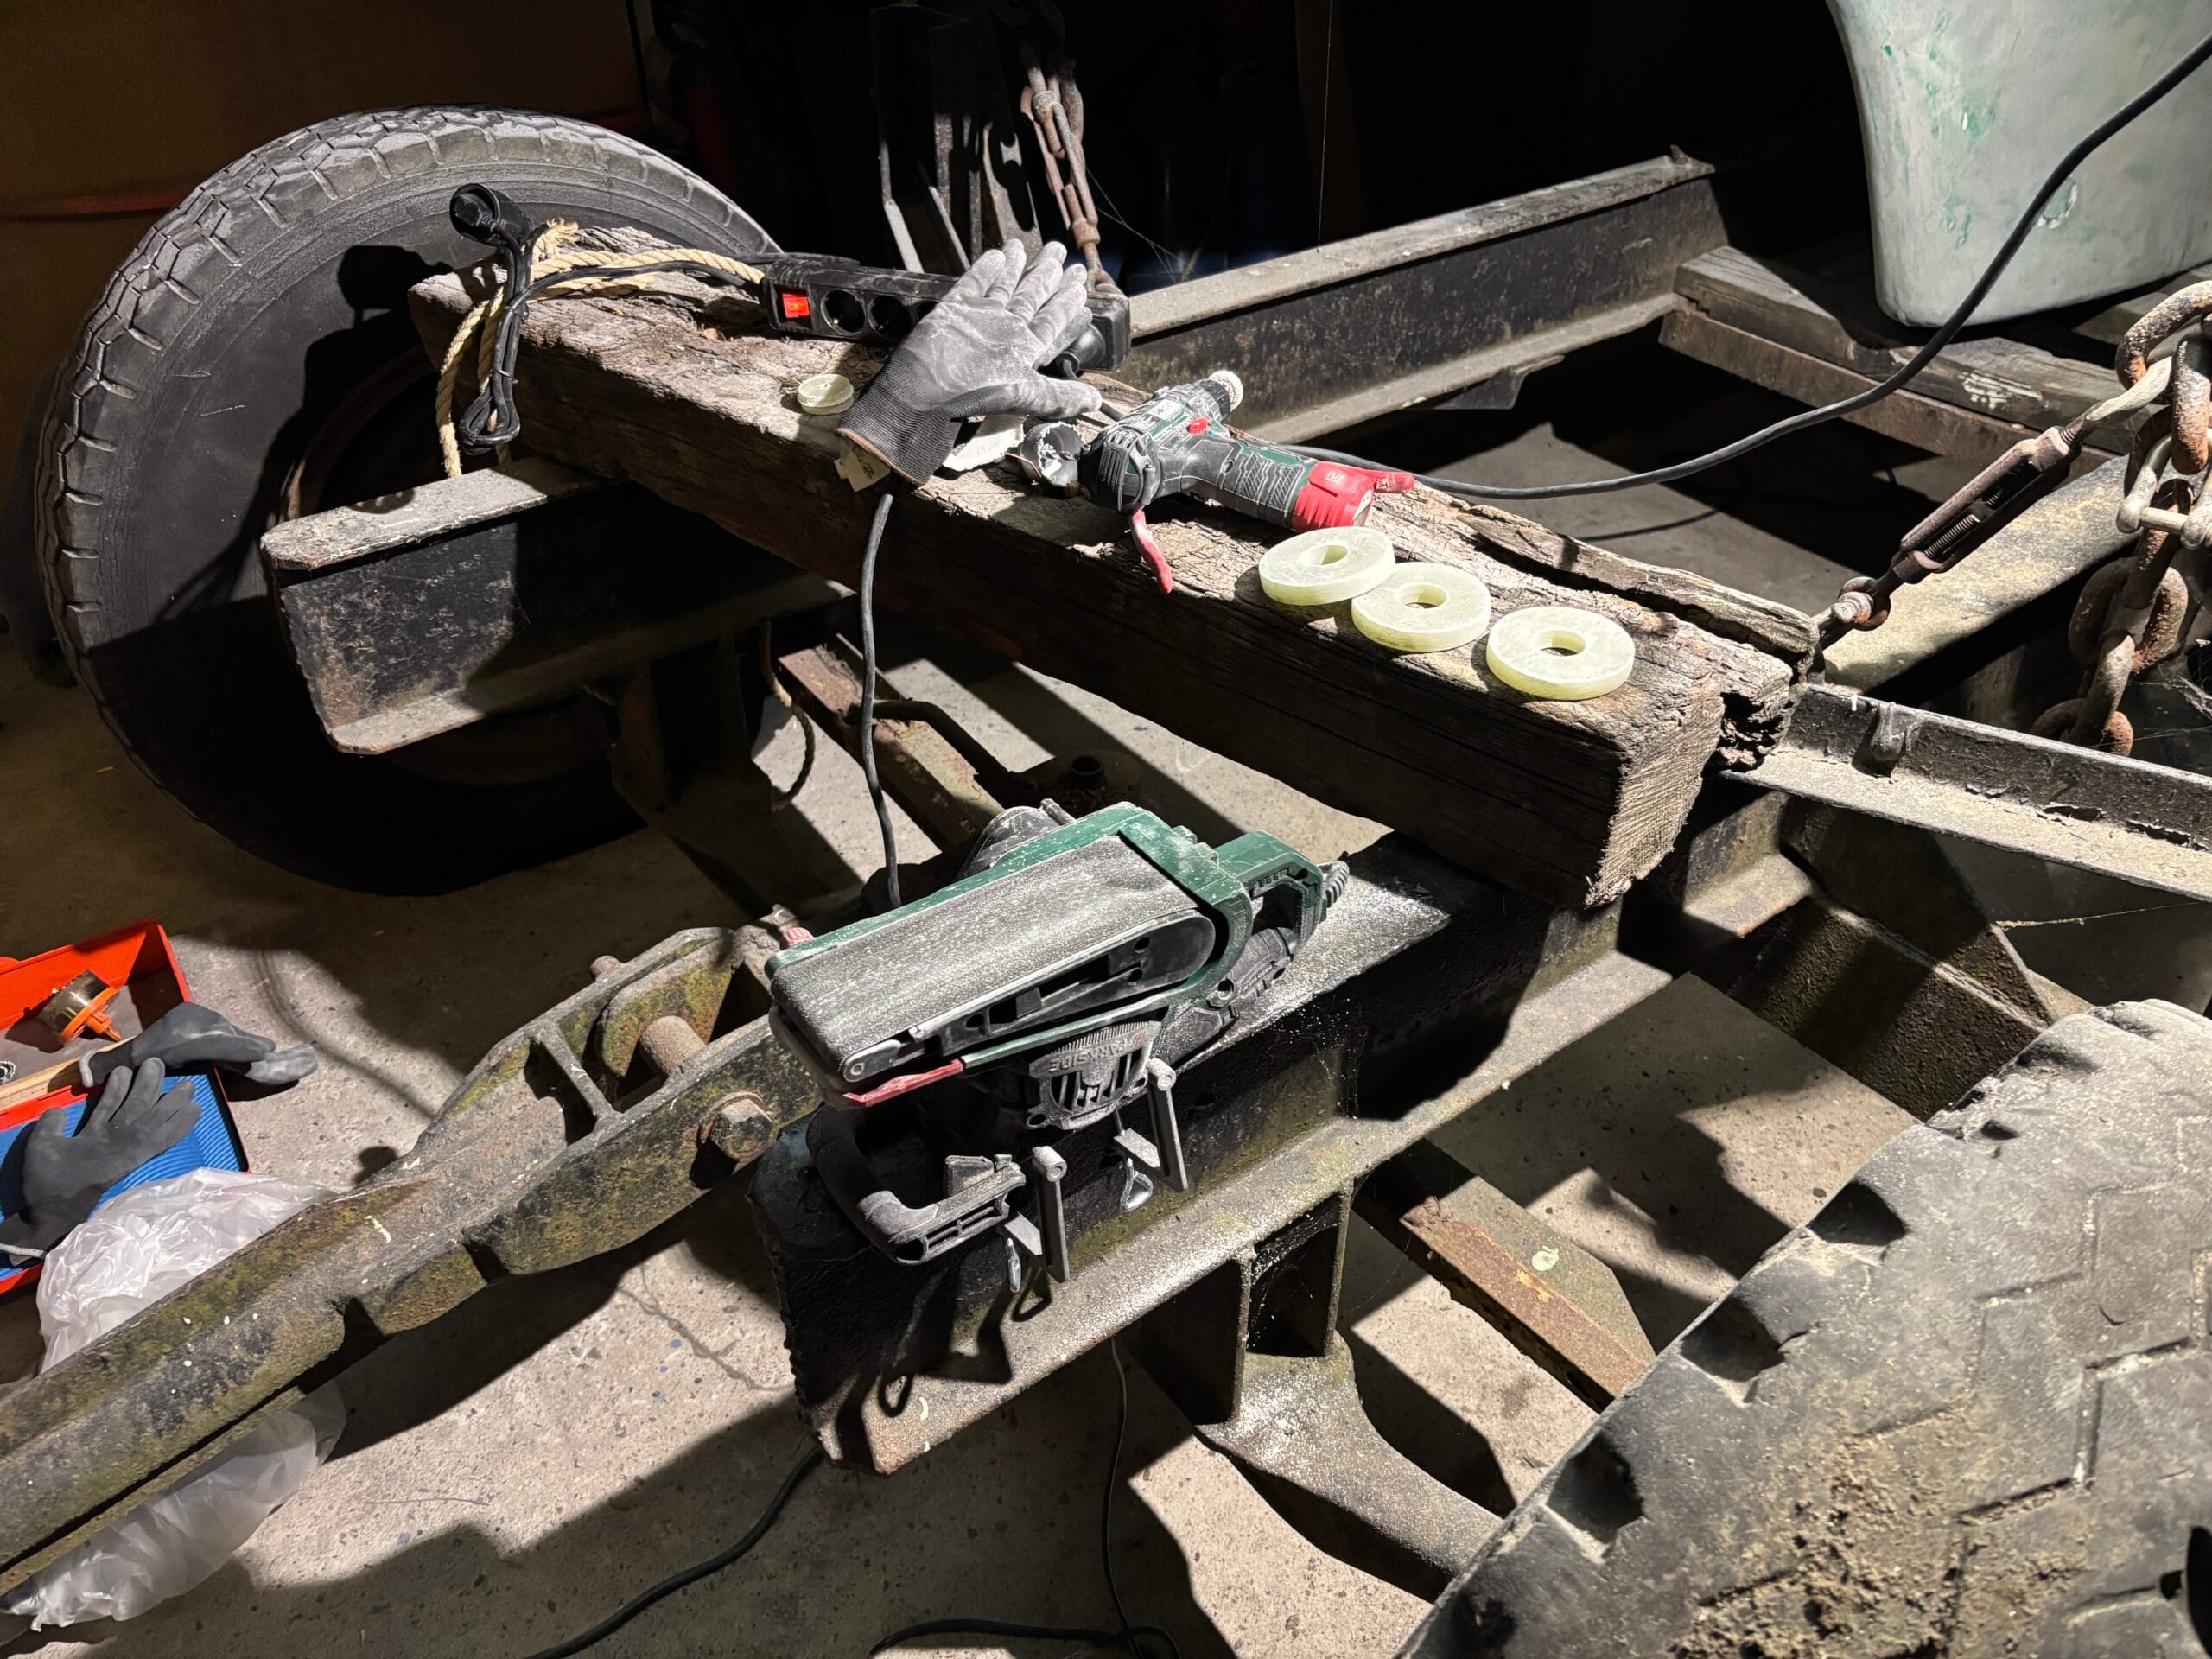
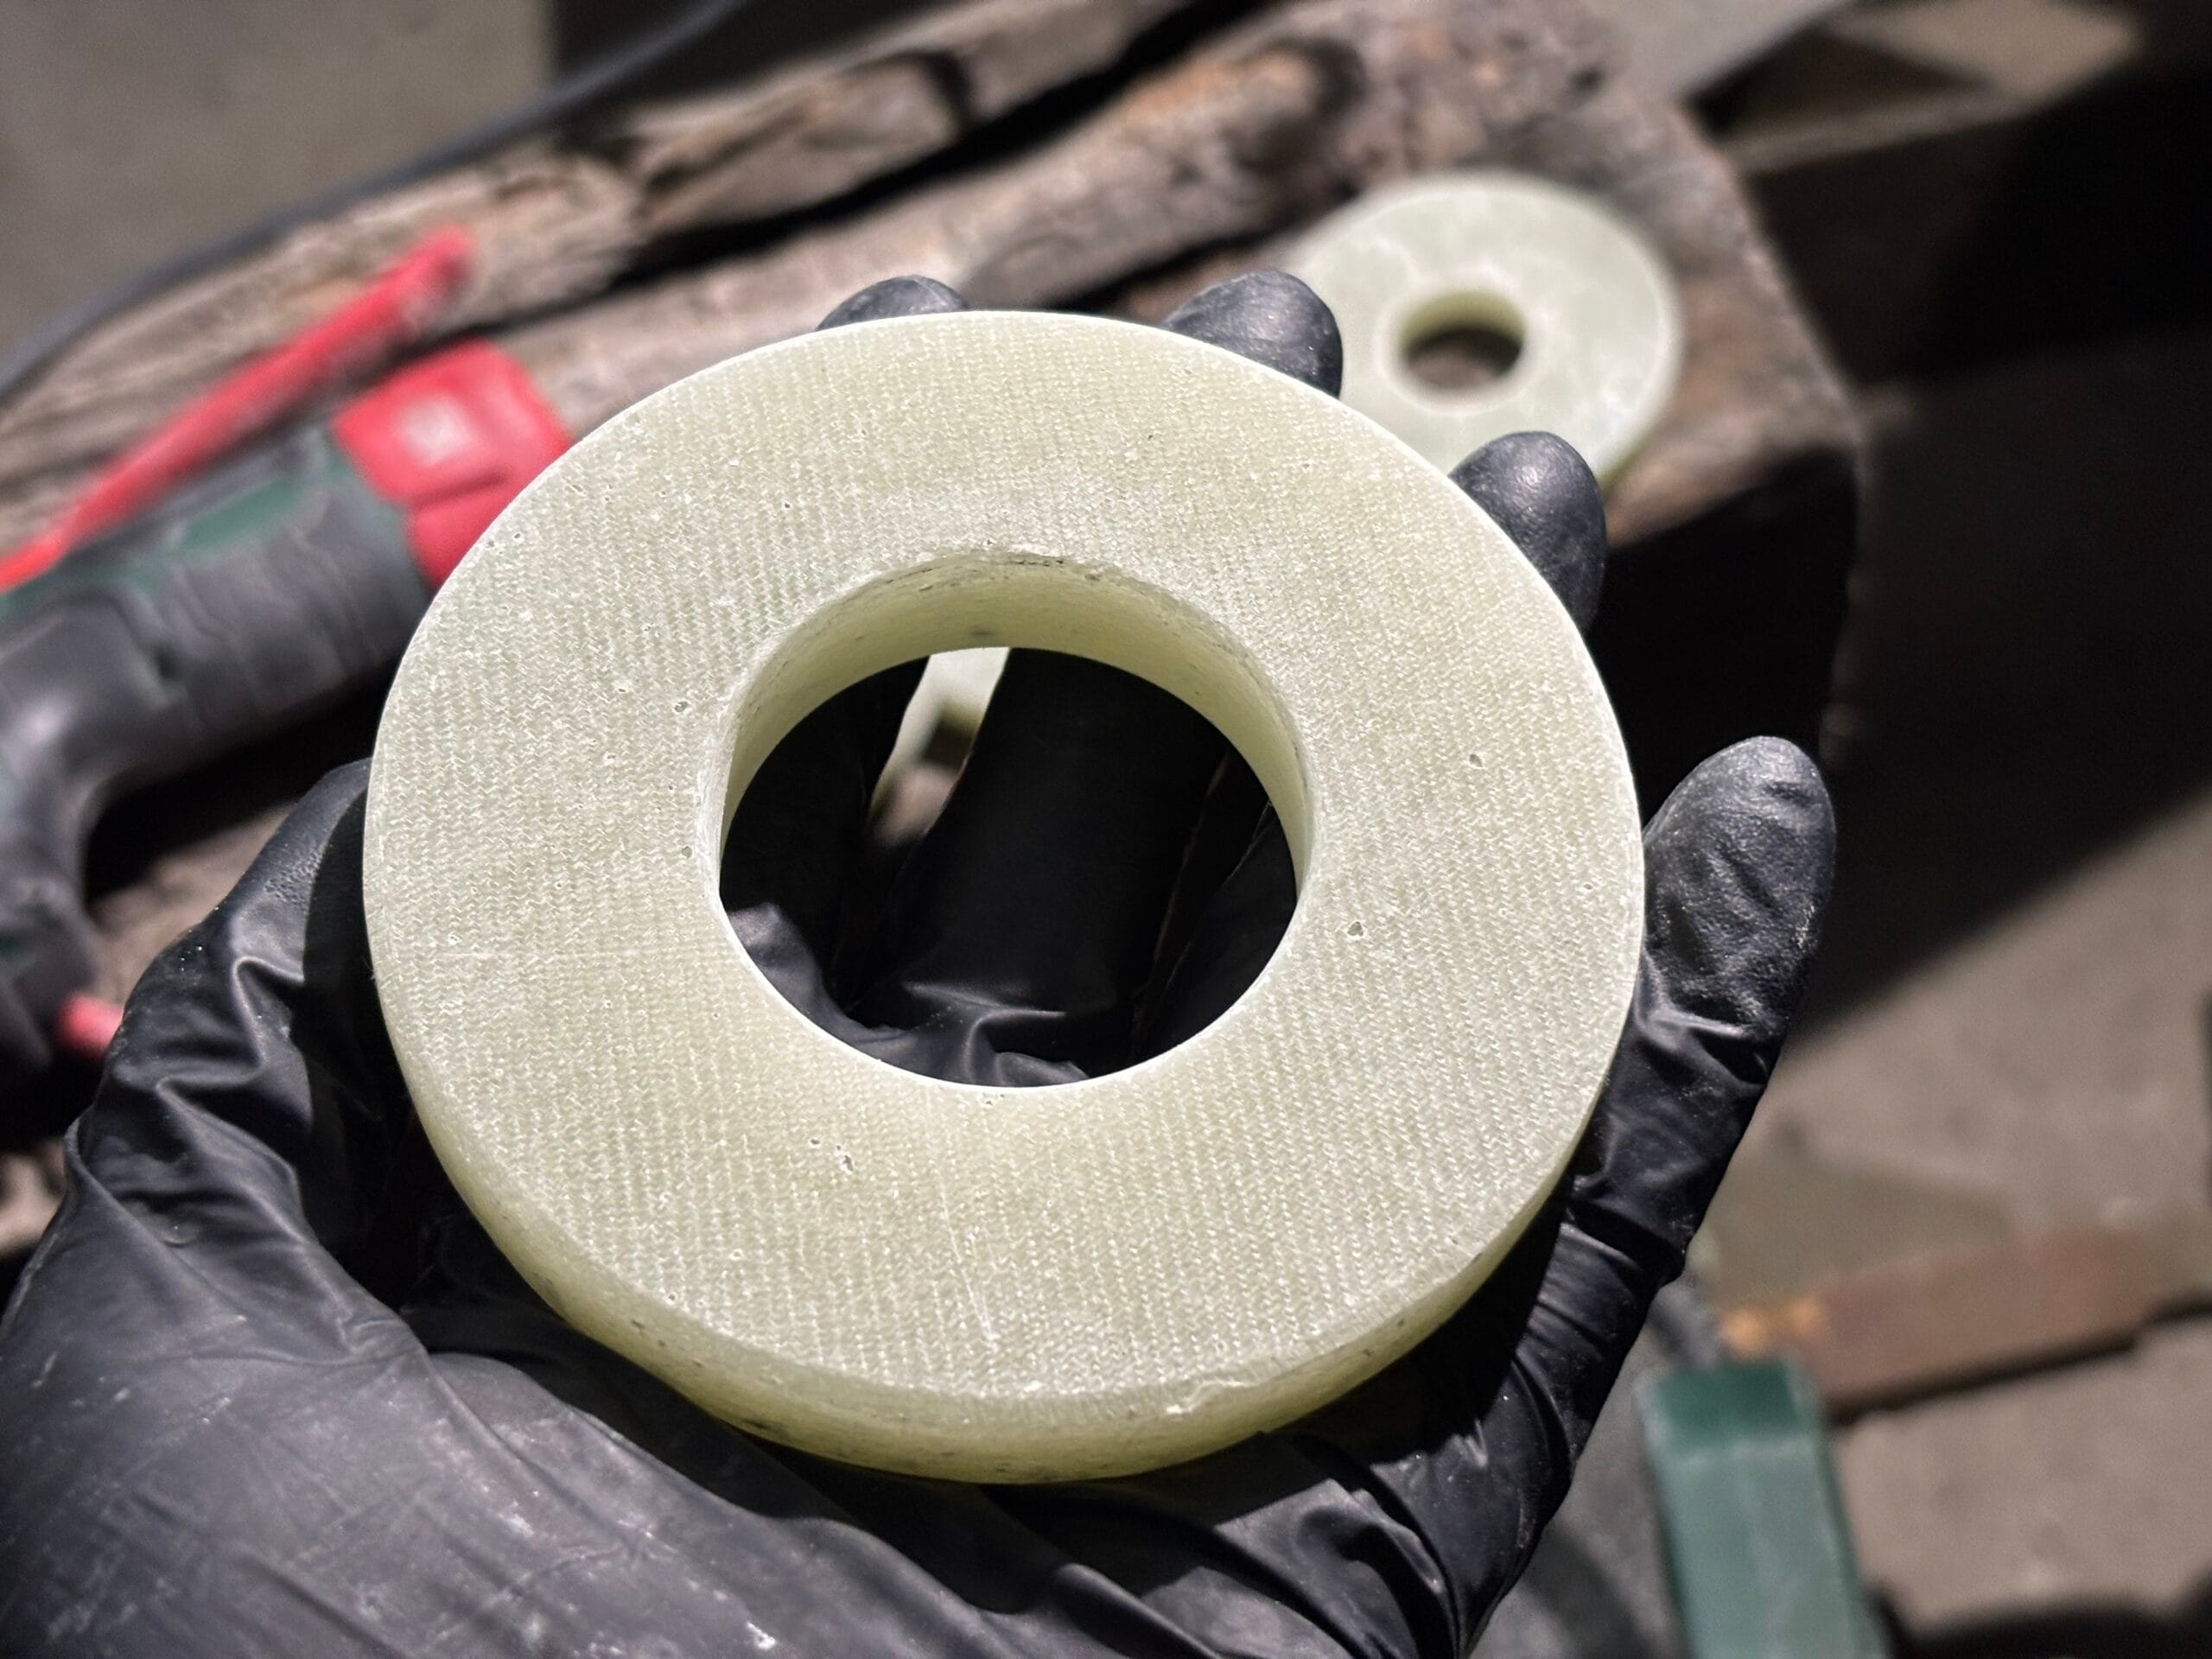
Installation is pretty simple. On each packaging bag of the specific part, TruDesign has printed a QR code that directly leads you to the installation instructions. They do recommend a minimum hull thickness to directly install the thru-hulls. We did not have sufficient thickness for that, but planned on installing backing plates anyway. So, we started by laminating leftover fiberglass into a thick pad and creating the backing plates out of fiberglass from scratch.
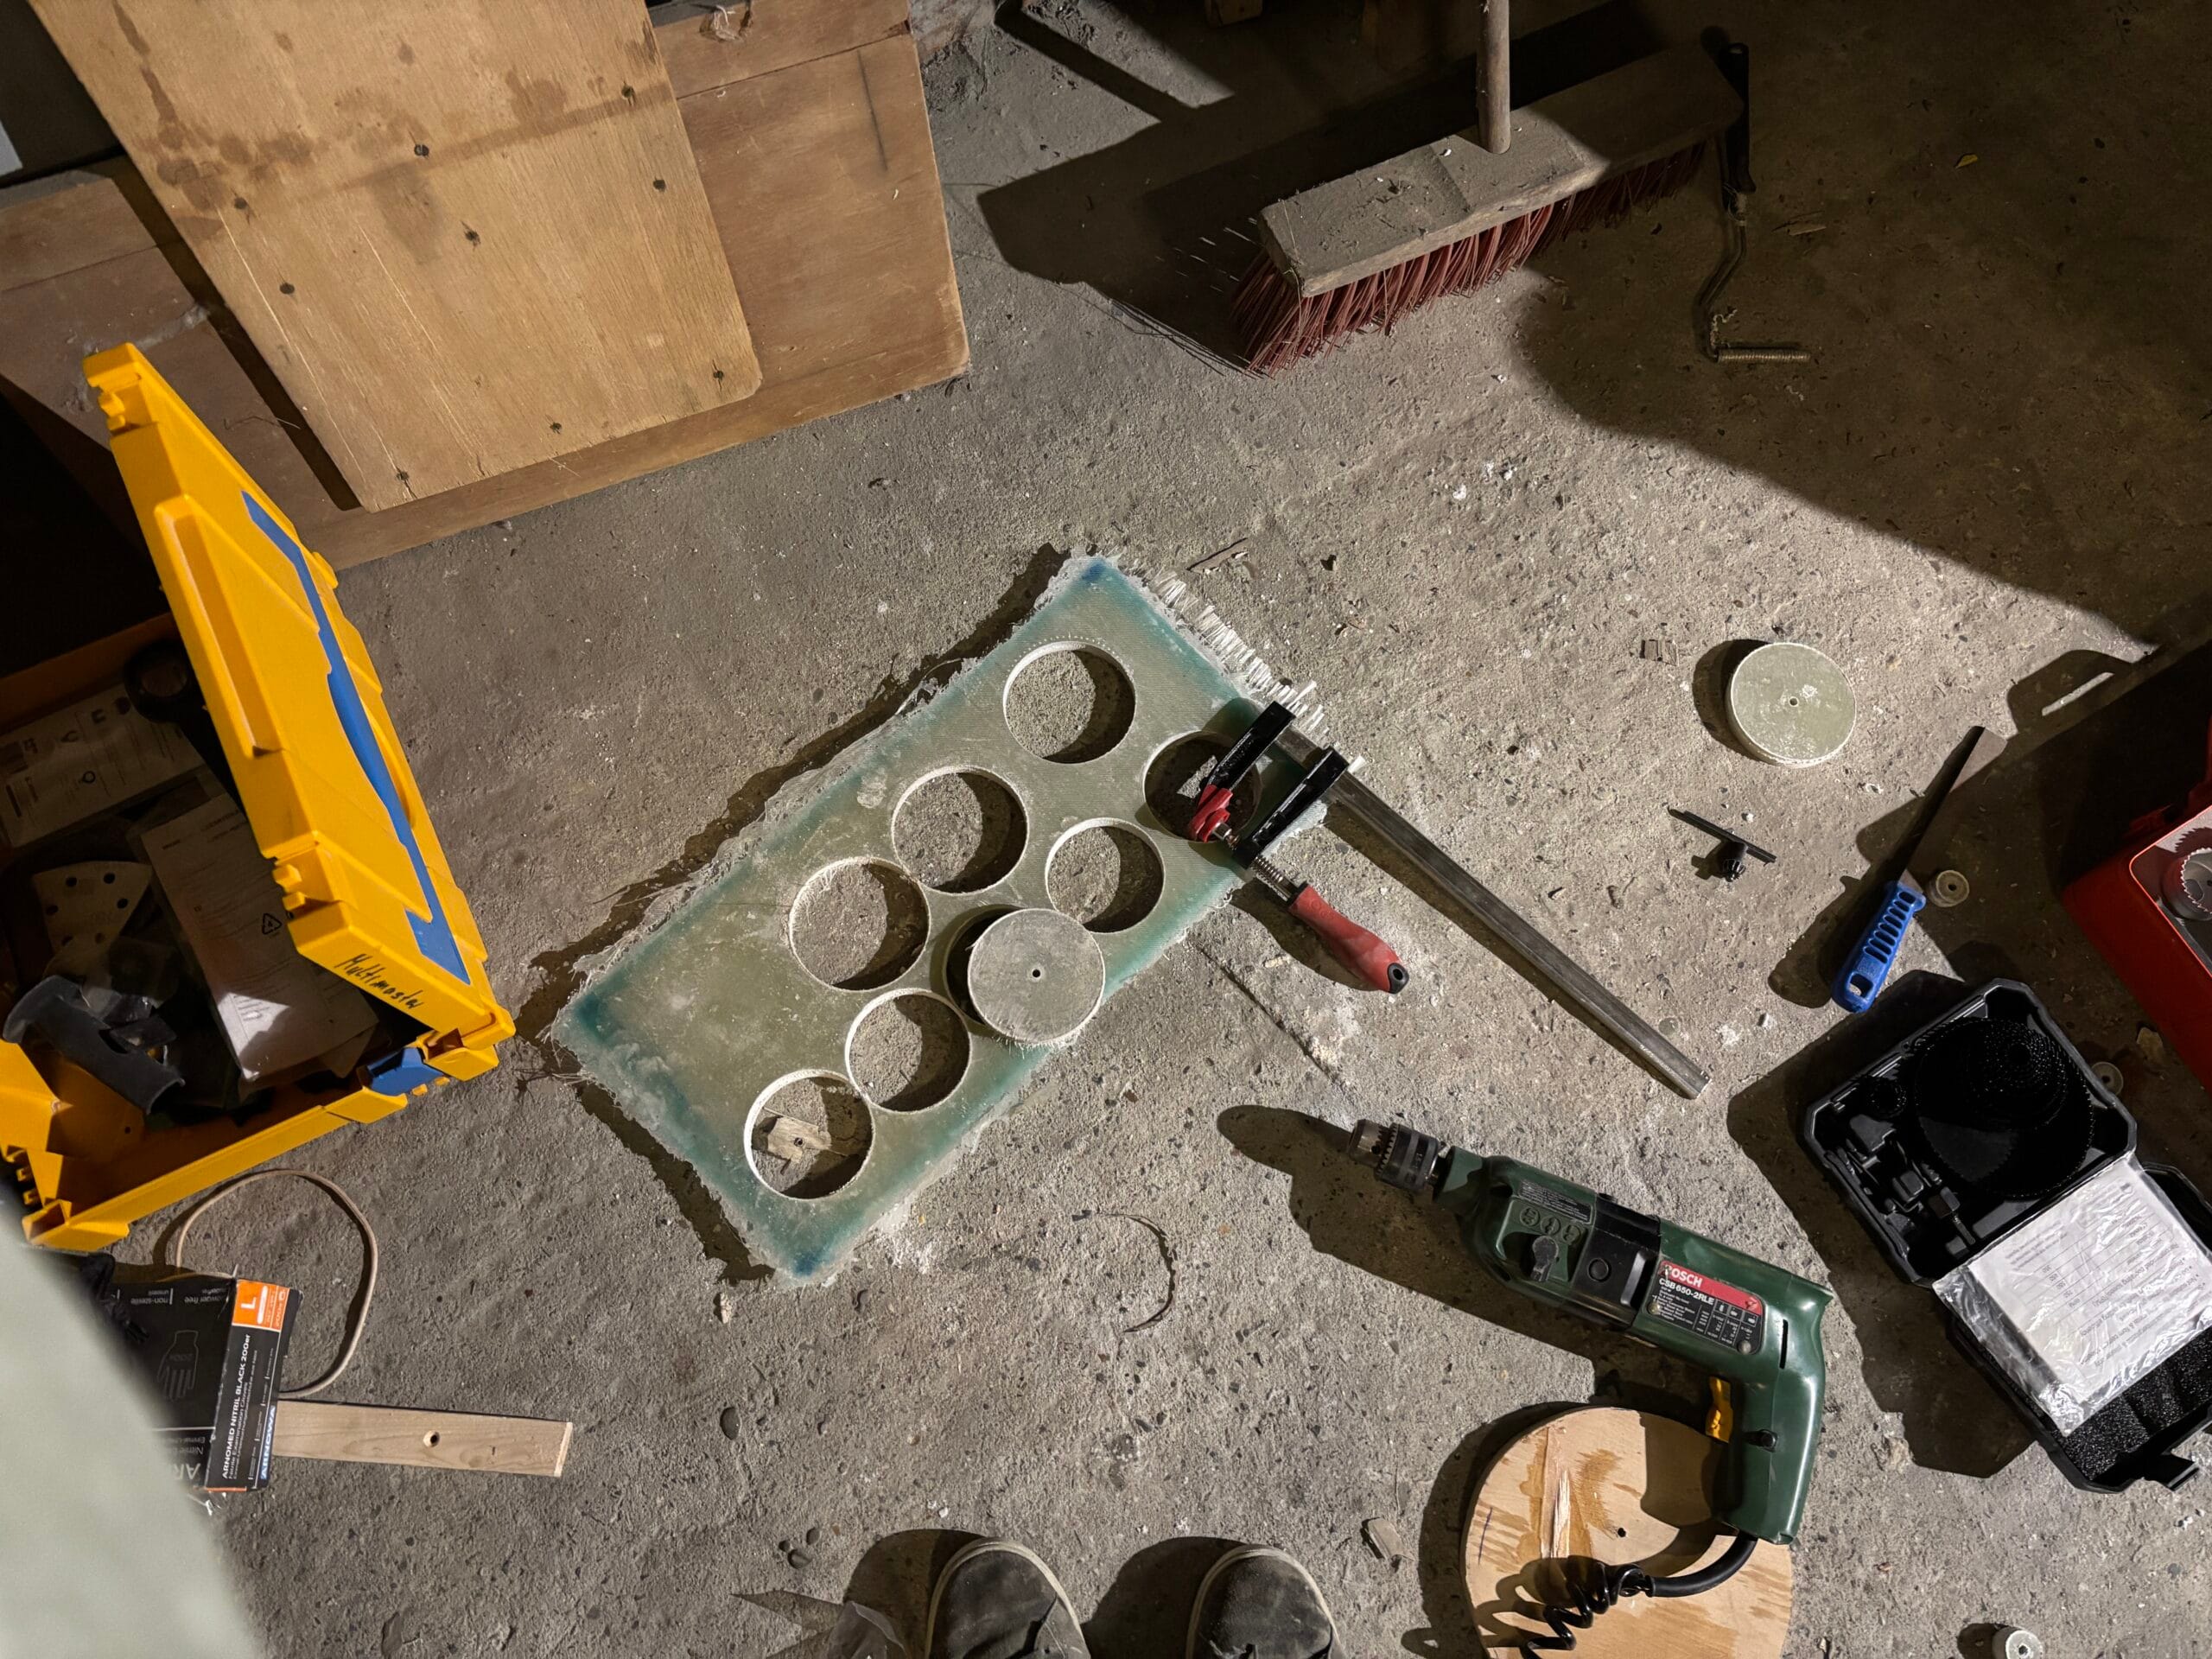
Cutting the holes is where I learned the hard way that I should have bought a proper hole saw kit and not a cheap one. I cannot recommend getting good hole saws enough. It’s a joy to use good ones and an unbelievable pain to use trash ones. Opt for HSS-Co or carbide ones if you plan to do more work on your boat, and avoid bi-metal or even cheaper options.
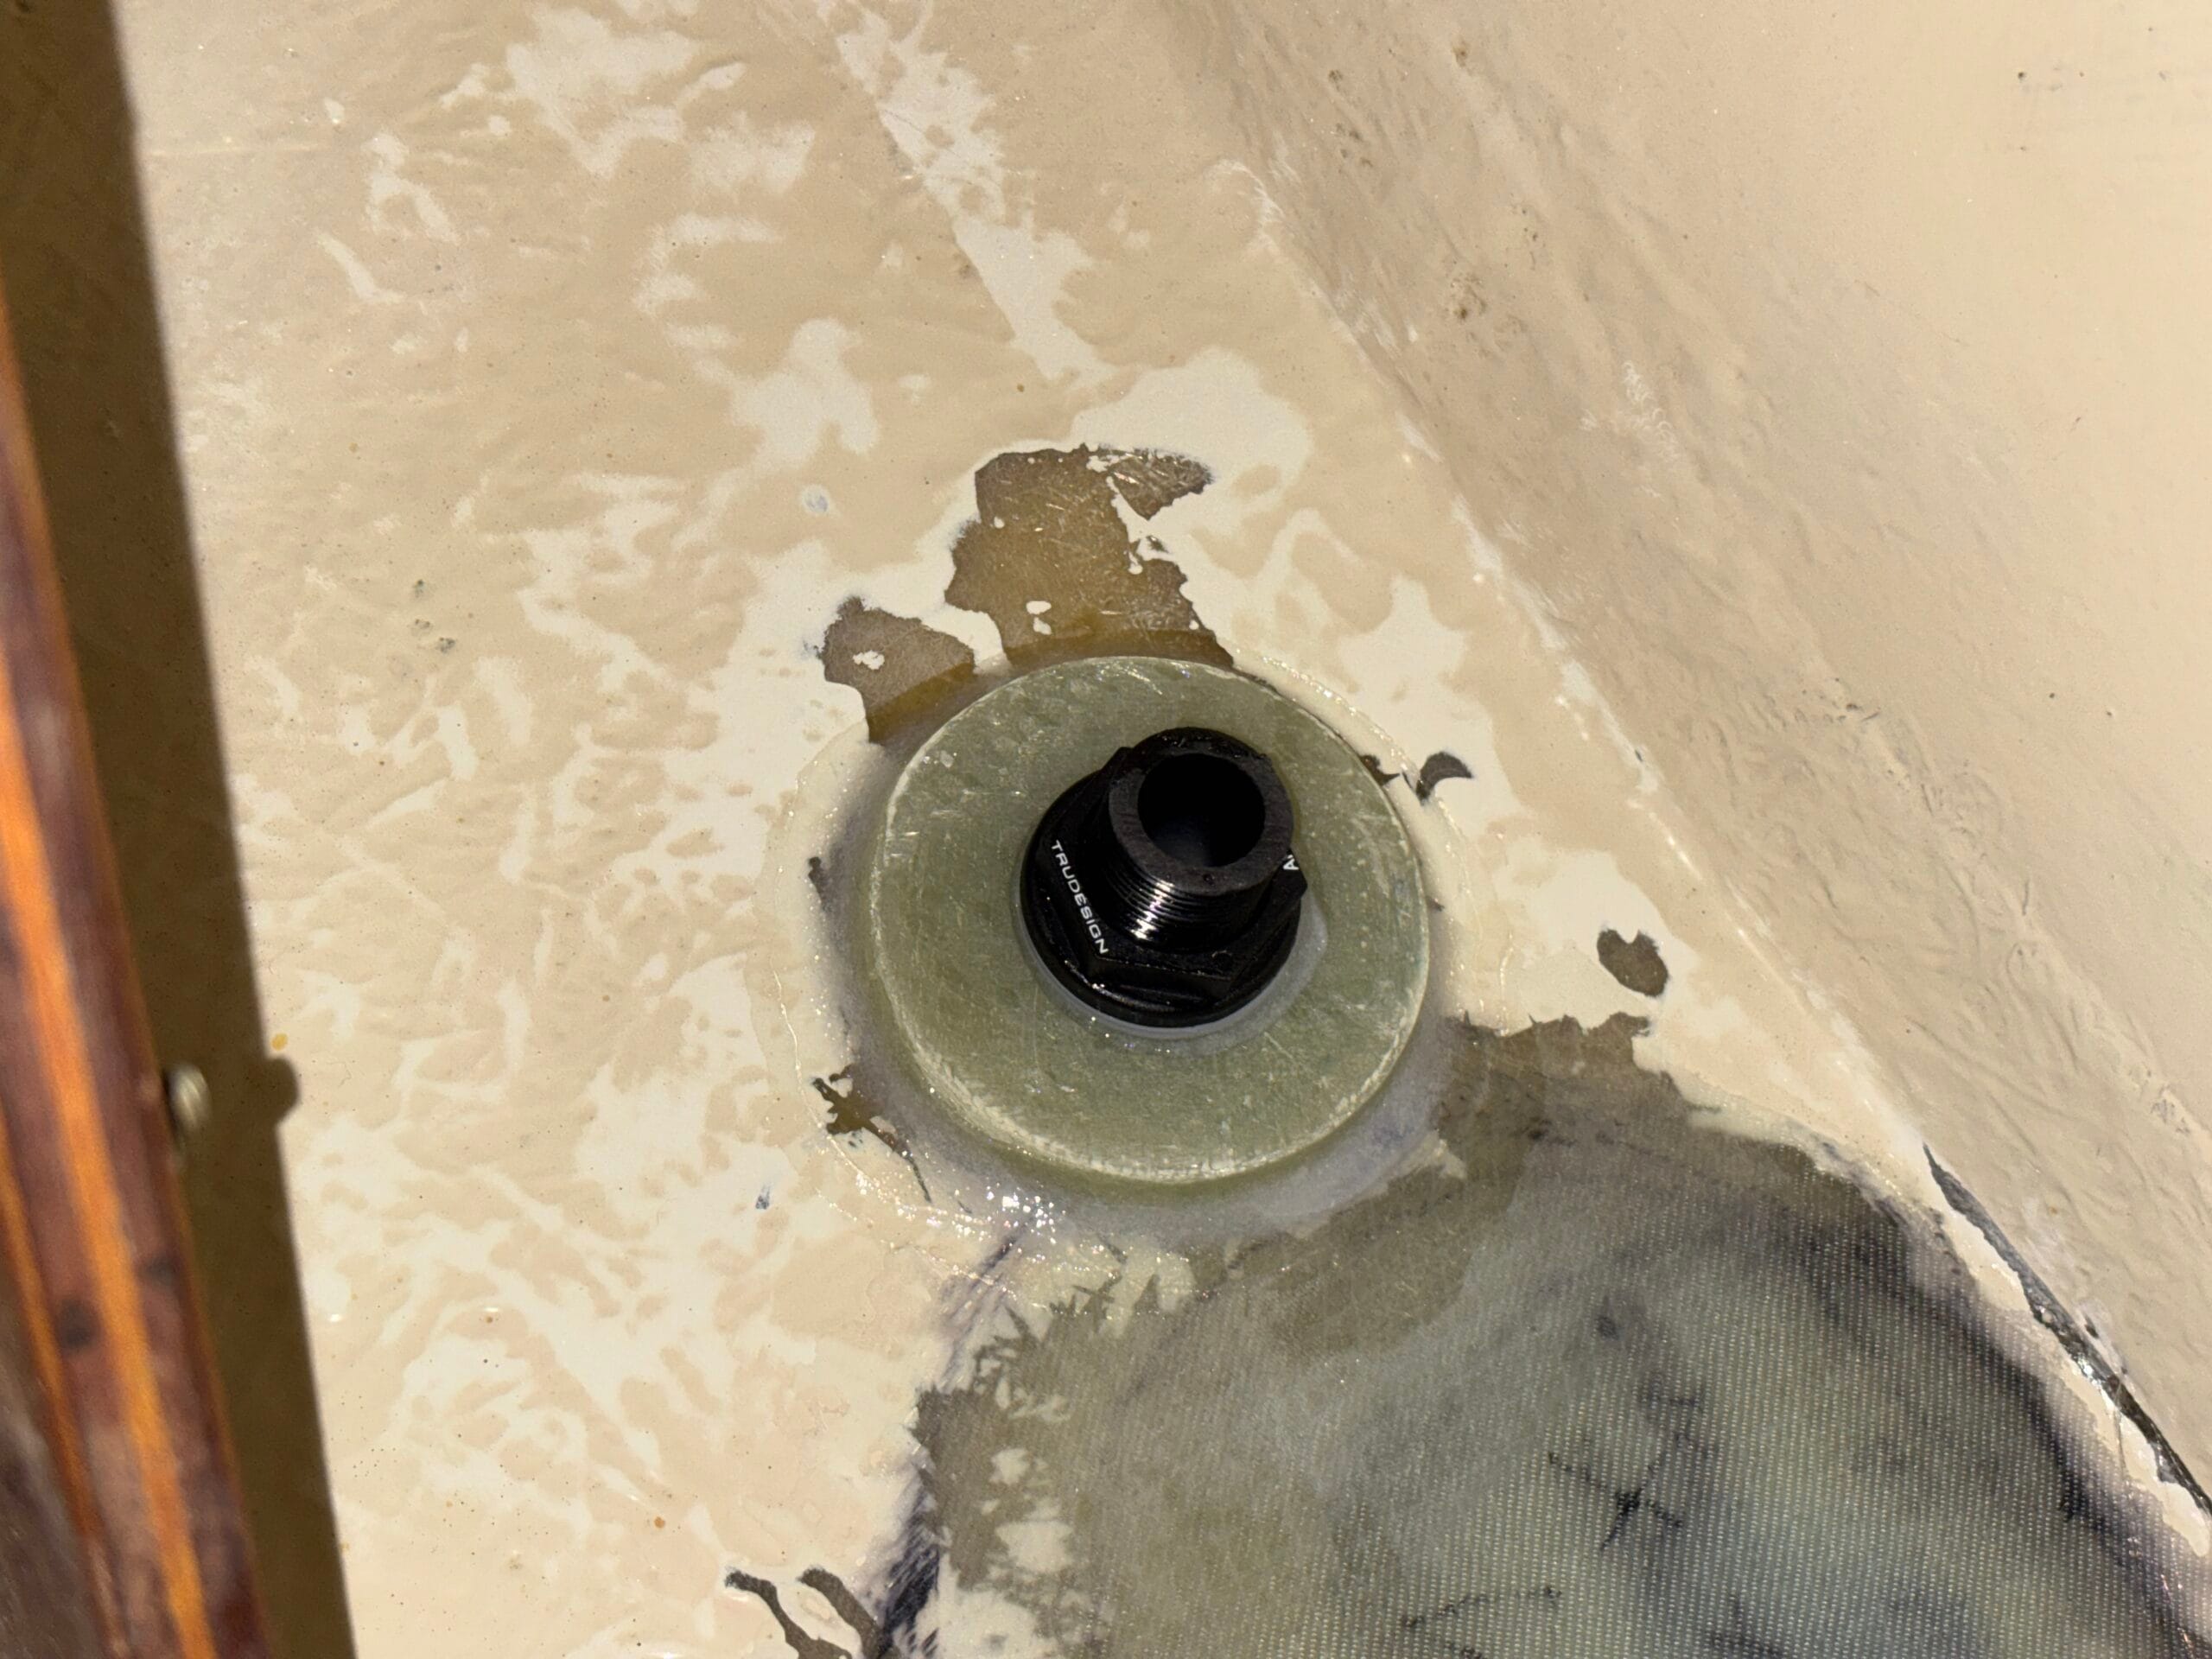
Bedding the thru-hulls in epoxy
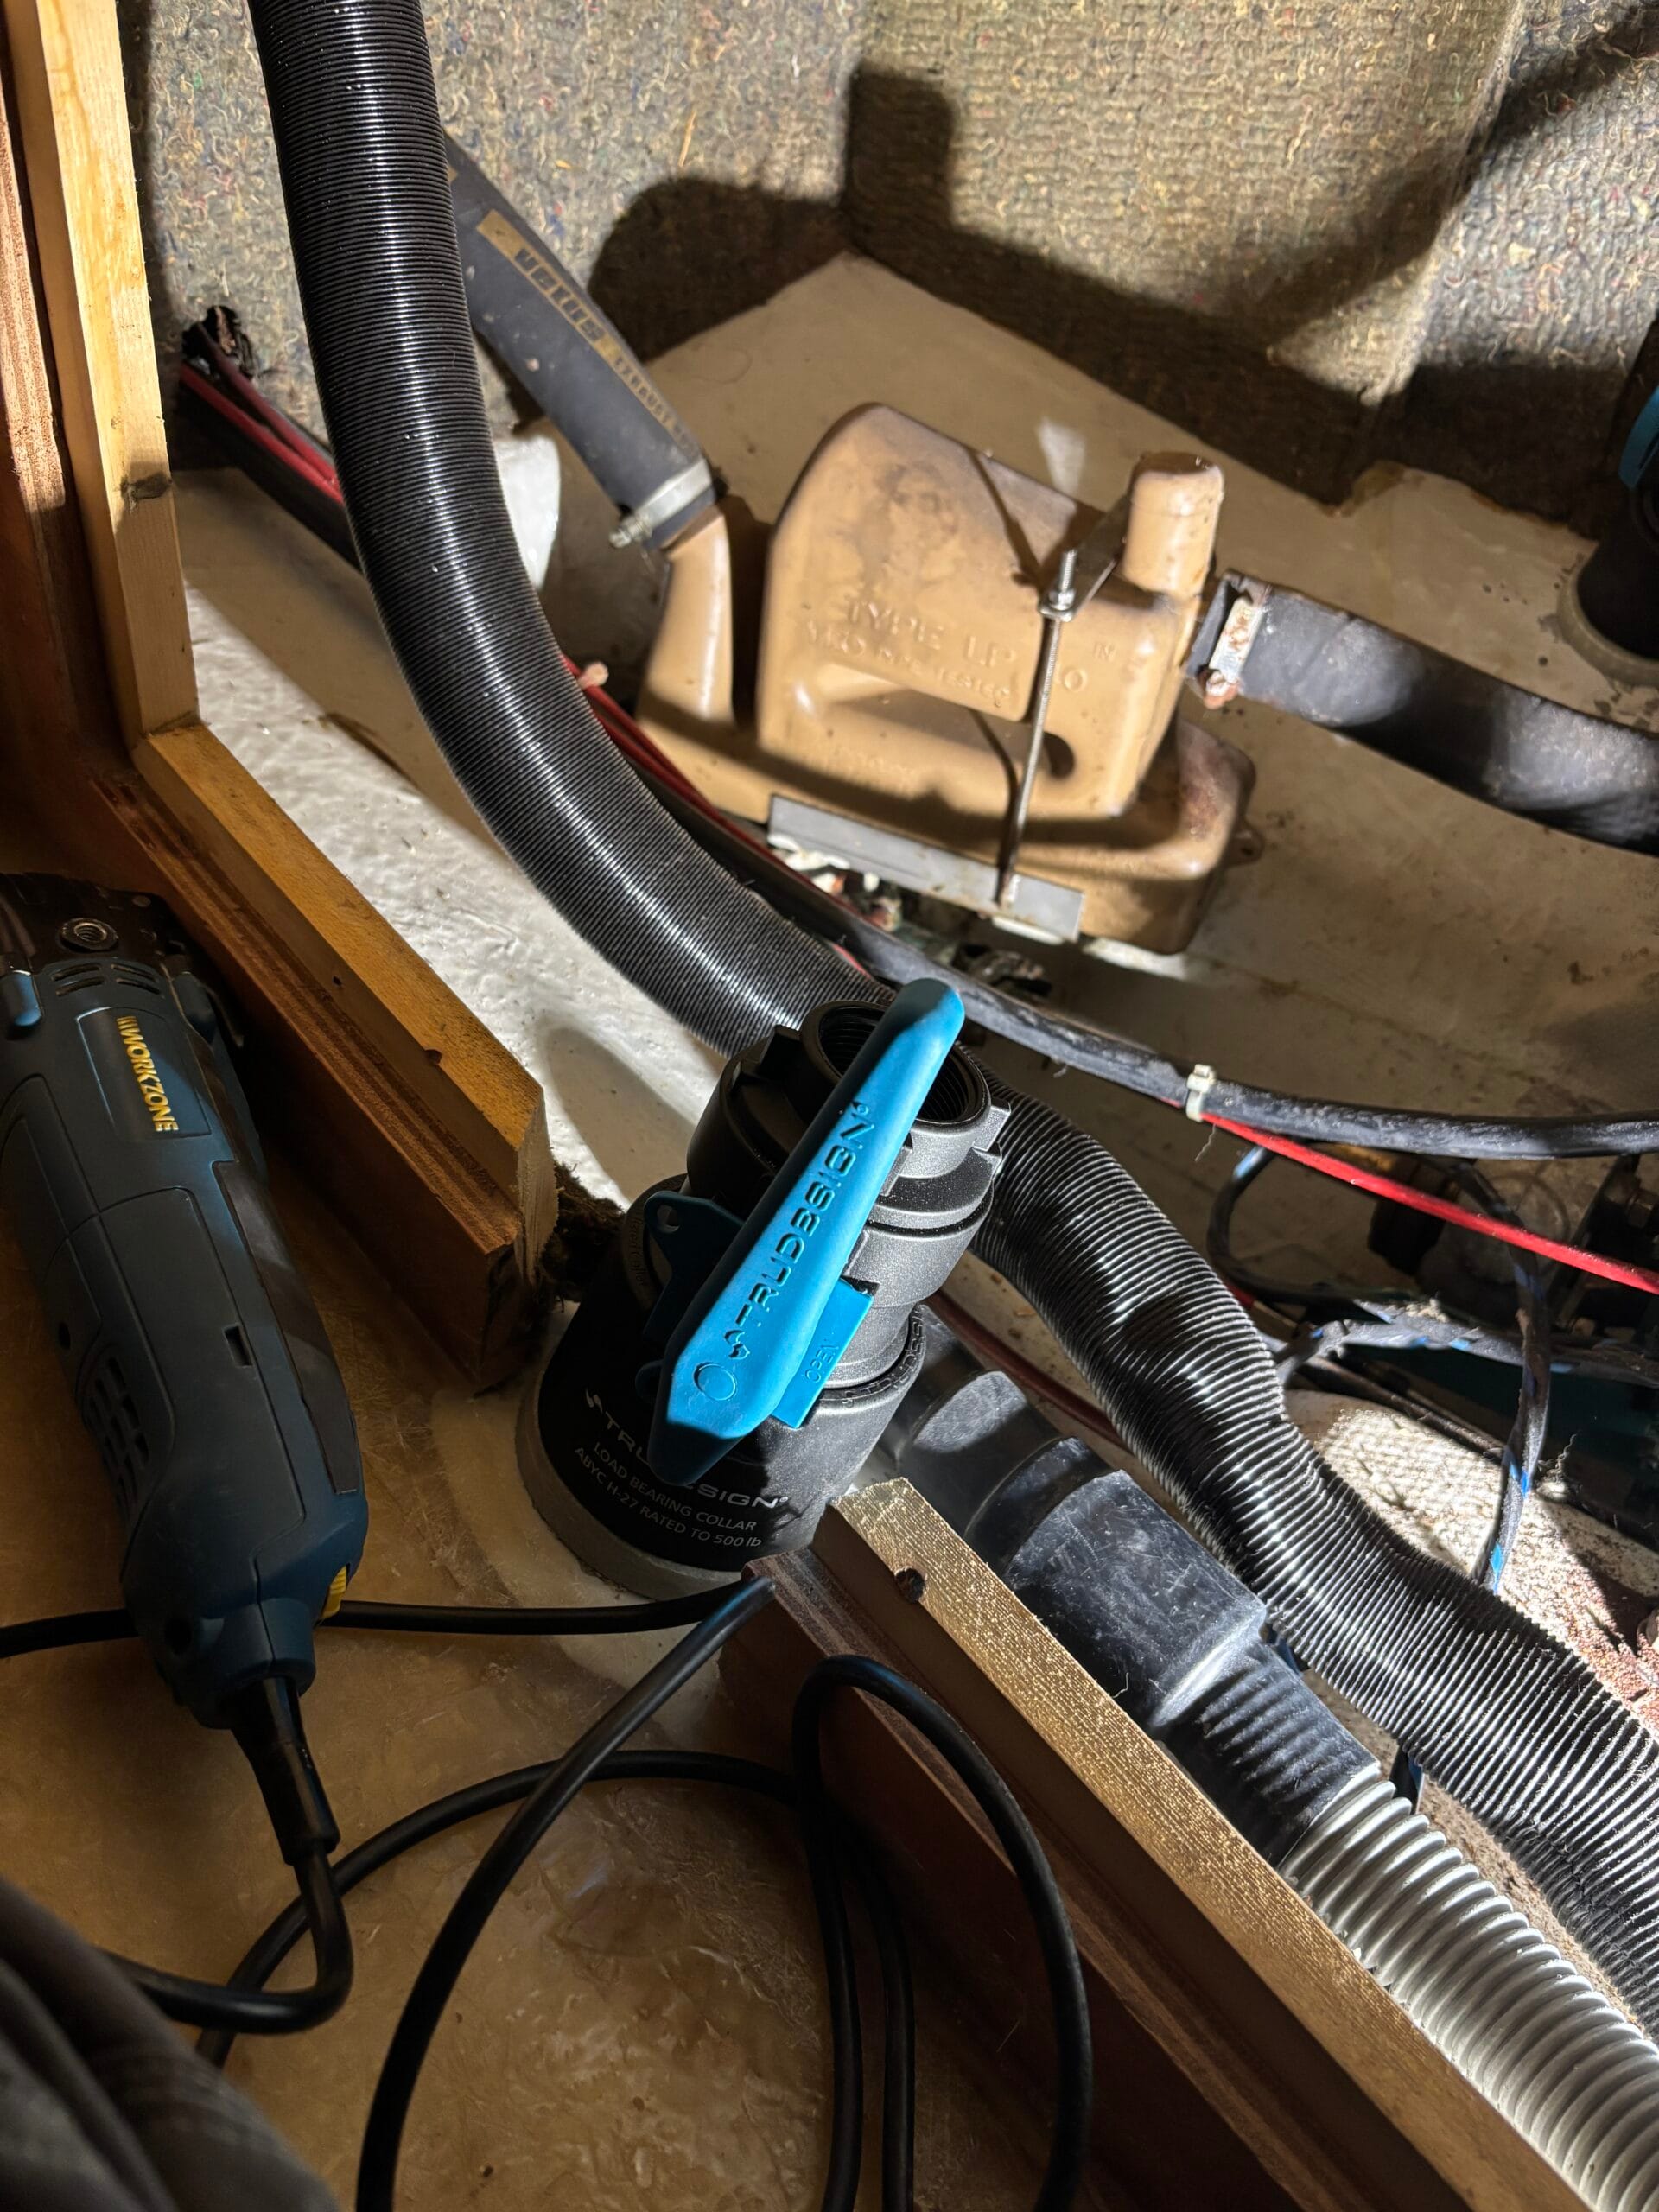
First, we test-fitted everything and shortened the thru-hulls where necessary to accommodate our seacocks and load-bearing collars (TruDesign provides instructions for this). It makes a lot of sense to shorten the threads at this stage, because reaching them with a saw once they are installed can be incredibly difficult in tight spots. We also used a permanent marker on the outside to mark the exact orientation of each thru-hull. This ensured that the seacock handles and our 90-degree elbow fittings would align perfectly inside. This step was crucial, as TruDesign valves are notably bulky, and space is often limited, especially on a 28-foot boat!
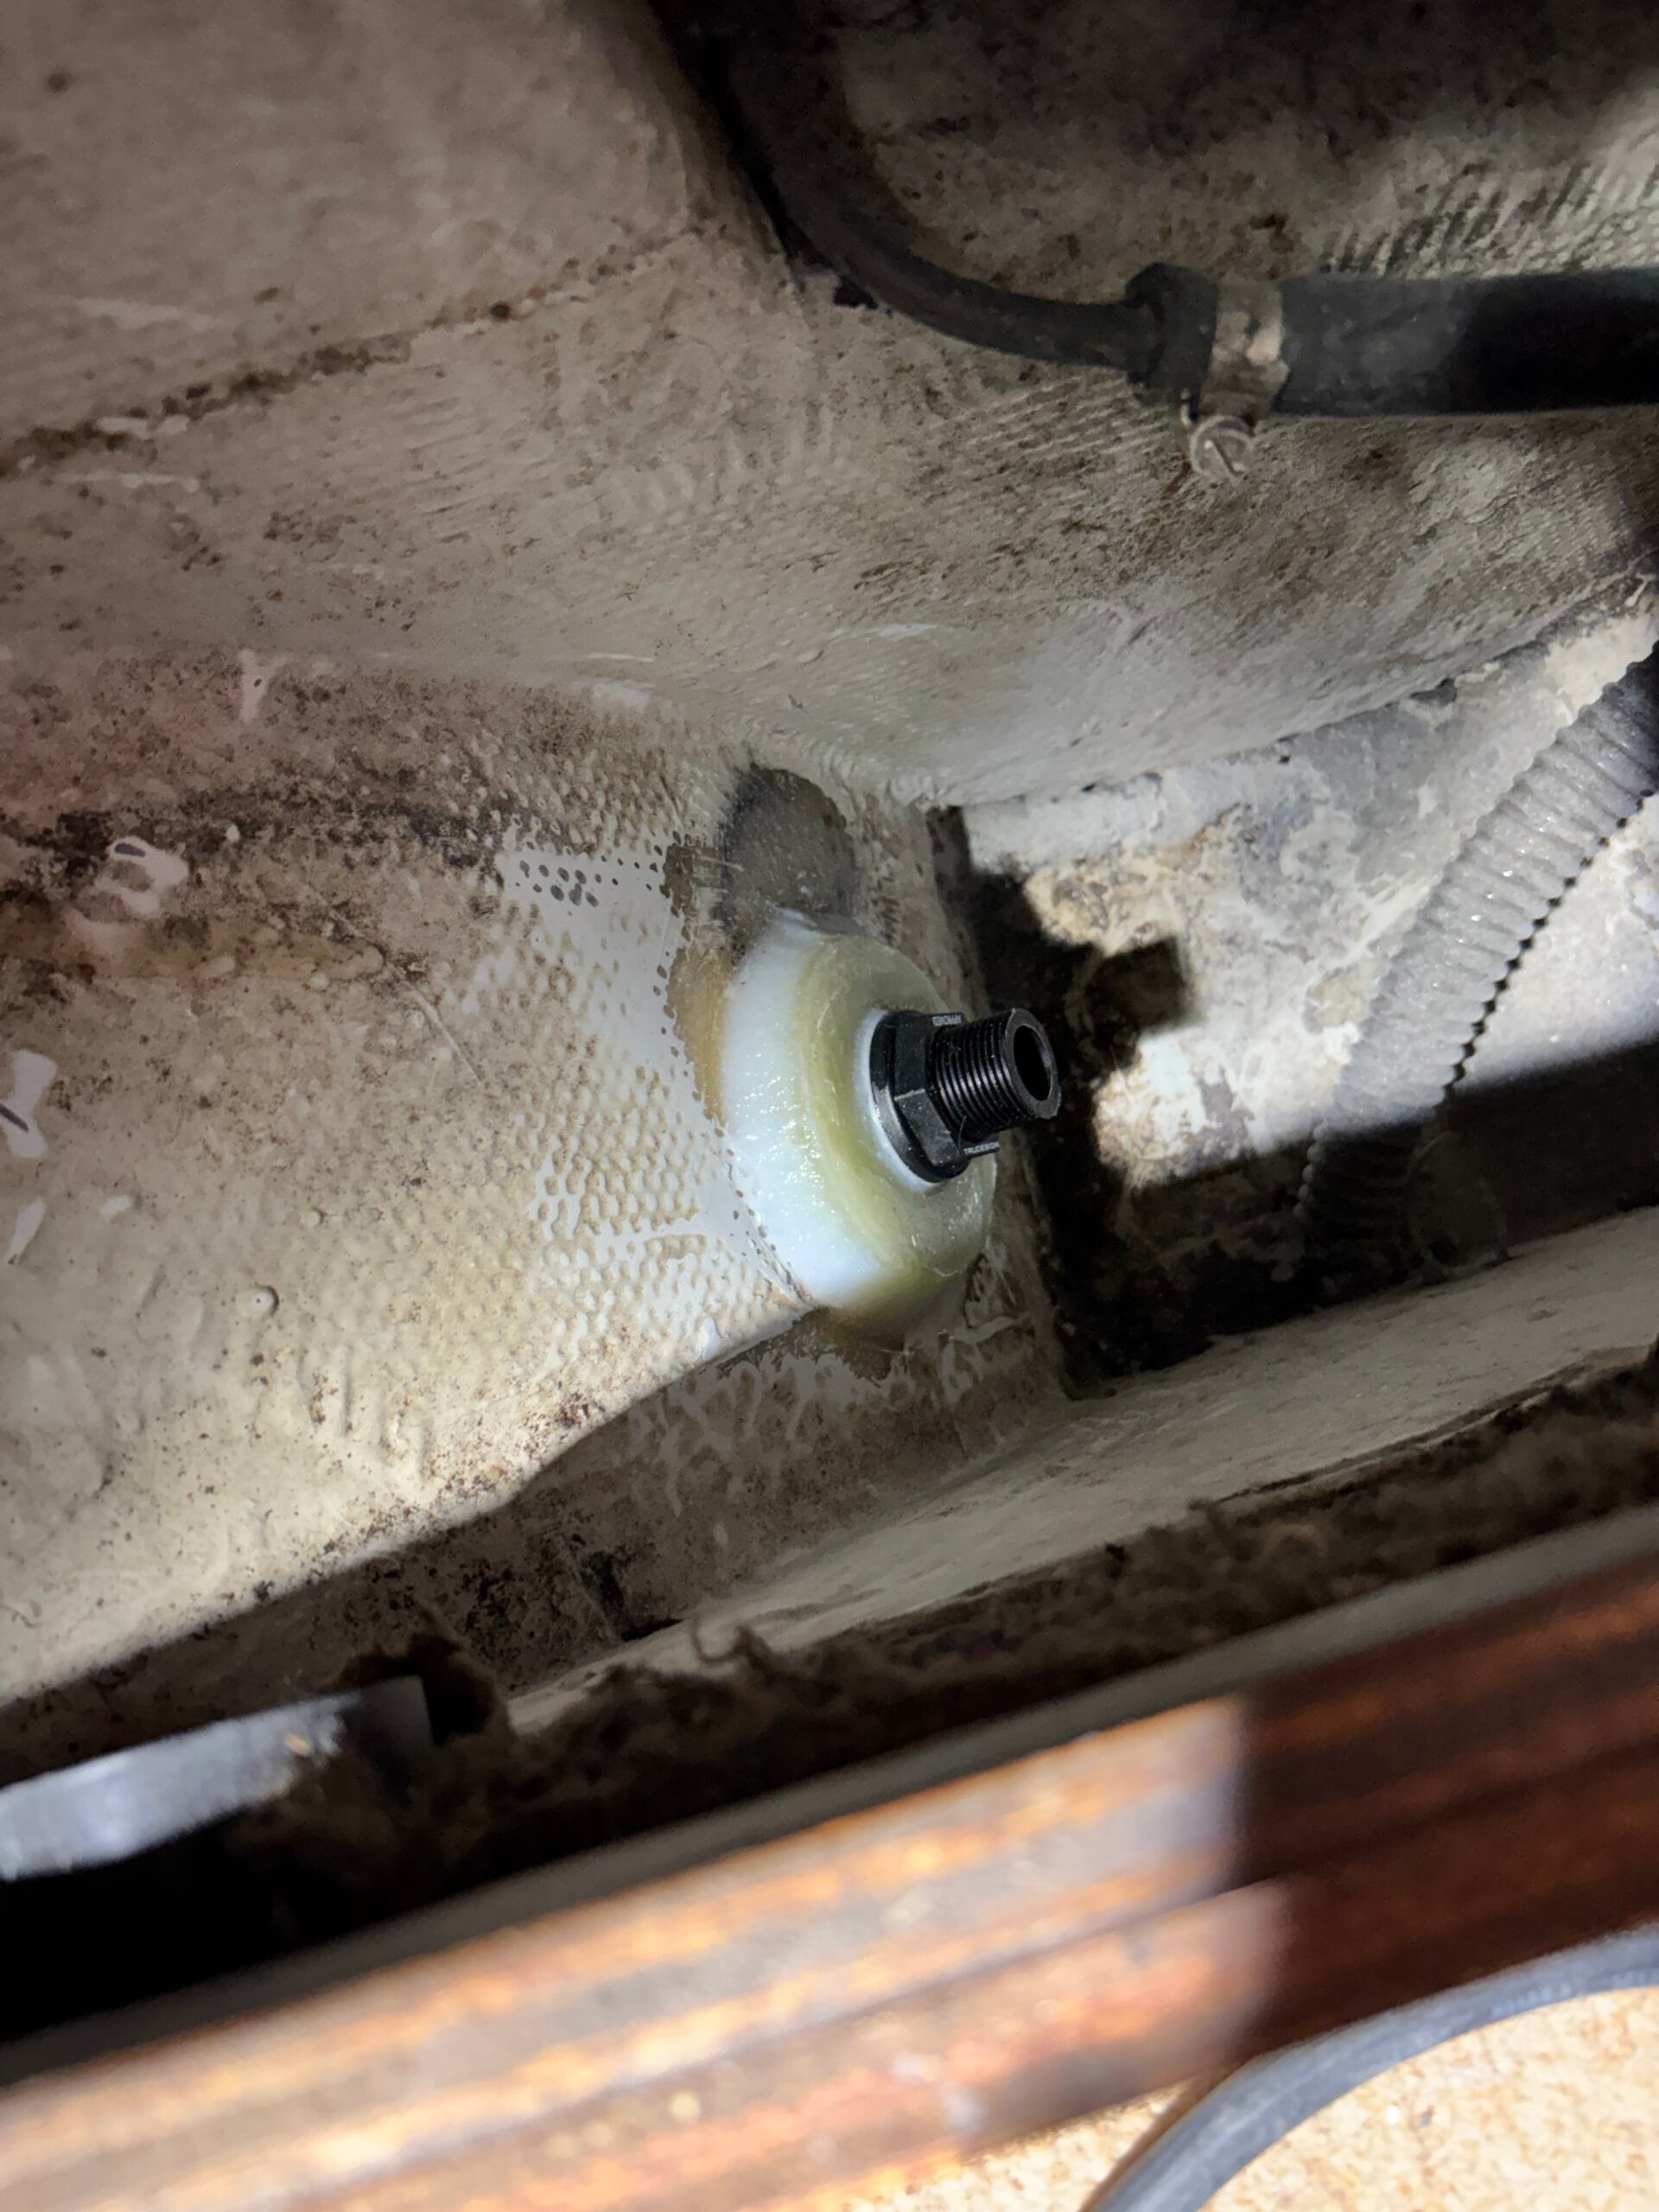
Once every position was finalized, the real prep work began. We sanded the hull (both inside and out) and the backing plates down to bare fiberglass wherever they would make contact with the fittings. After a thorough wipe-down with acetone and a few minutes of waiting we moved on to the epoxy. First, we applied a lightly thickened, still-fluid epoxy to “wet out” the surfaces, followed by a heavily thickened epoxy (mixed with silica) for a structural bond. We bedded the backing plates in plenty of this thickened epoxy, shaped fillets around the edges, and finally tightened the nut on top. Then, we simply let it sit for a day to cure properly.
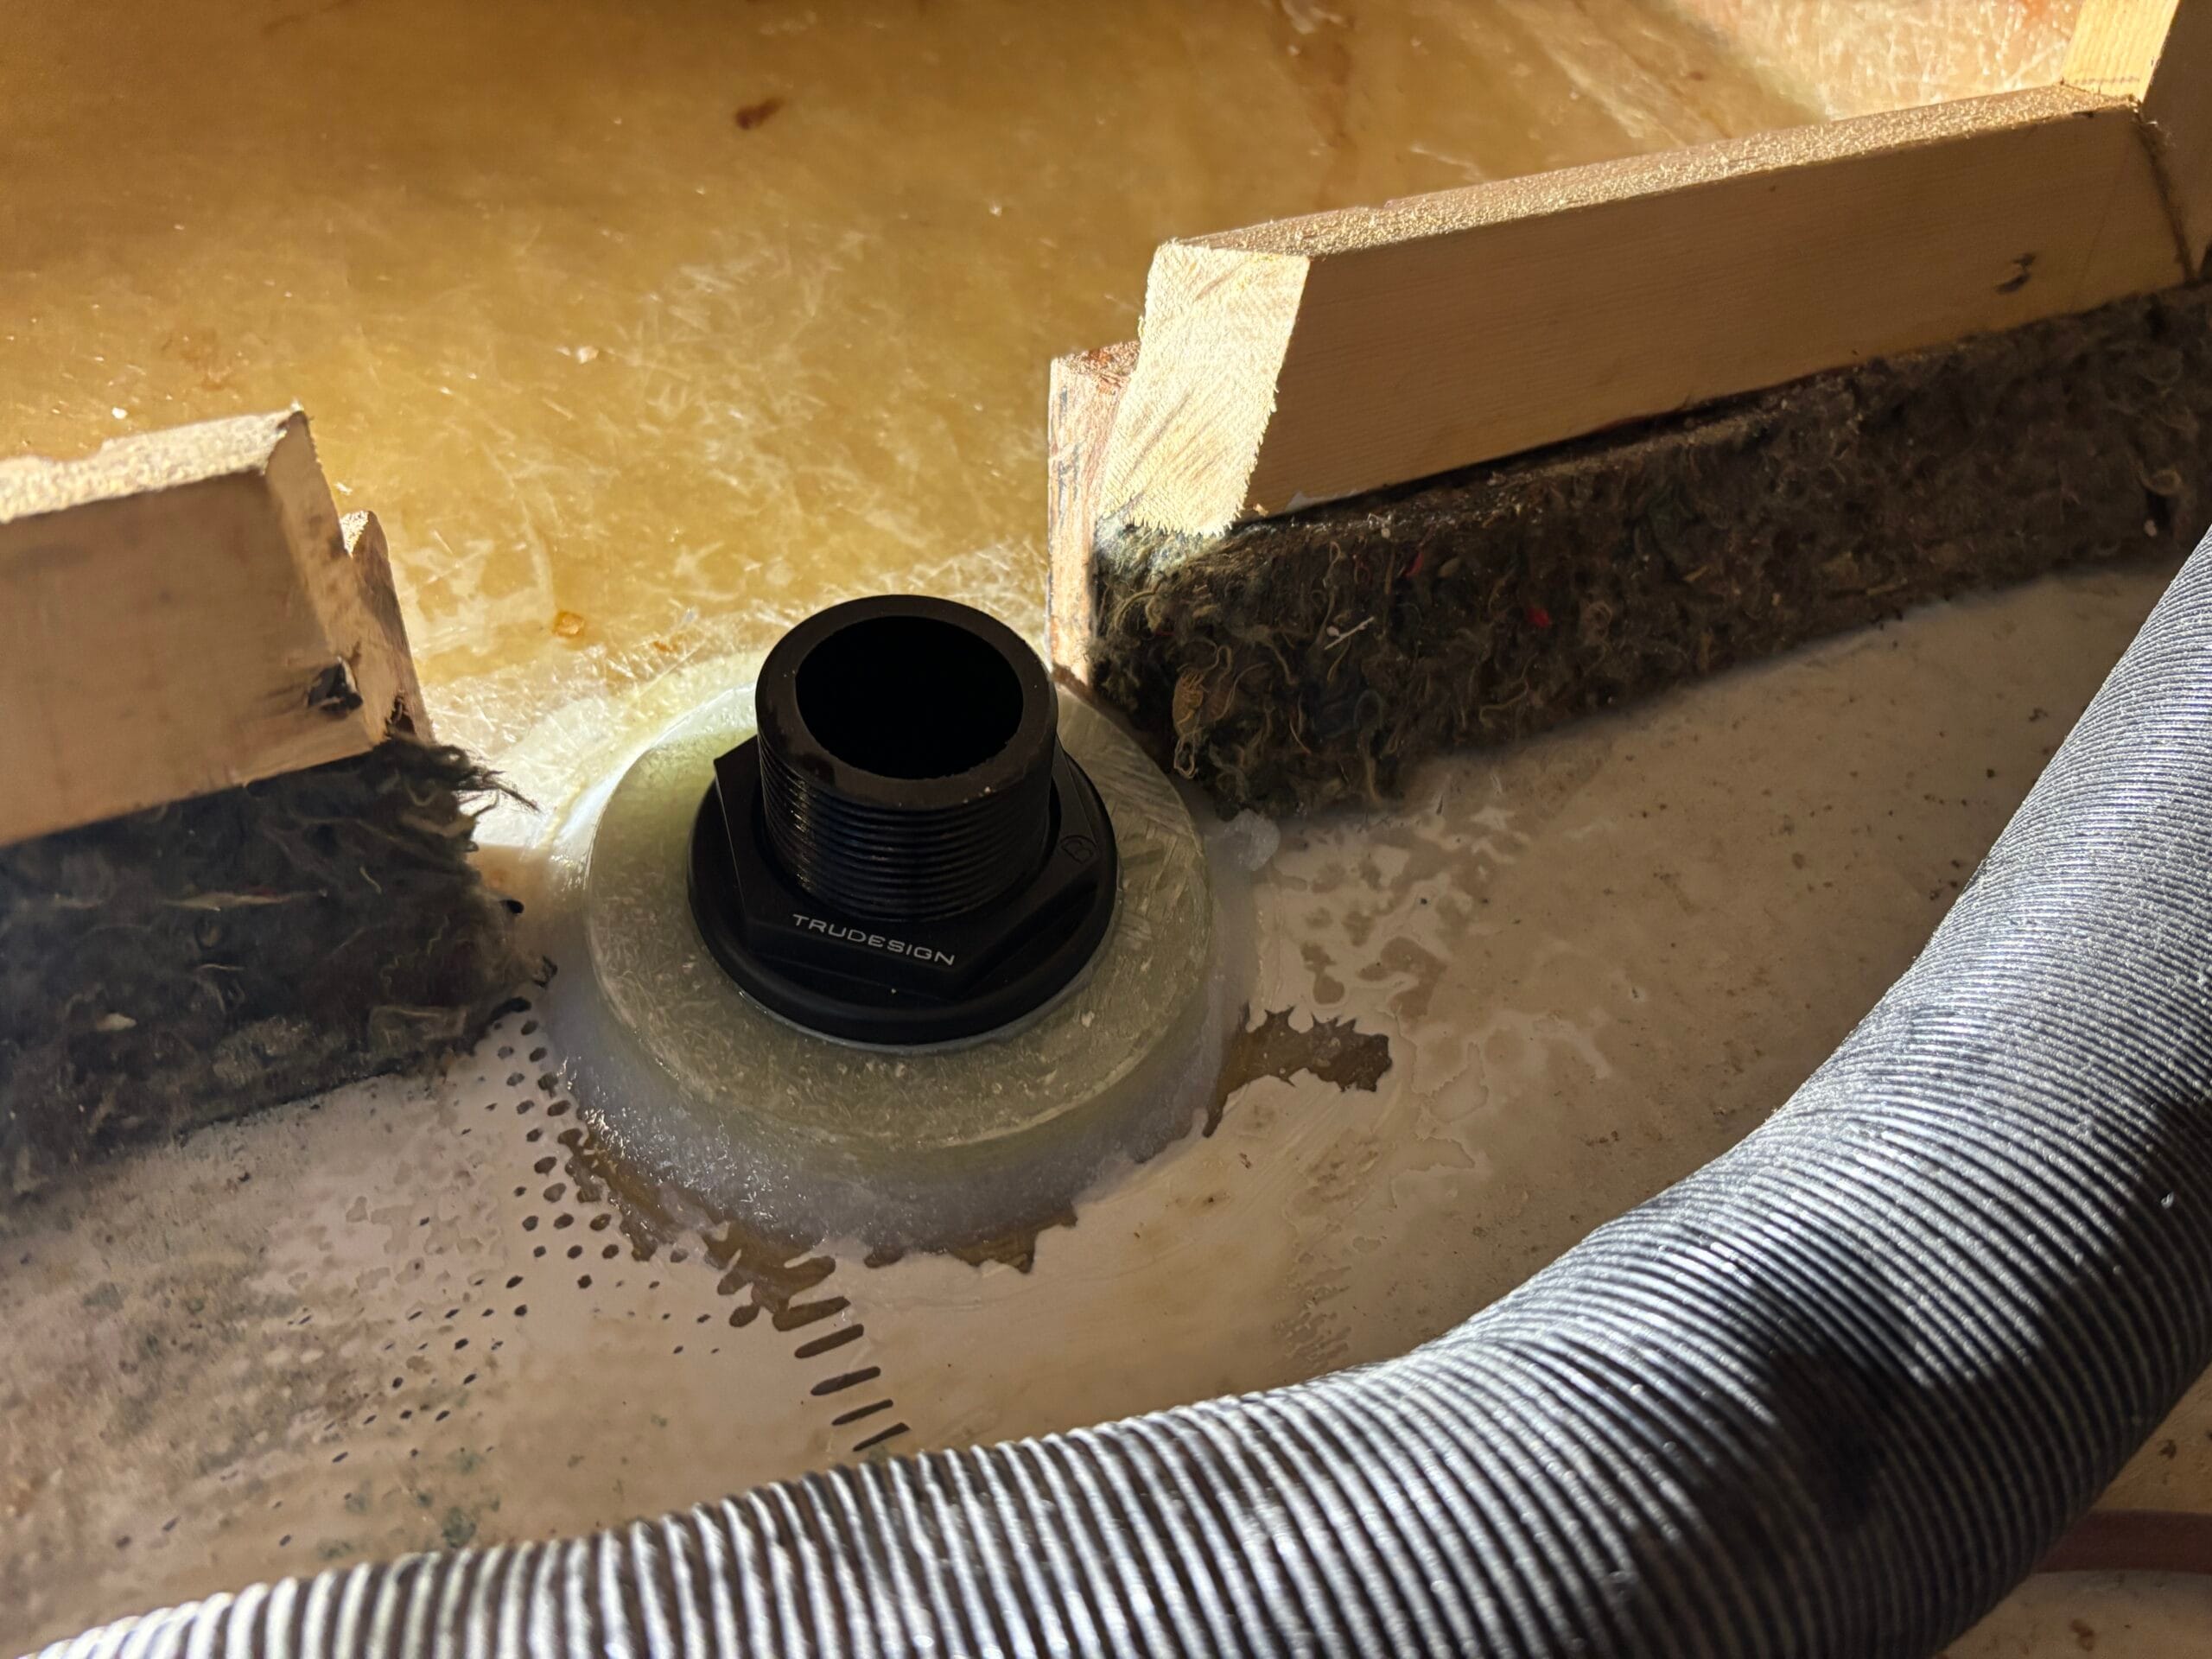
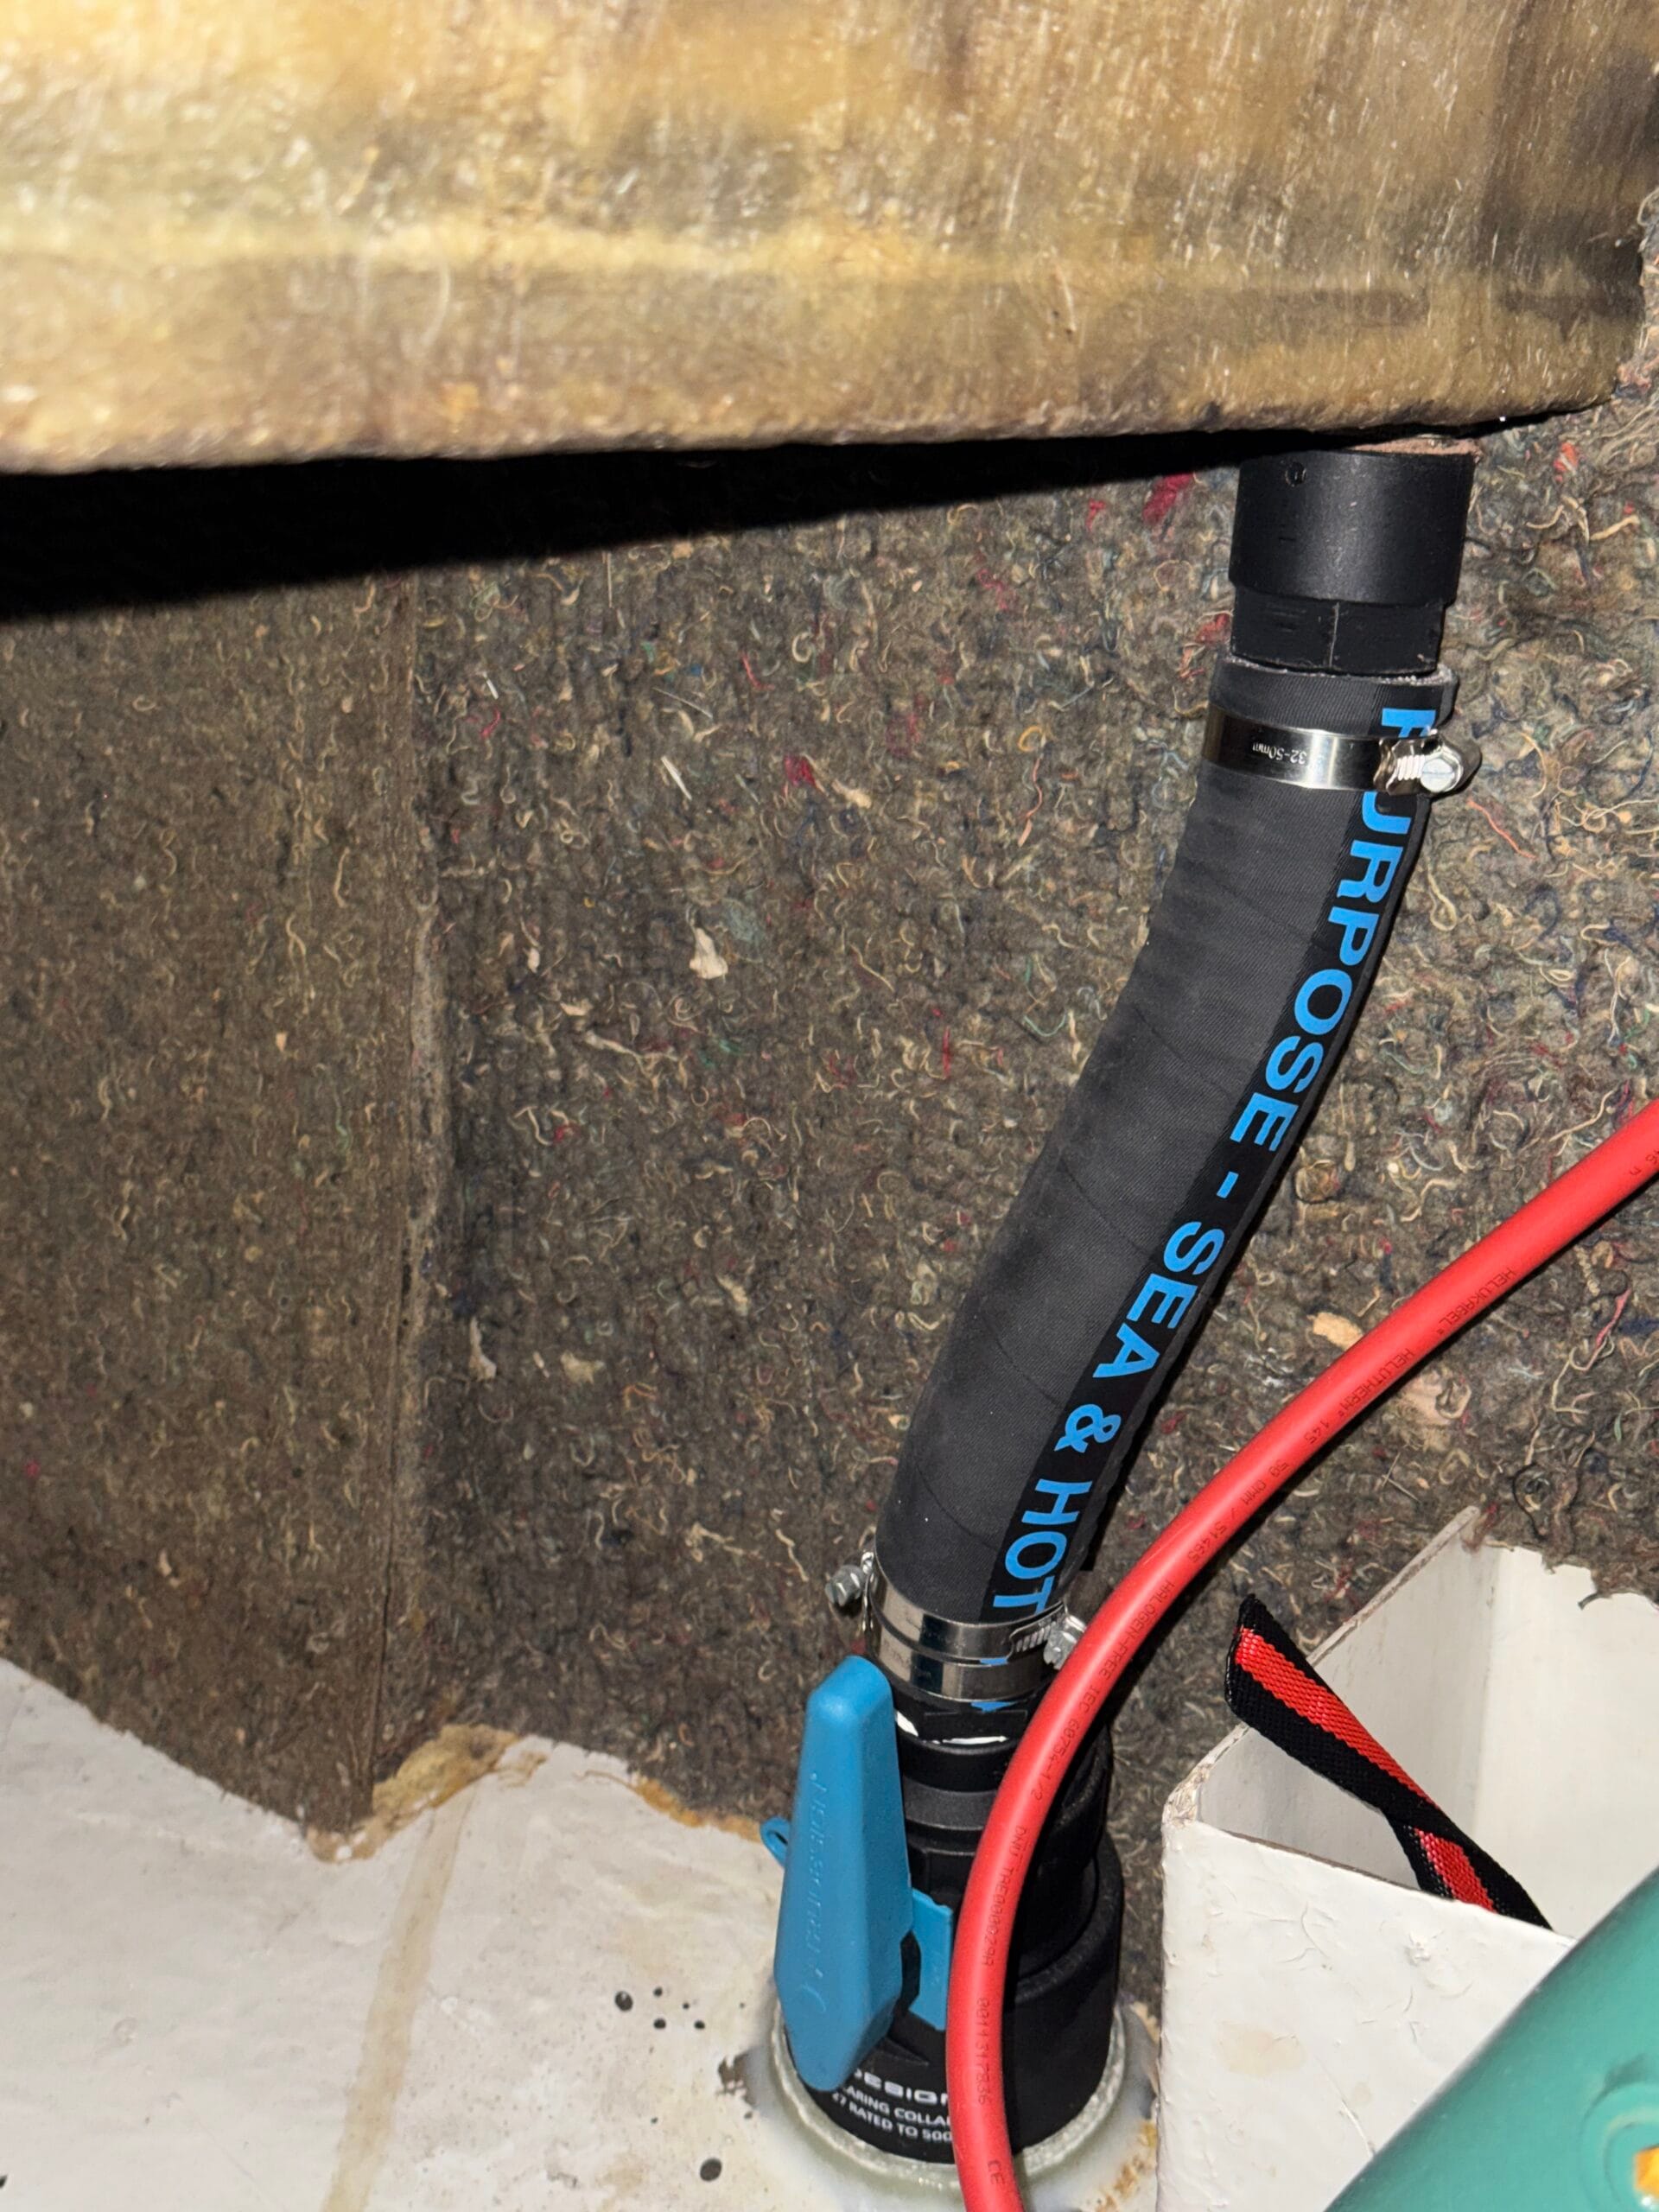
Installing the seacocks and tails
For the final installation of the seacocks and hose tails, we decided to use Sikaflex 291i on the threads. We definitely applied too much on the first few, but quickly learned that a little goes a long way. Since we had already test-fitted everything, the alignment was generally spot on. However, we noticed that the Sikaflex allows the fittings to turn slightly further than they did when dry. If I were to do it again, I’d aim for about a quarter-turn less during the dry fit to account for this extra rotation.
We had no leaks when we finally splashed the boat later that year, and we have no plans to replace these valves. The glass-reinforced nylon should practically last a lifetime, just as long as you remember to exercise the levers regularly.