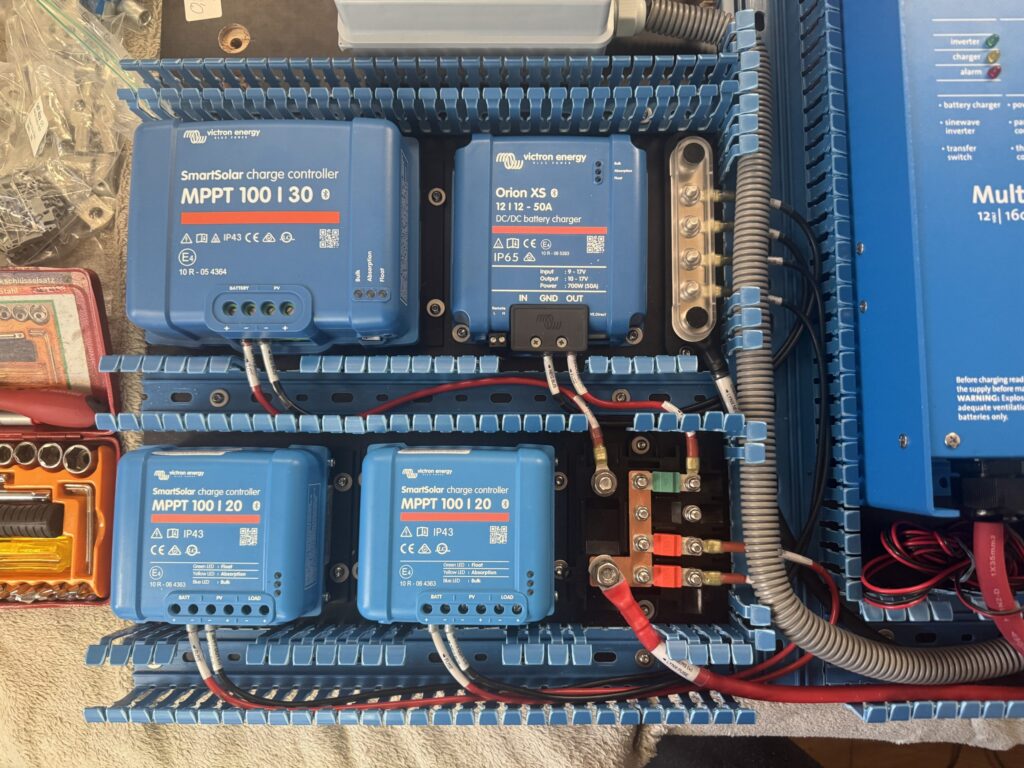
After ripping out an old electrical system that was labeled with messy “flags” (where nothing matched and confusion reigned), we knew we wanted a much cleaner installation. Our goal was simple: even someone who didn’t build the system should be able to understand how it works at a glance.
The first step was researching the best labeling options. Here’s a quick breakdown of the pros and cons we found:
The Options
- Electrical Tape & Sharpie: Simple and cheap, but I hated it. It eventually turns into a sticky, unreadable mess—something I experienced firsthand with the old system.
- Printed Flag Labels: Better, but “flying flags” are annoying when you’re pulling wires through tight spaces and can easily tear.
- Printable Heat Shrink: Professional and sleek, but very expensive (especially the specialized printers required for larger wire gauges).
- Self-Laminating Labels: Good, but they often require a separate reference sheet to know what the numbers mean.
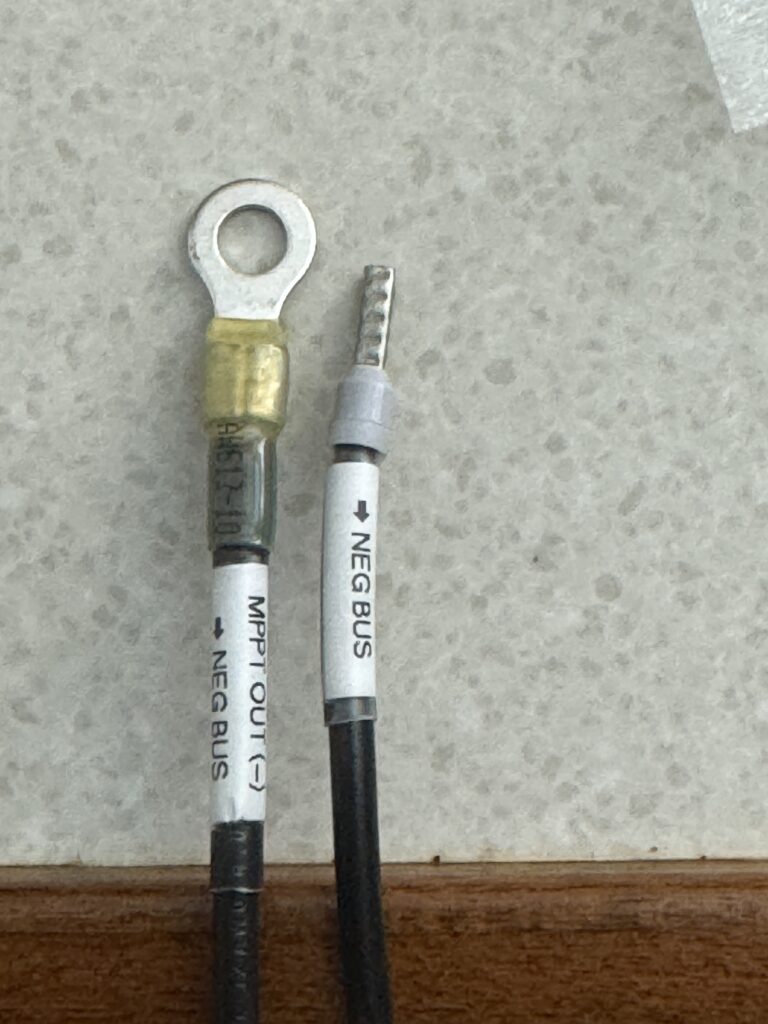
- Clear Heat Shrink over Printed Labels: Our winner! It’s clean, durable, and affordable.
Why We Chose “Clear Heat Shrink over Labels”
This method offers the best balance between cost and quality. It looks incredibly neat and tidy. The clear heat shrink protects the label from moisture and abrasion, ensuring it won’t fall off or fade. Unlike dedicated heat shrink printers, this method doesn’t get exponentially more expensive when you move to larger battery cables.
What You Need
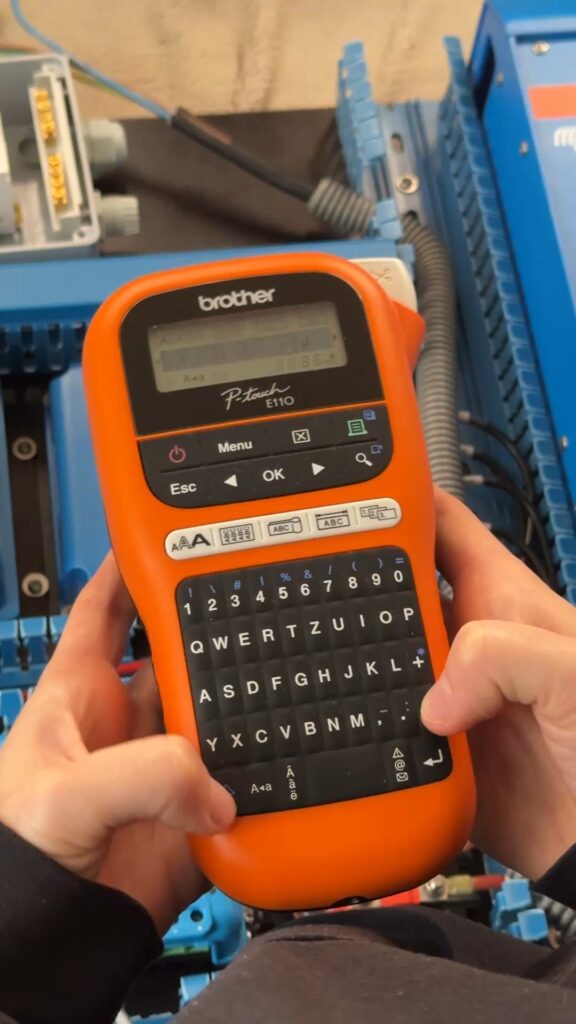
A Label Printer
We recommend the Brother PT-E110. While the cheaper PT-H107 works, the E110 offers specialized modes that are well worth the small extra investment (we paid about 26€).
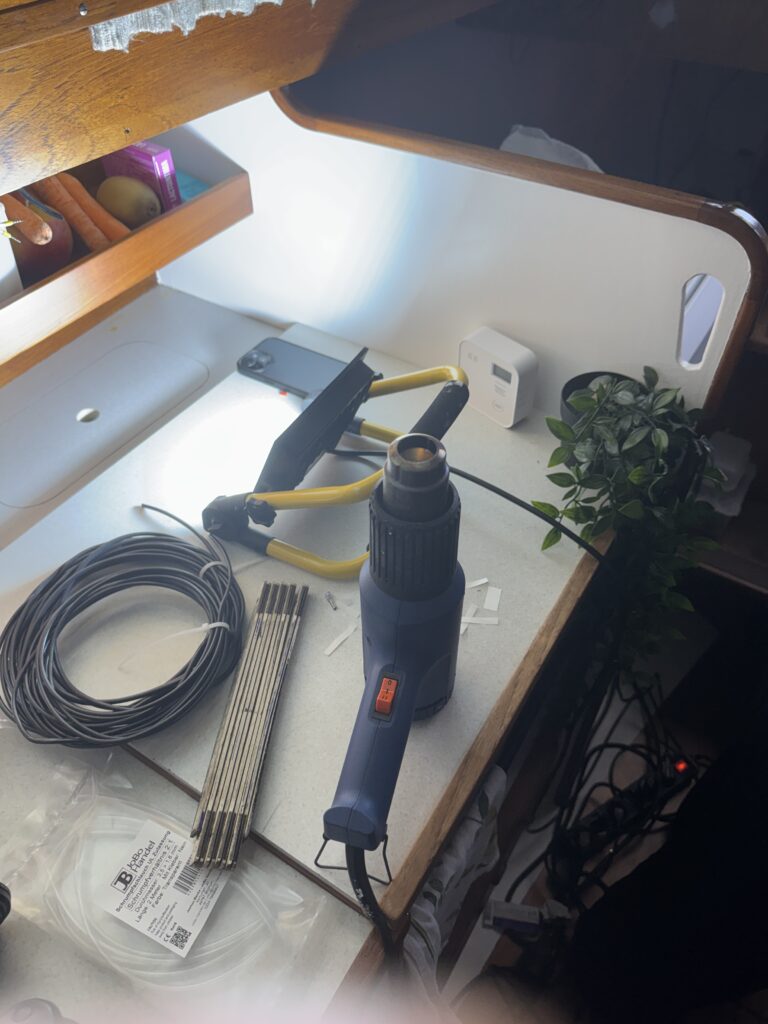
Transparent Heat Shrinke
Use the version without internal glue for better readability. A 2:1 shrink ratio works perfectly, though 3:1 is more versatile for different wire sizes.
A Heat Gun
If you’re doing any marine wiring, you likely already have one. If not, basic models are very affordable on Amazon
The Process: Step-by-Step
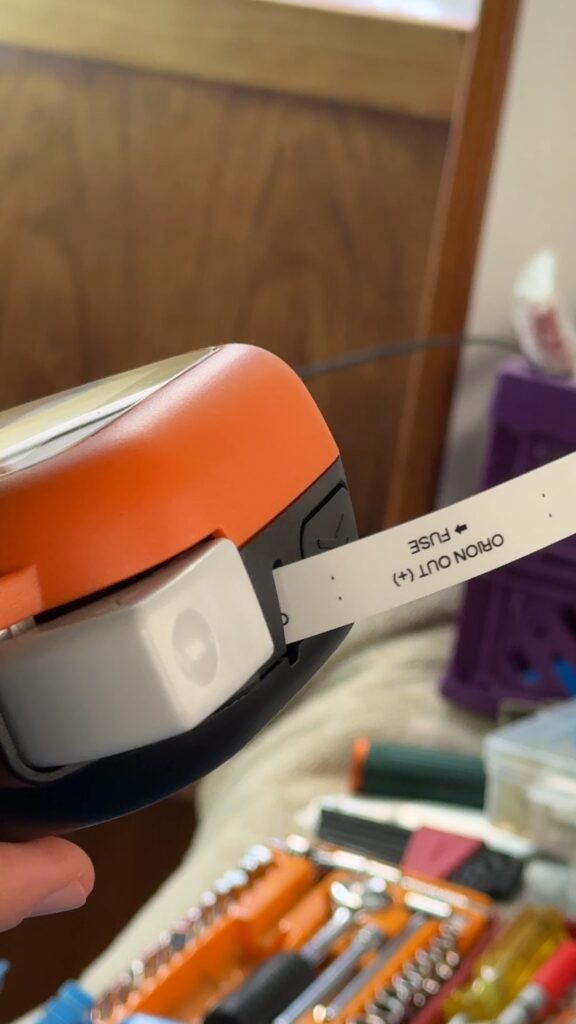
Print your label
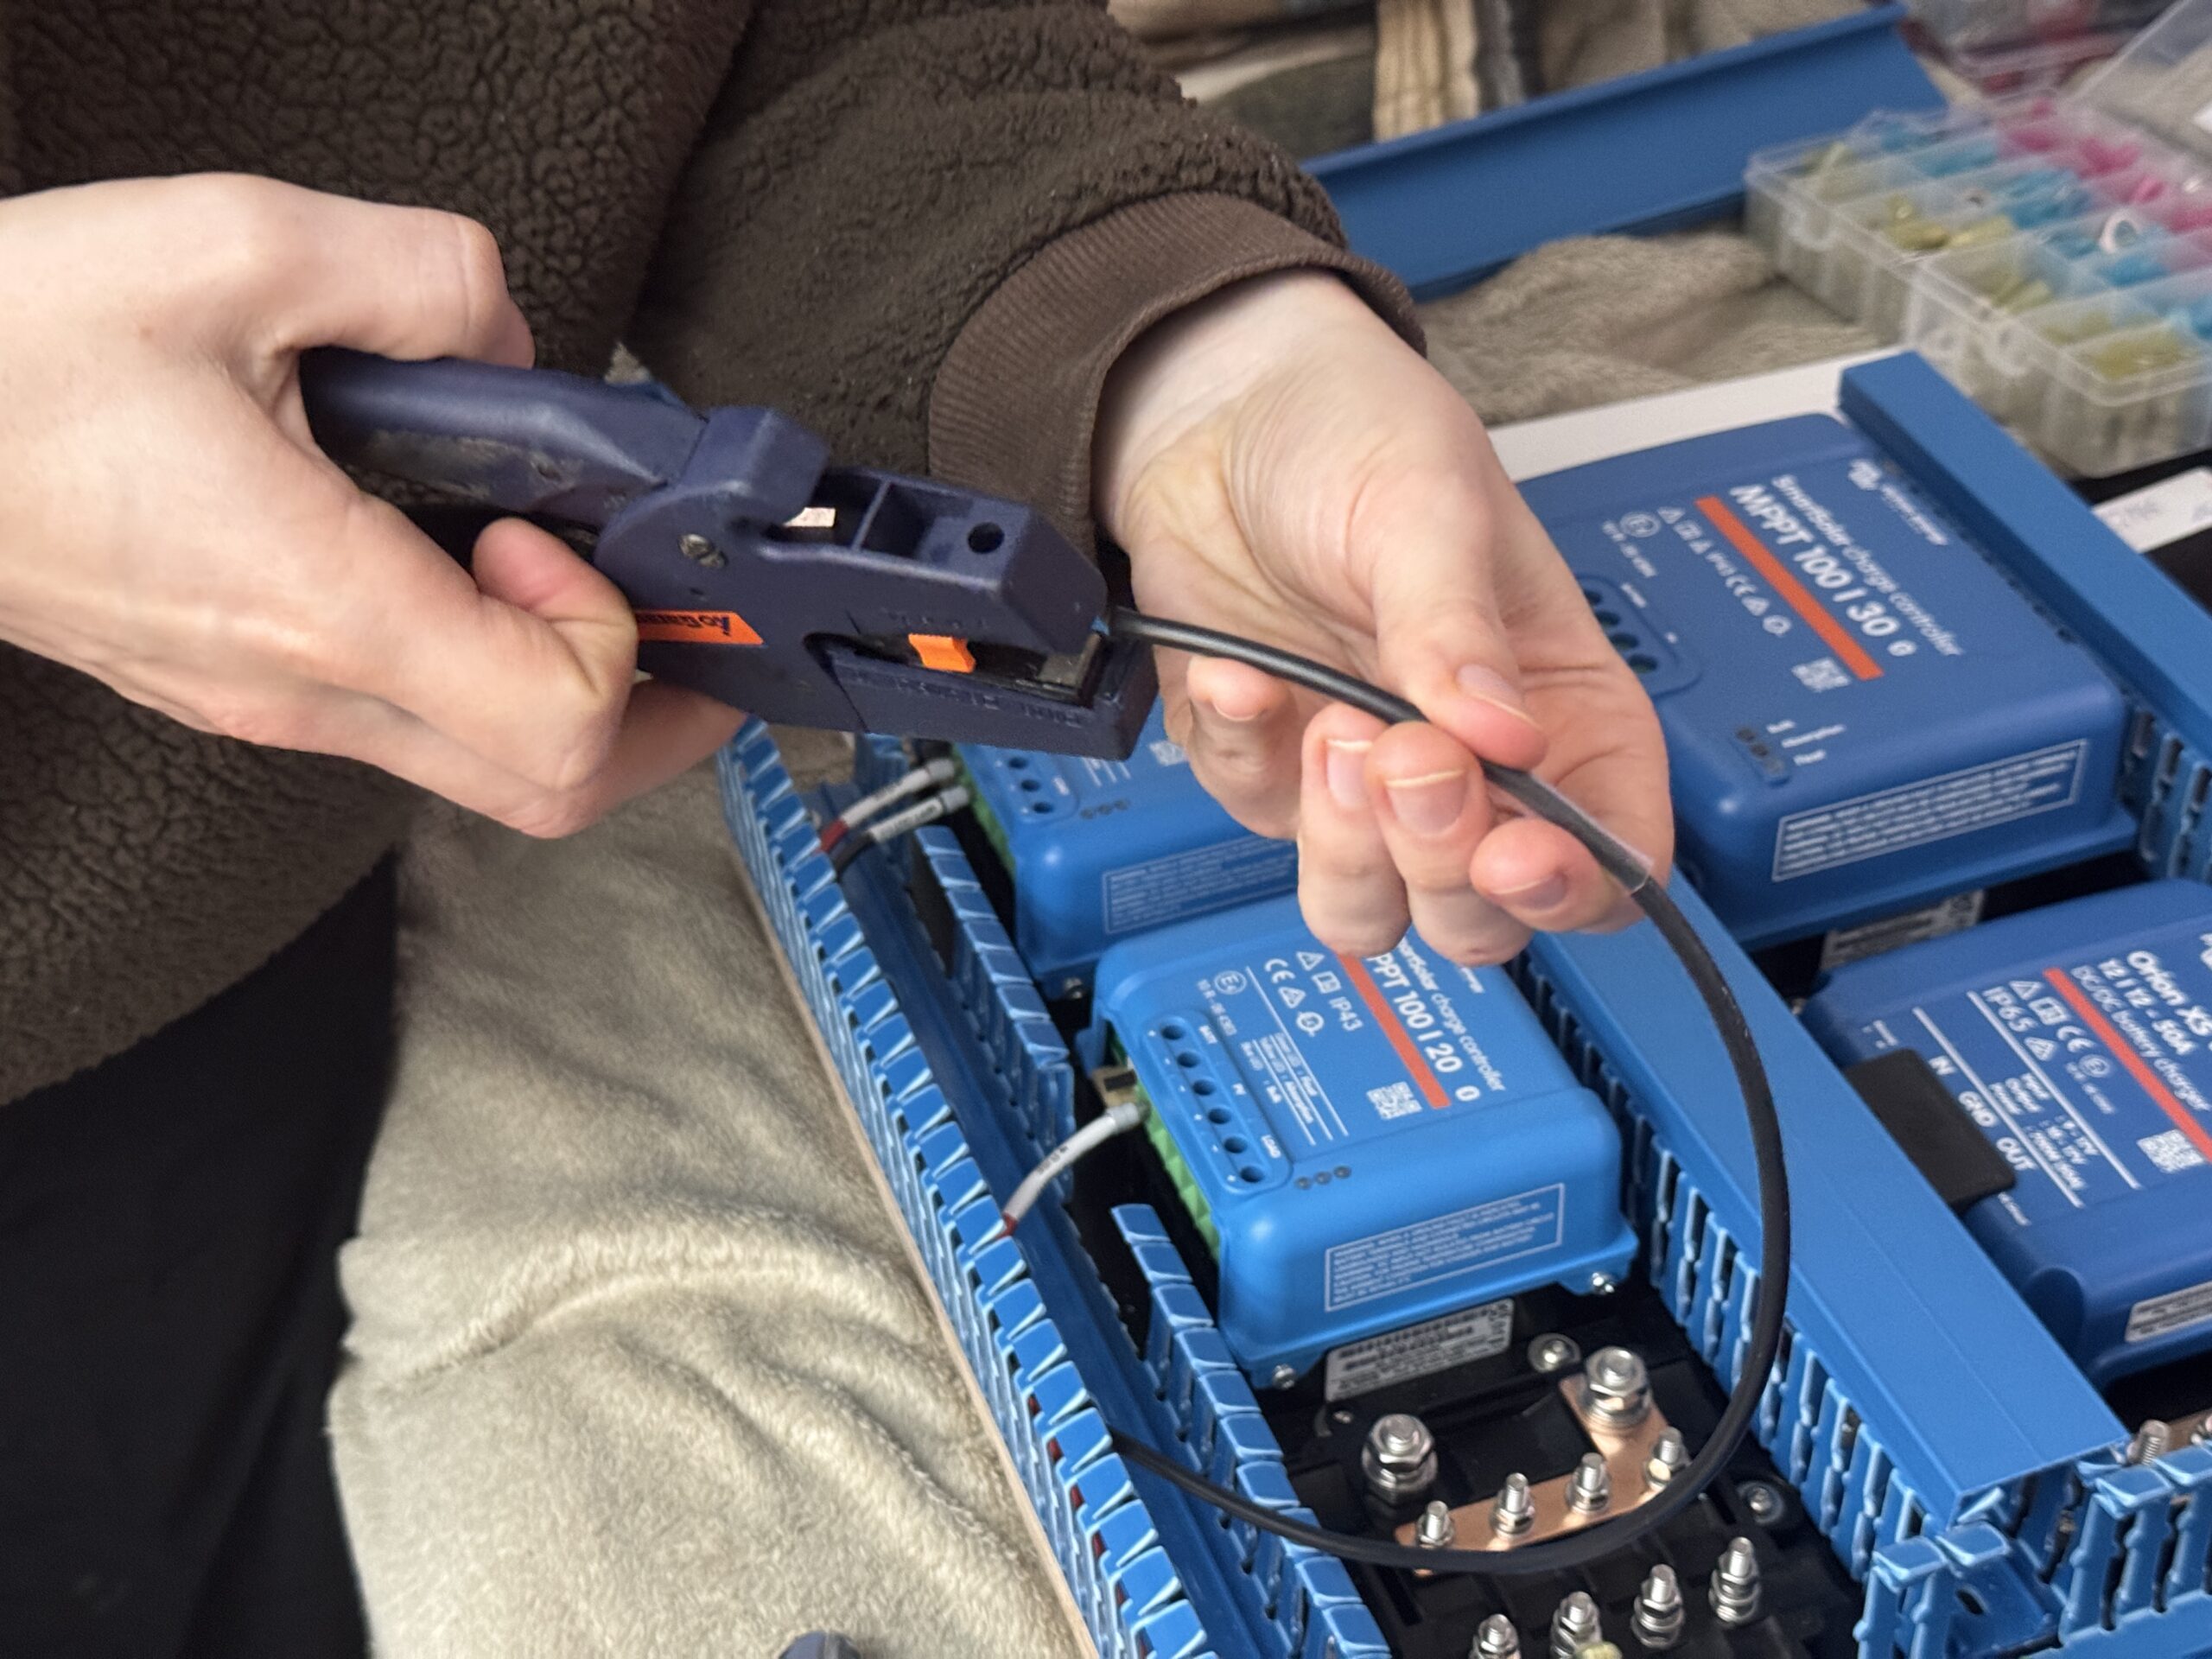
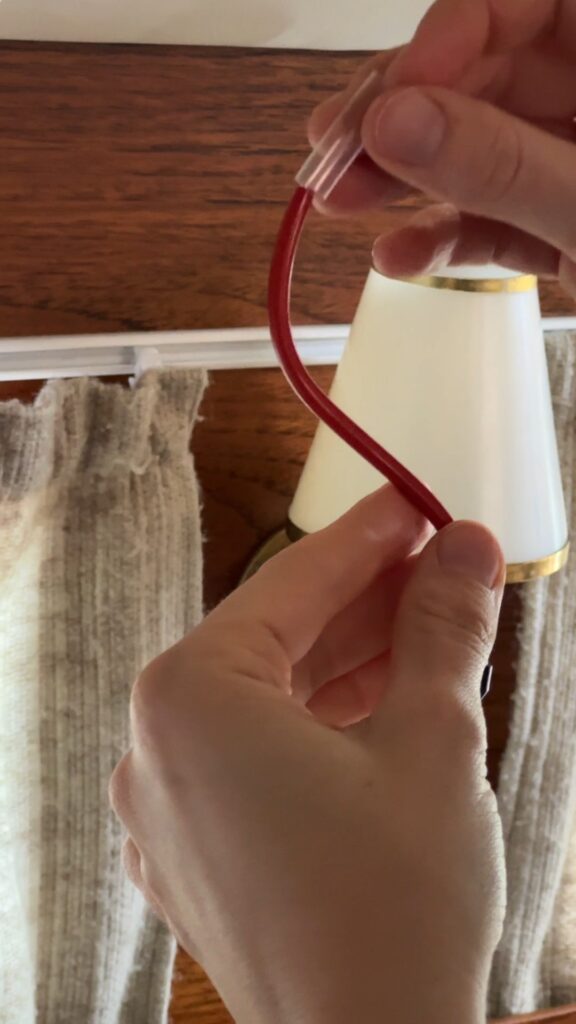
Slide the heat shrink on
Always slide the tubing onto the cable before you crimp the lug (though with larger tubing, you can sometimes slide it over the lug later).
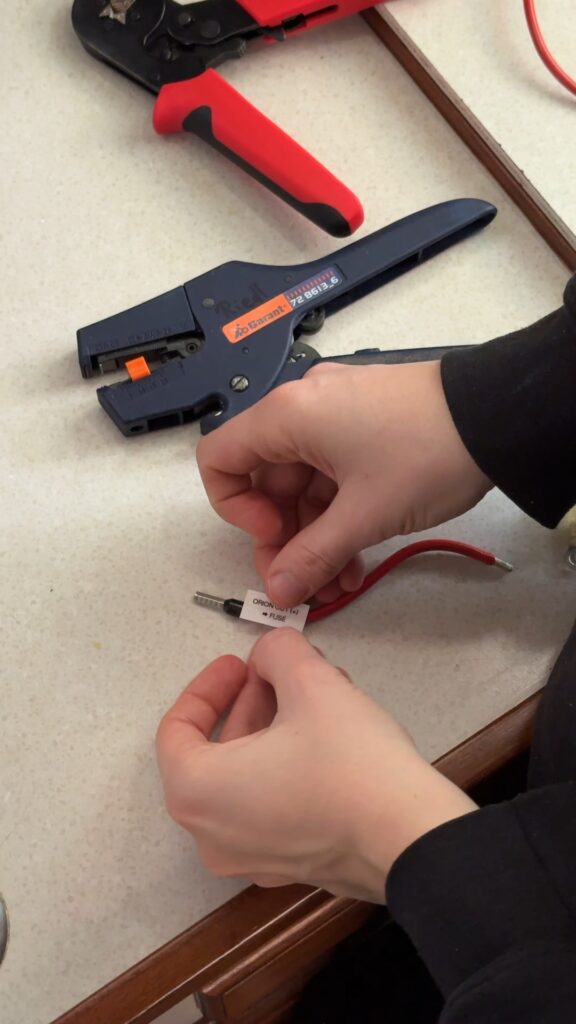
Apply the label
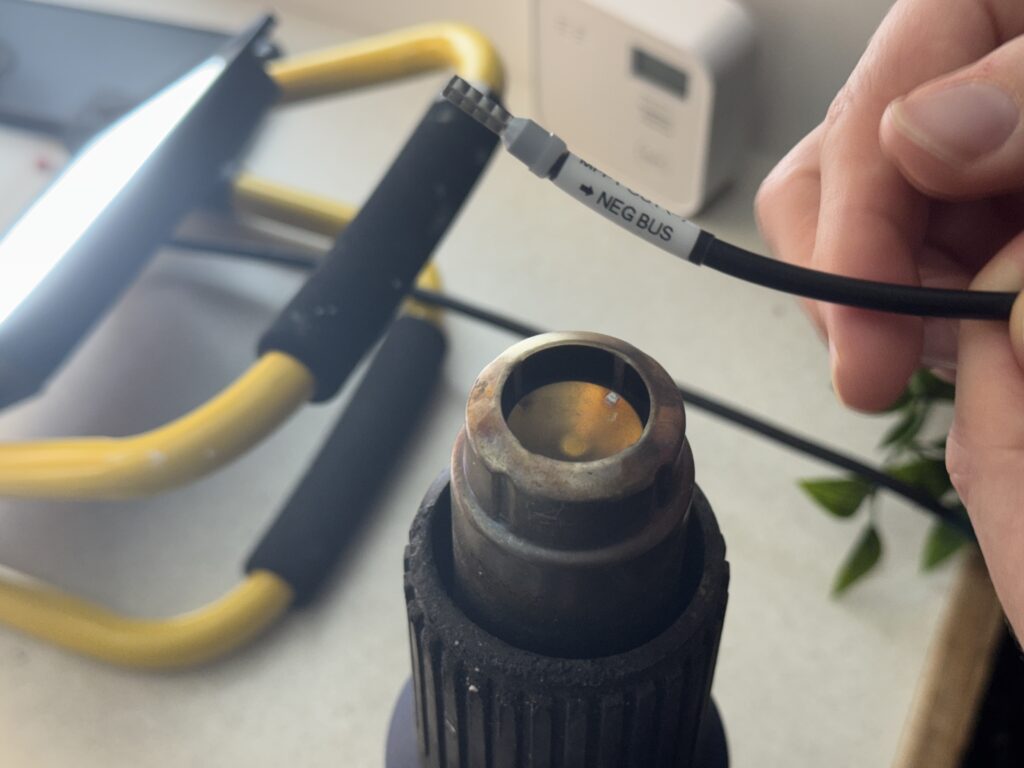
Shrink it
Naming Conventions & Best Practices
For the labels, we went with a “Source –> Destination” format using a simple arrow and a line break. I saw some other posts where people used explicit “From:” and “To:” headers, which might be even clearer, but I’m not sure if there’s a real industry standard for this. This way worked for us and it’s easy to read. If you’ve found a better naming convention or a definitive way to do it, feel free to let me know!
Some people also recommended adding the fuse size or even the wire gauge to the label (e.g., “Bilge Pump – 10A – 14 AWG”). This is a smart move, especially when the wire goes into a busbar or fuse block. You’ll know exactly what fuse you need or what gauge the wire is when doing a change later on.