After purchasing our Fellowship 28 “Quak” it quickly became clear that the engine hadn’t been used much for quite some time, which also meant the diesel had been sitting just as long.
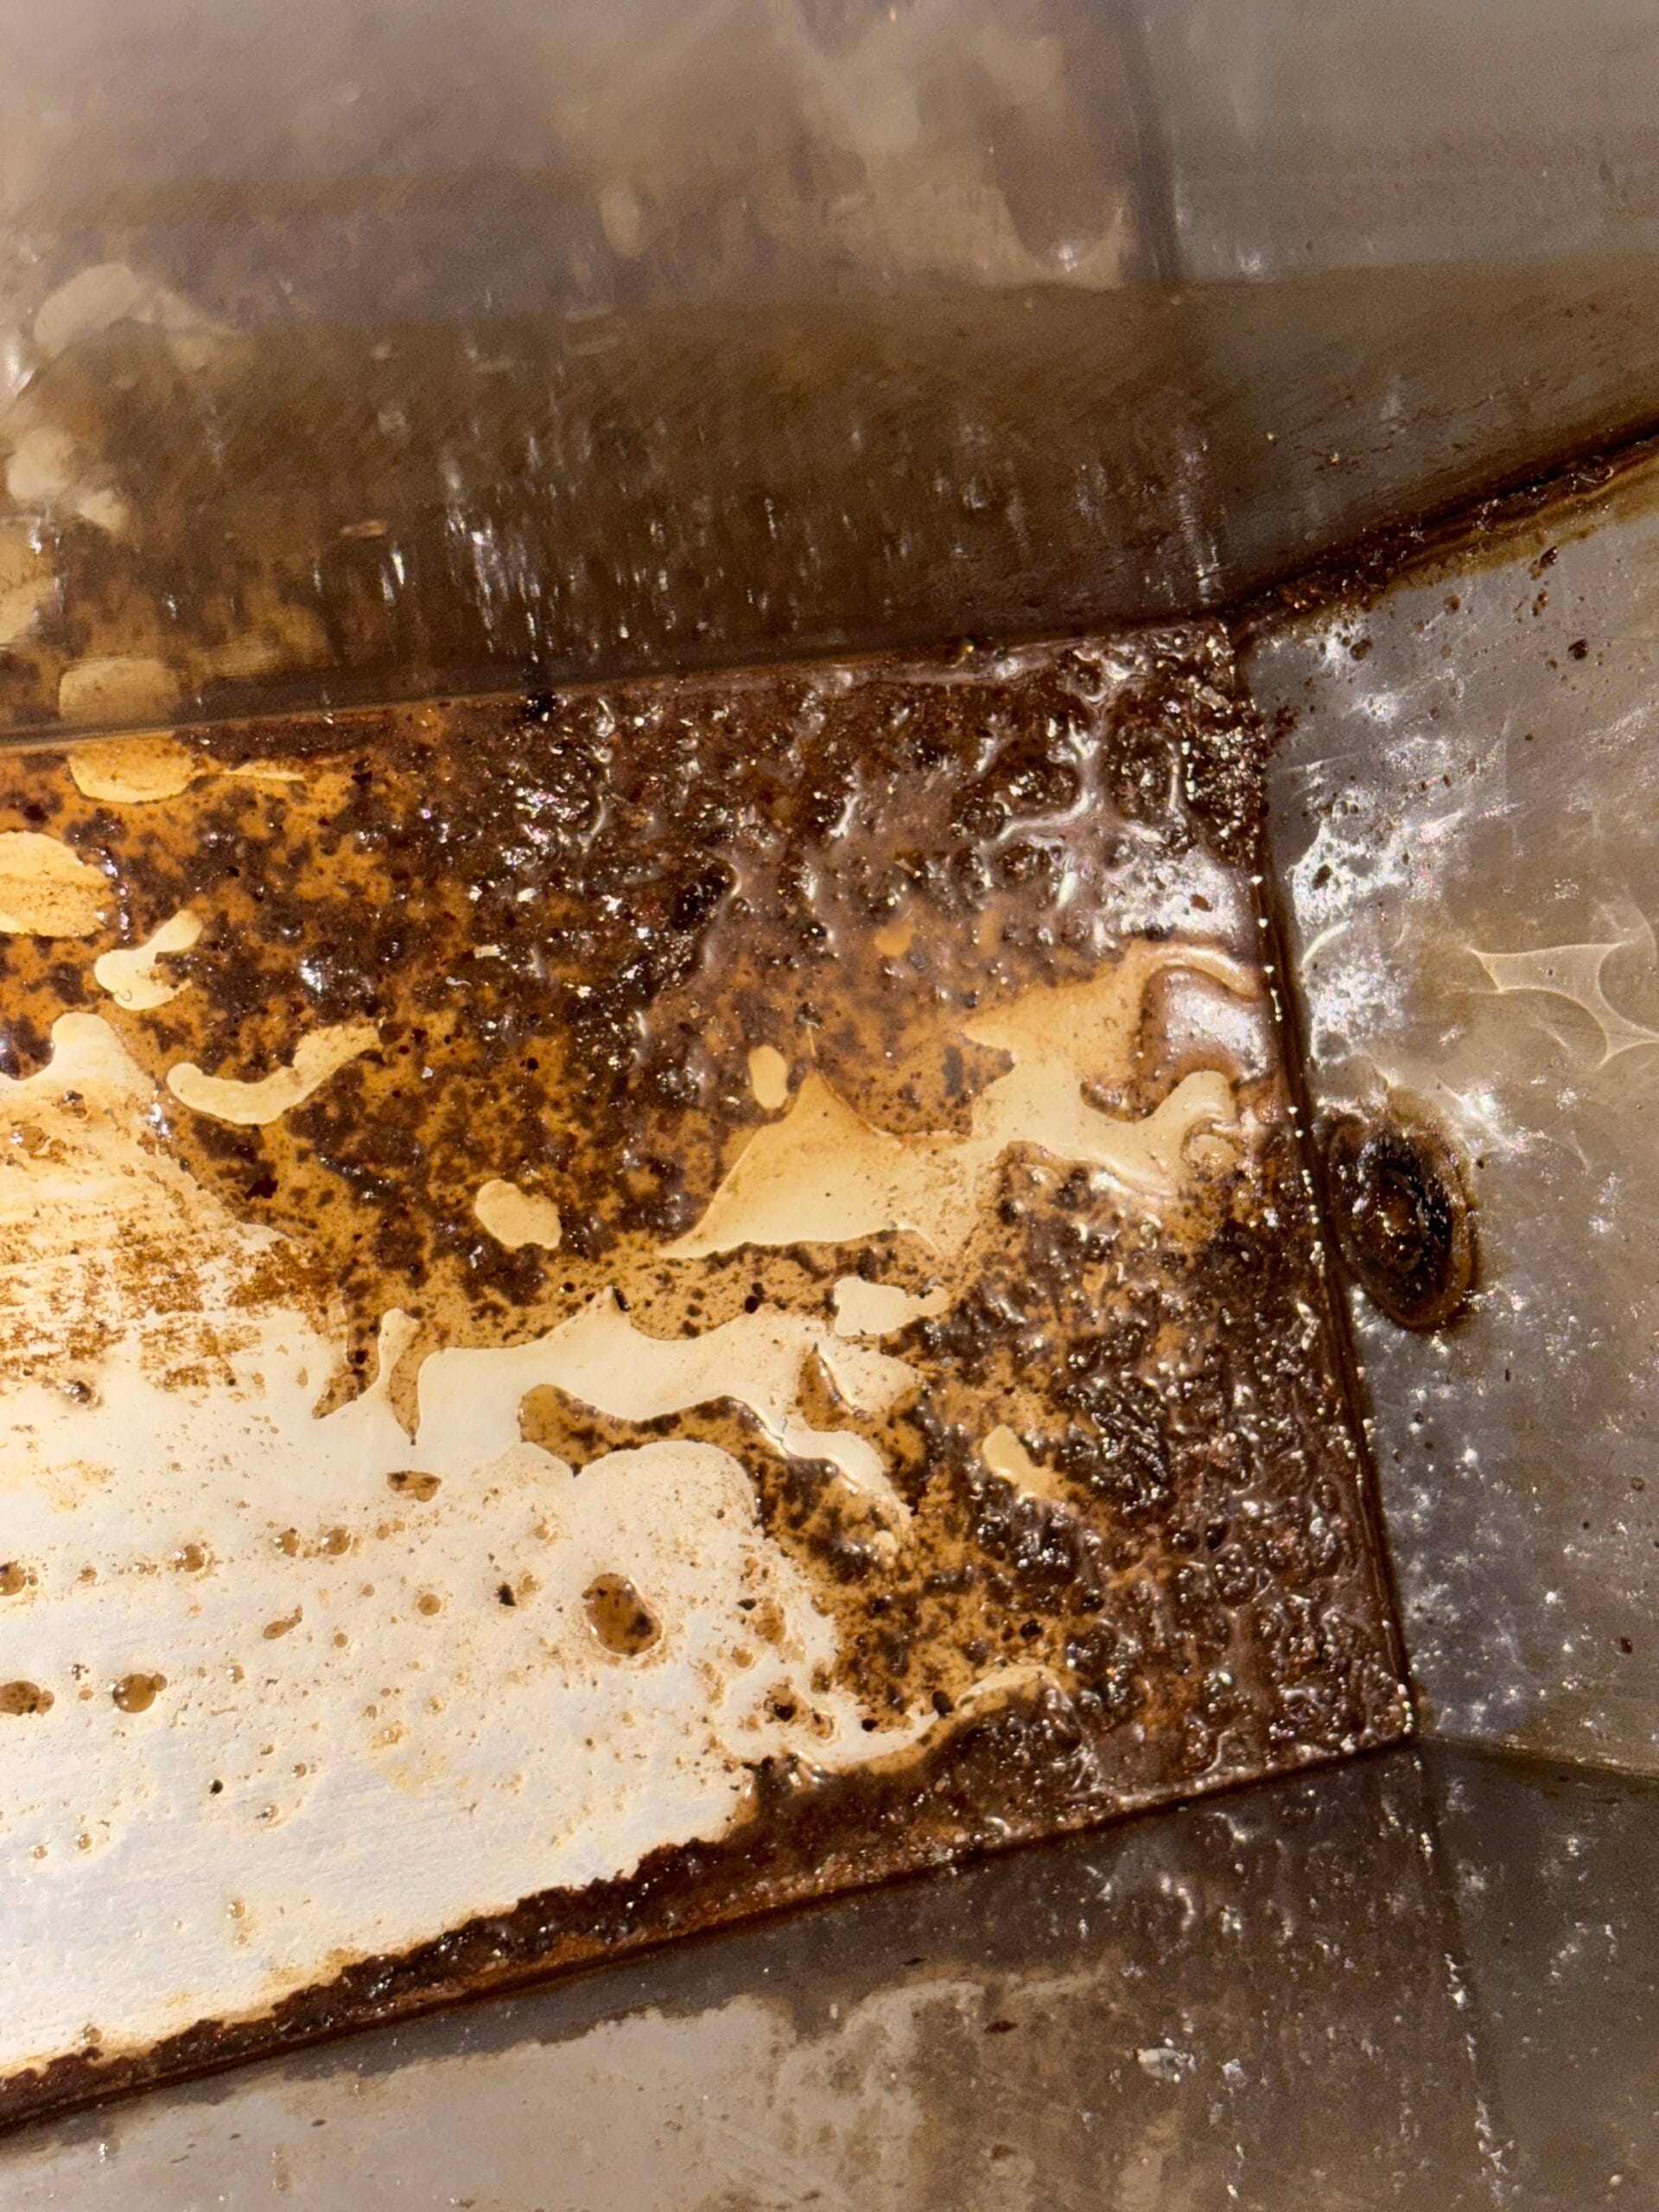
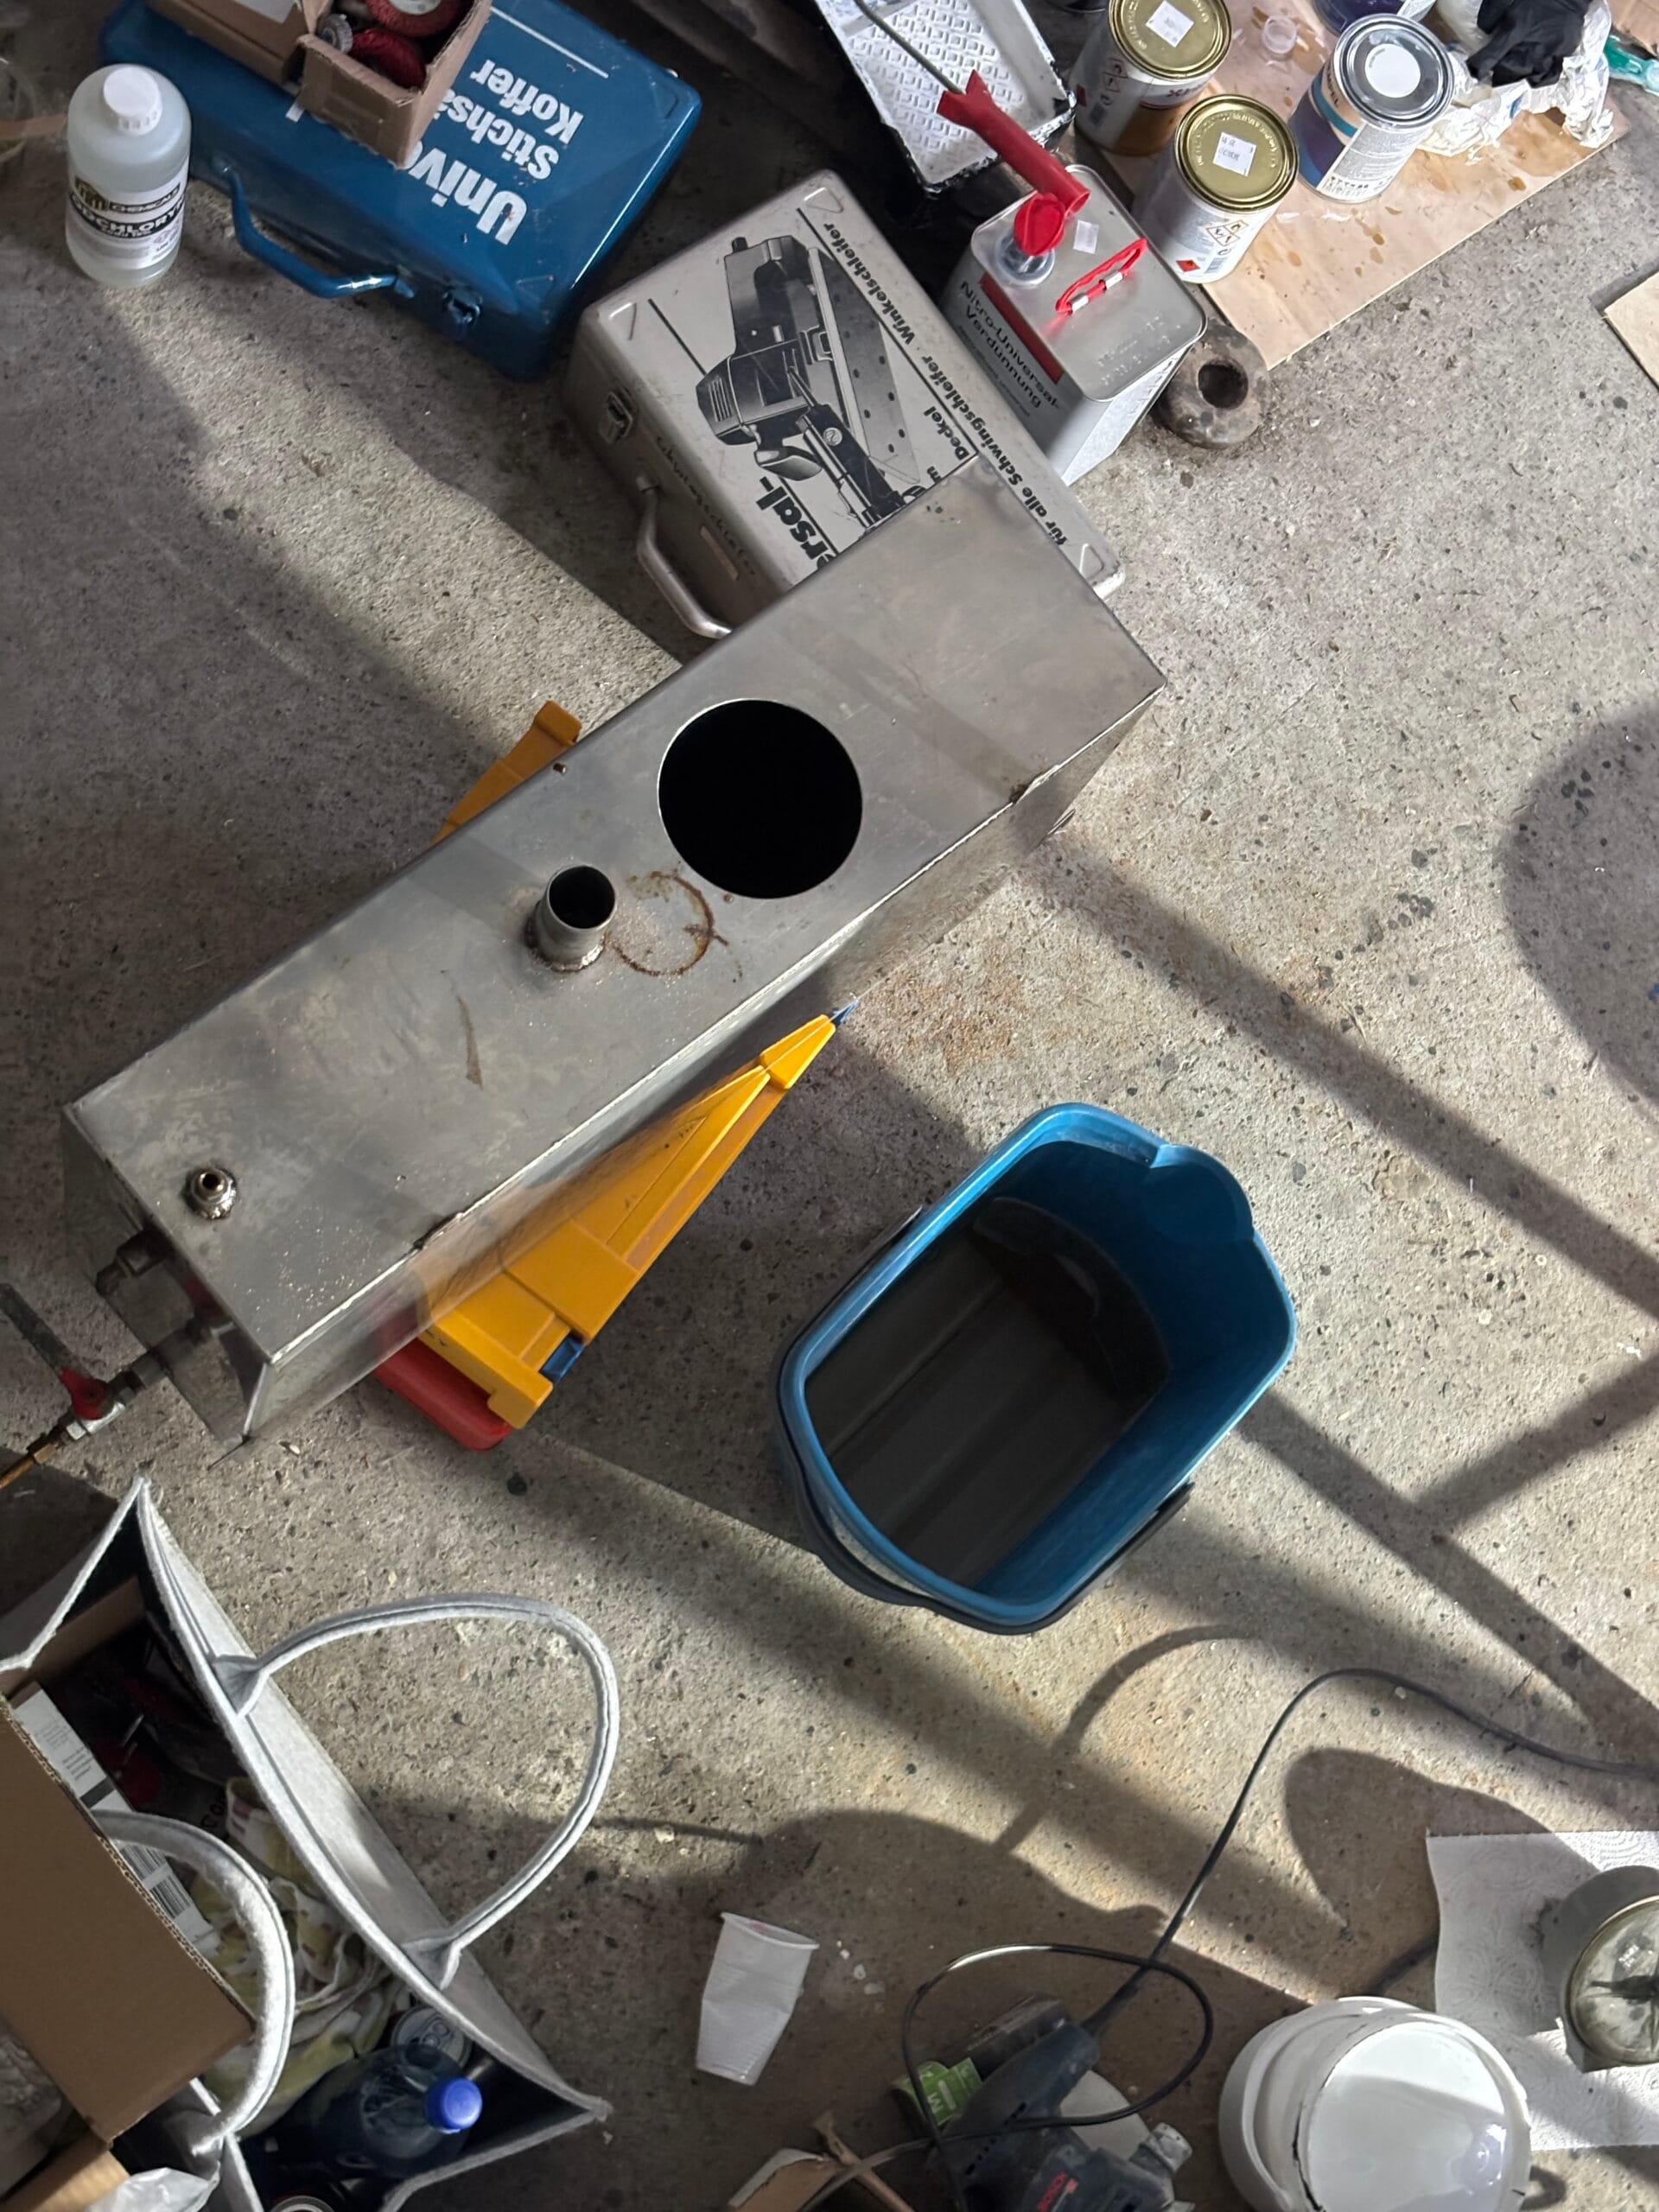
Fortunately, the tank is relatively small, so we only had to dispose of around 40 liters of fuel after discovering a fair amount of brown, sludge-like buildup at the bottom. For inspection, I picked up a cheap inspection camera that connects to a phone, and to pump the tank out we used a small 12V pump, which emptied the 40 liters in no time.
The main issue with our tank was the lack of proper access for cleaning or inspection without a camera. For that reason, I decided to install an inspection port.
Choosing an Inspection Port
We looked into several options. Our first choice would have been the Vetus inspection port since it seems to be very well built, but at around 80€ it’s not exactly cheap, and it also didn’t fit our small 40L tank because the diameter was simply too large.
We also found some very well-made stainless steel inspection ports with a backing ring, but those were far too expensive for us. The cheapest stainless option would probably have been one of the premade inspection ports from Amazon, but I haven’t had great experiences getting those to seal properly.
Another option would have been to build one ourselves. There are quite a few videos on YouTube about it, but we ruled that out as well since stainless steel is not the easiest material to work with without proper tools. Maybe making one out of G10/FR4 with custom seals could have worked, but that still would have taken quite a bit of time.
In the end, we found the fastest, easiest, and cheapest option to be the Wema inspection ports. They also offered the option to buy matching gauges and sensors directly. The lid itself was only 27€.
Opening up the tank
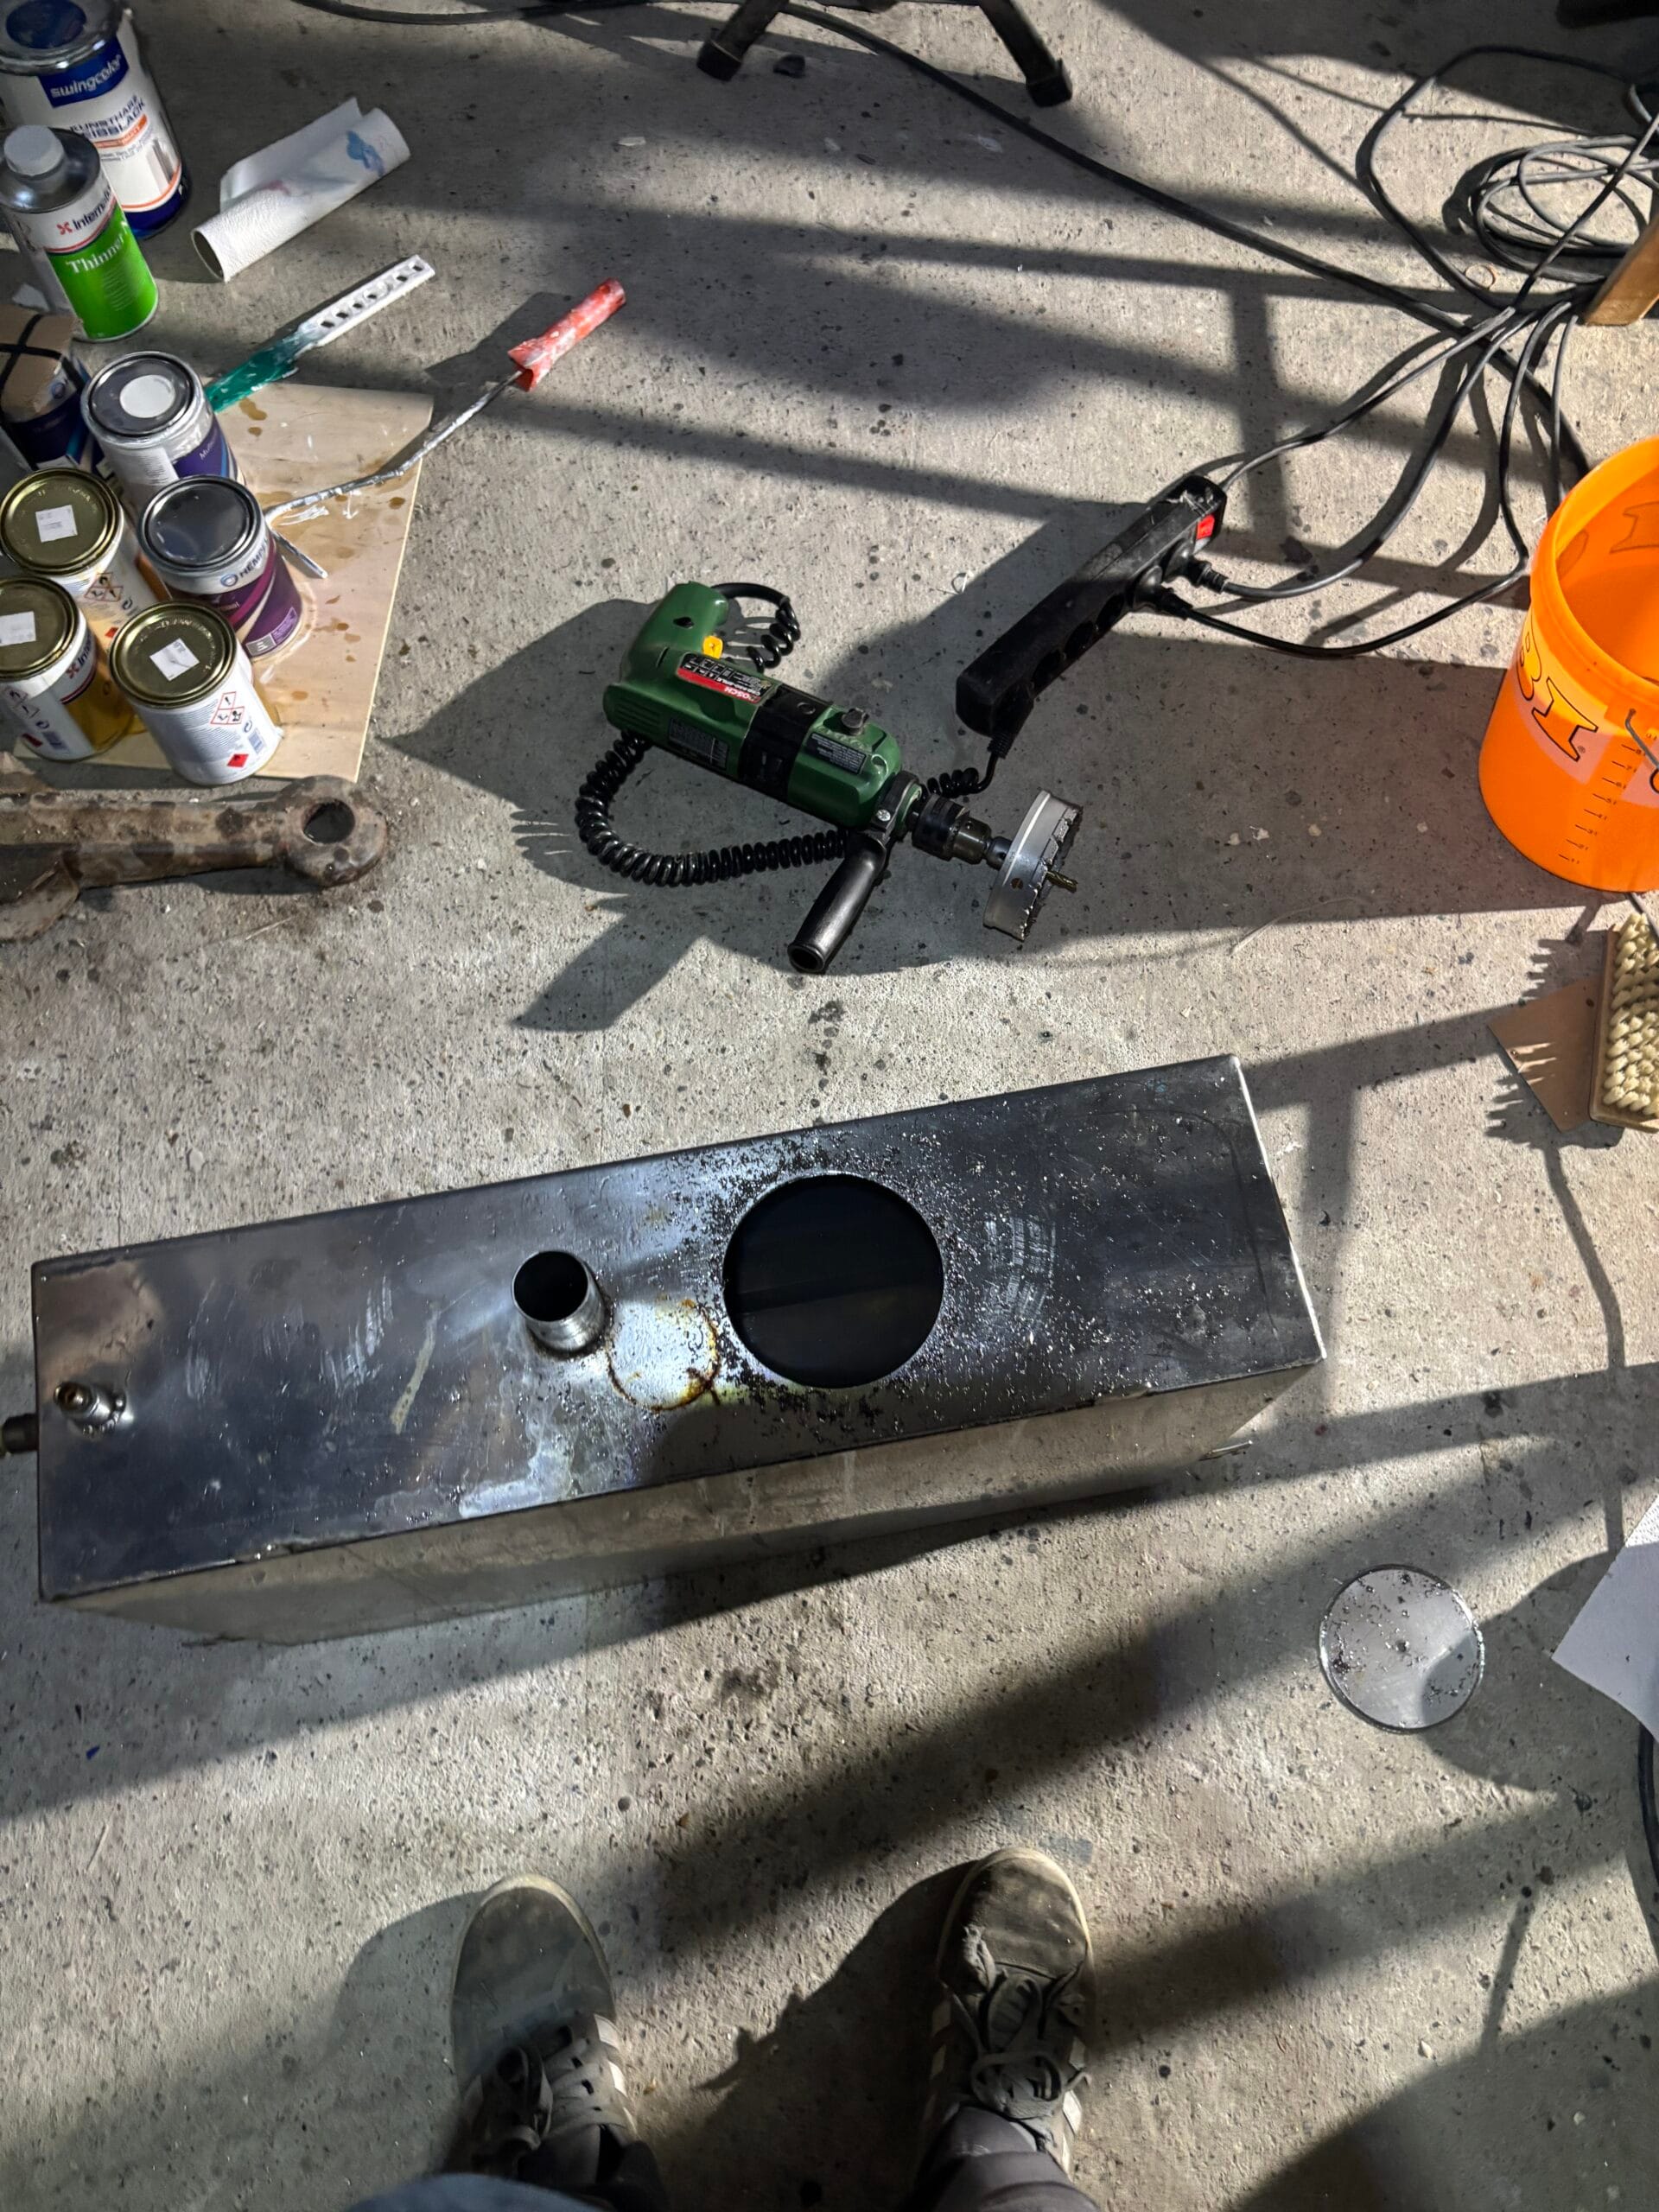
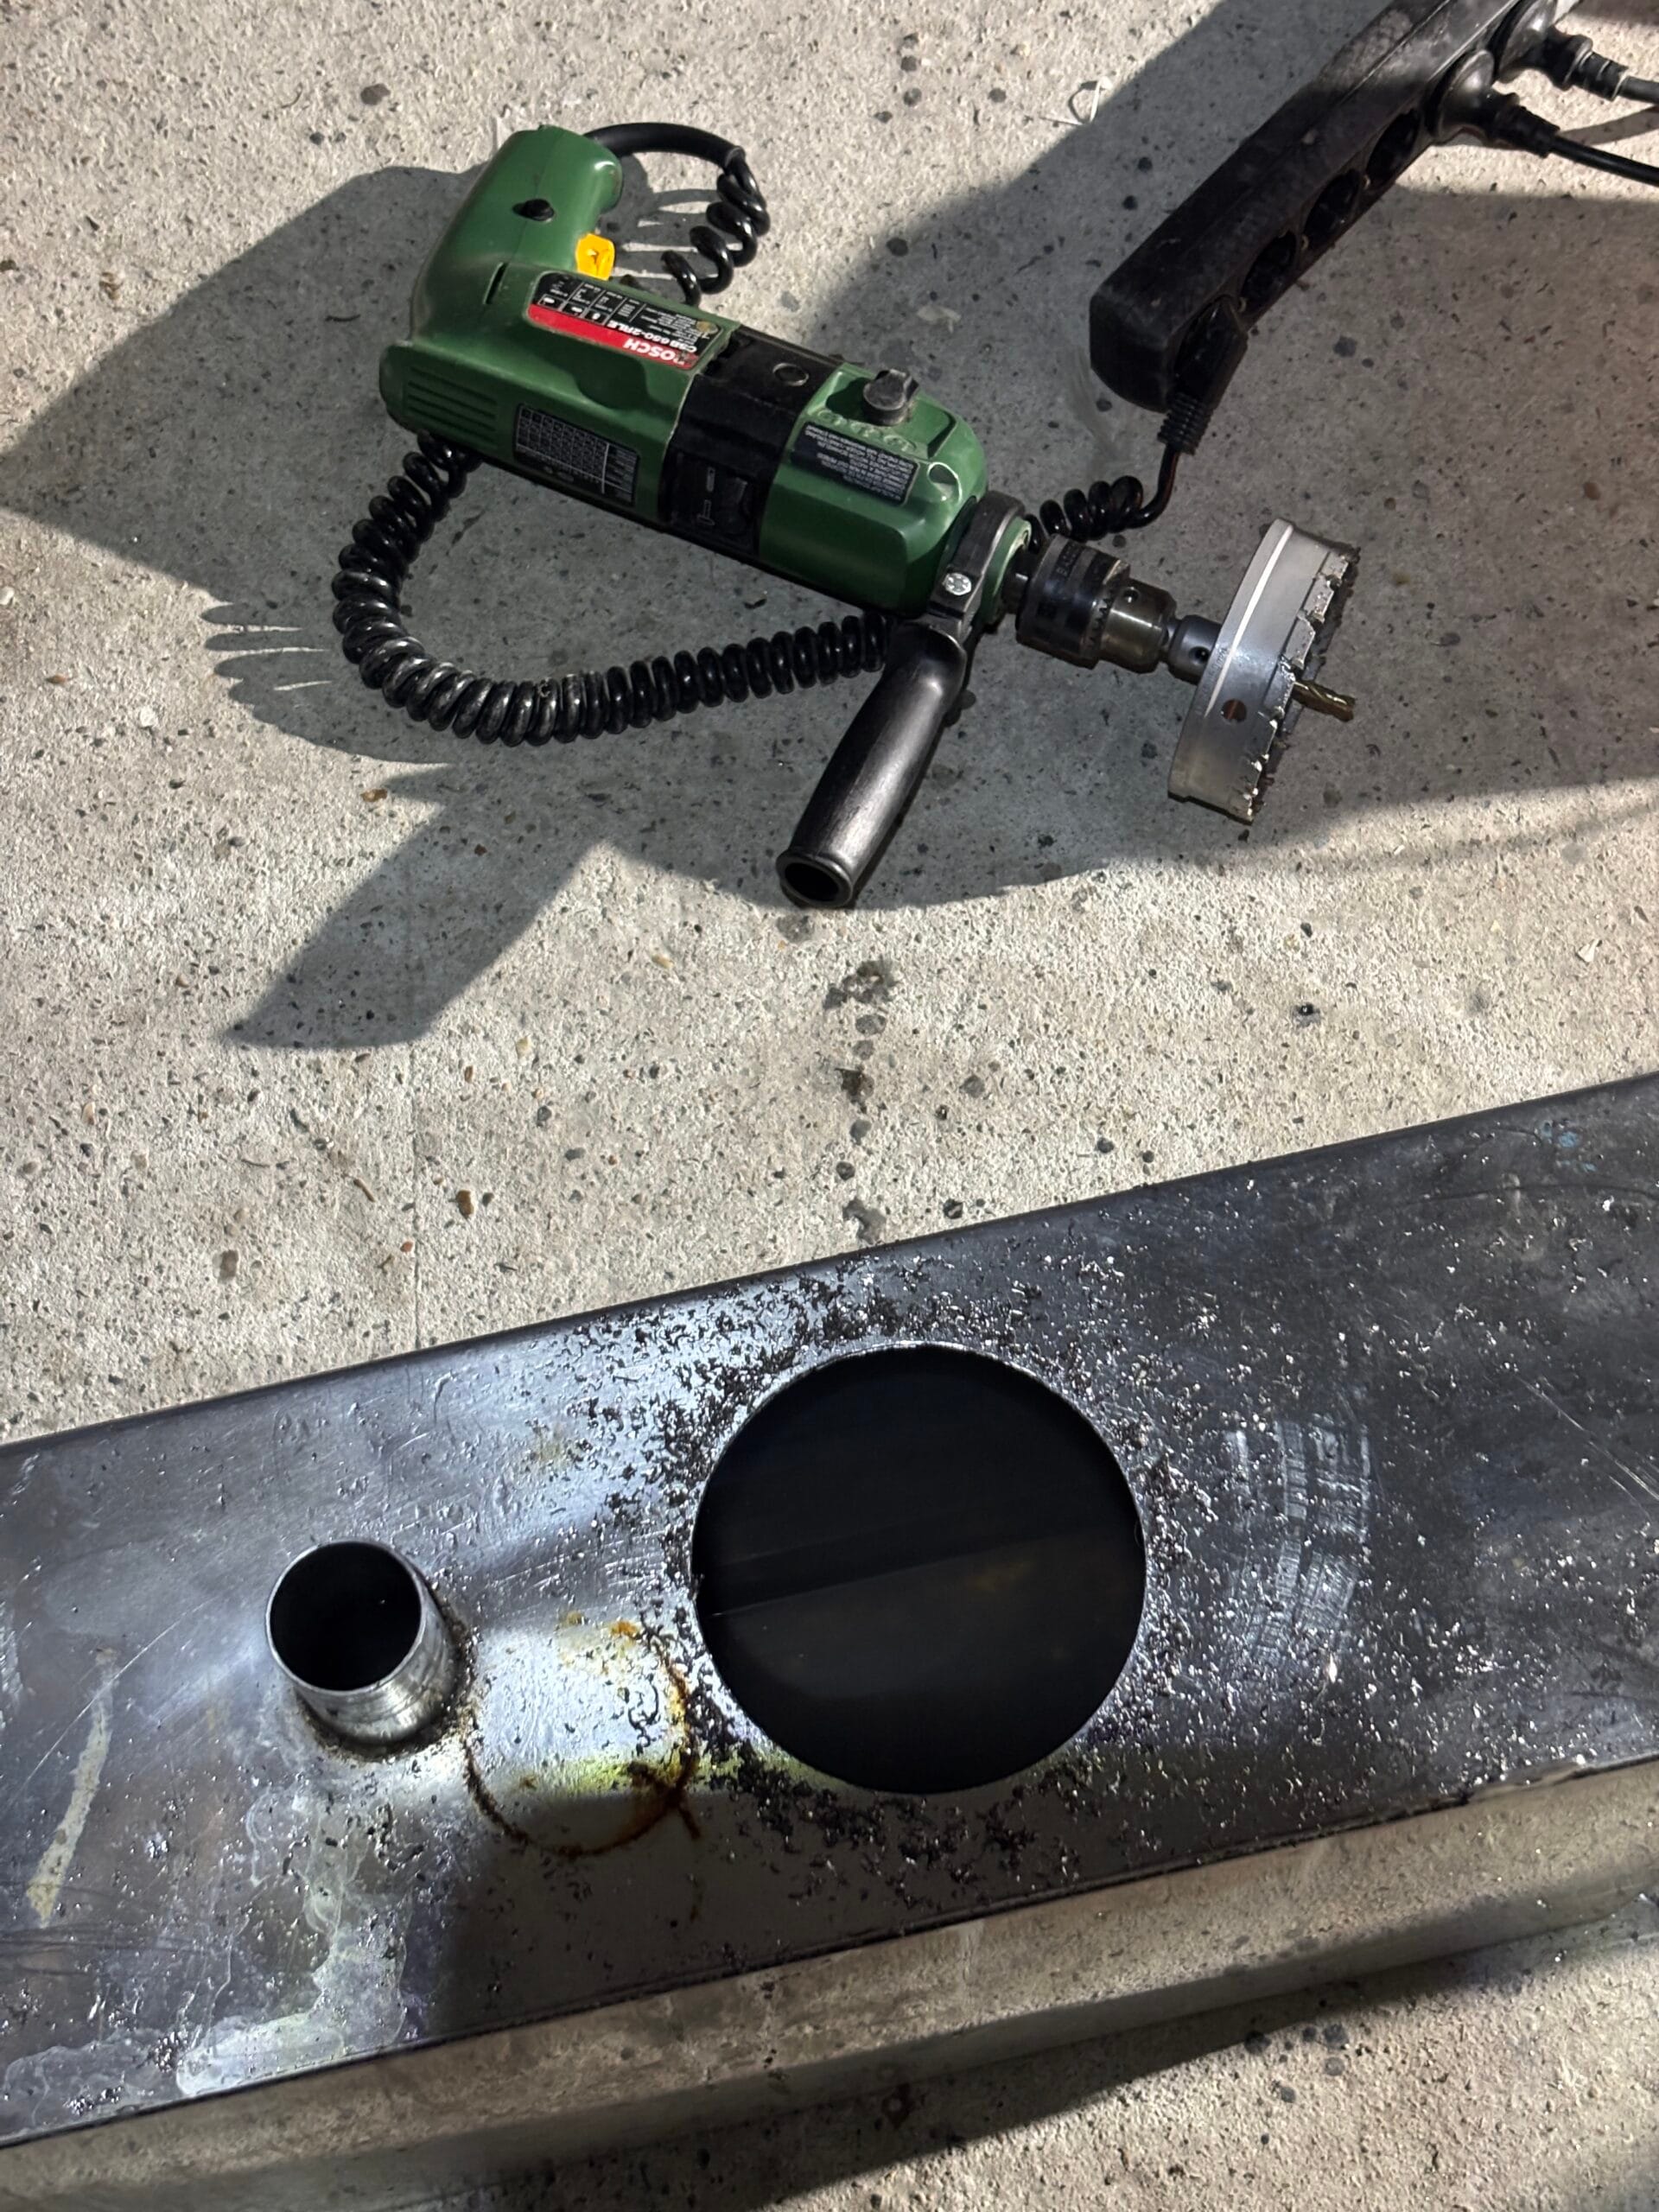
The main problem with all of these options is that you still have to cut open your stainless steel tank. Working with stainless can be quite a pain without the proper tools, but there’s really no way around it.
Cutting the 115mm hole into the tank was definitely not the easiest part of the job. For this, it’s absolutely worth buying a proper hole saw in the correct diameter just for the task. Forget cheap bi-metal hole saws like the one Vetus offers for their own inspection port. I bought a proper 115mm hole saw for stainless, and even with that it still took quite some time.
Also, do not use your regular hand drill unless you want to ruin it. Stainless requires a lot of torque, low RPM, and constant pressure.
With plenty of lubrication, low drilling speed, and quite a bit of force, we finally got the hole cut and opened up the tank. Afterwards, we filed down the sharp stainless burrs and started cleaning out the brown sludge that had built up inside the tank over the years.

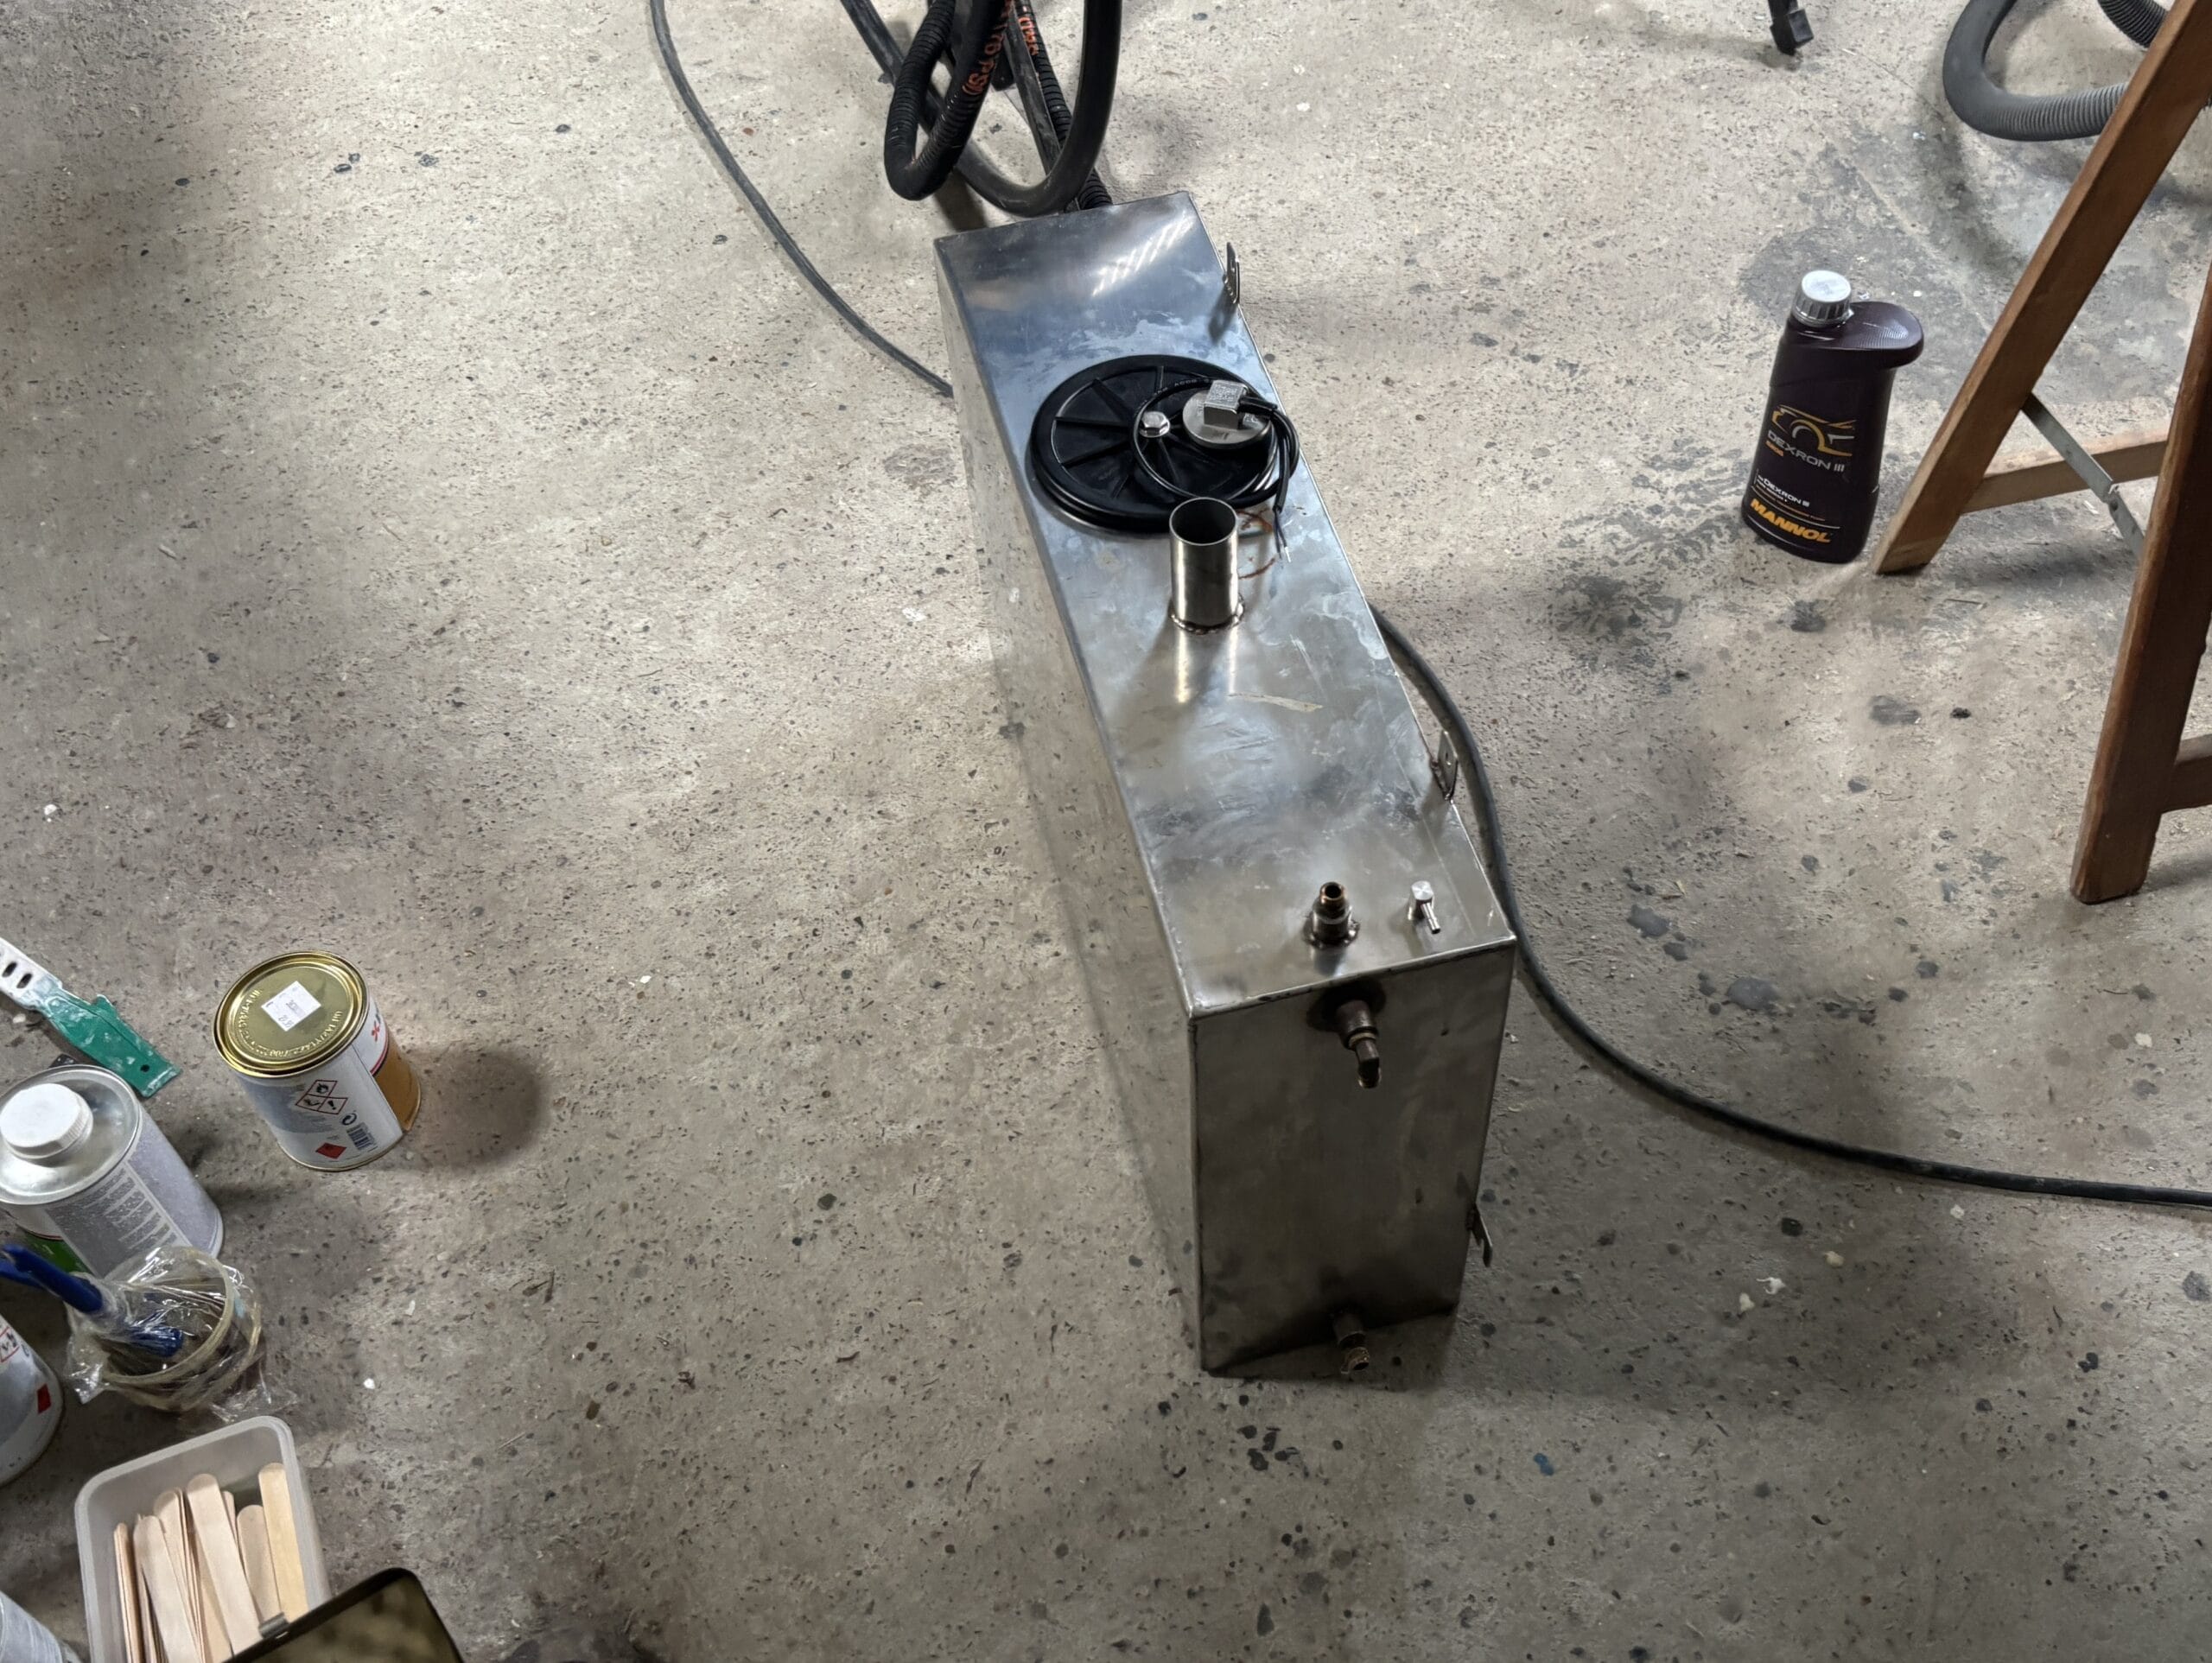
Installing the Wema Inspection Port
Installing the Wema inspection port is pretty straightforward. You simply assemble it as shown in the manual, insert the lower section into the tank, and tighten it from the top. As you tighten it down, the lid compresses the seal against the top of the tank opening. Putting a small amount of diesel on the seal helps everything slide into place properly.
After that, we simply screwed in the fuel sender, and that was basically it.
Especially for smaller tanks, this is a very simple and practical solution. Cleaning the tank in the future is now also extremely easy, just unscrew the lid and you have proper access inside the tank.
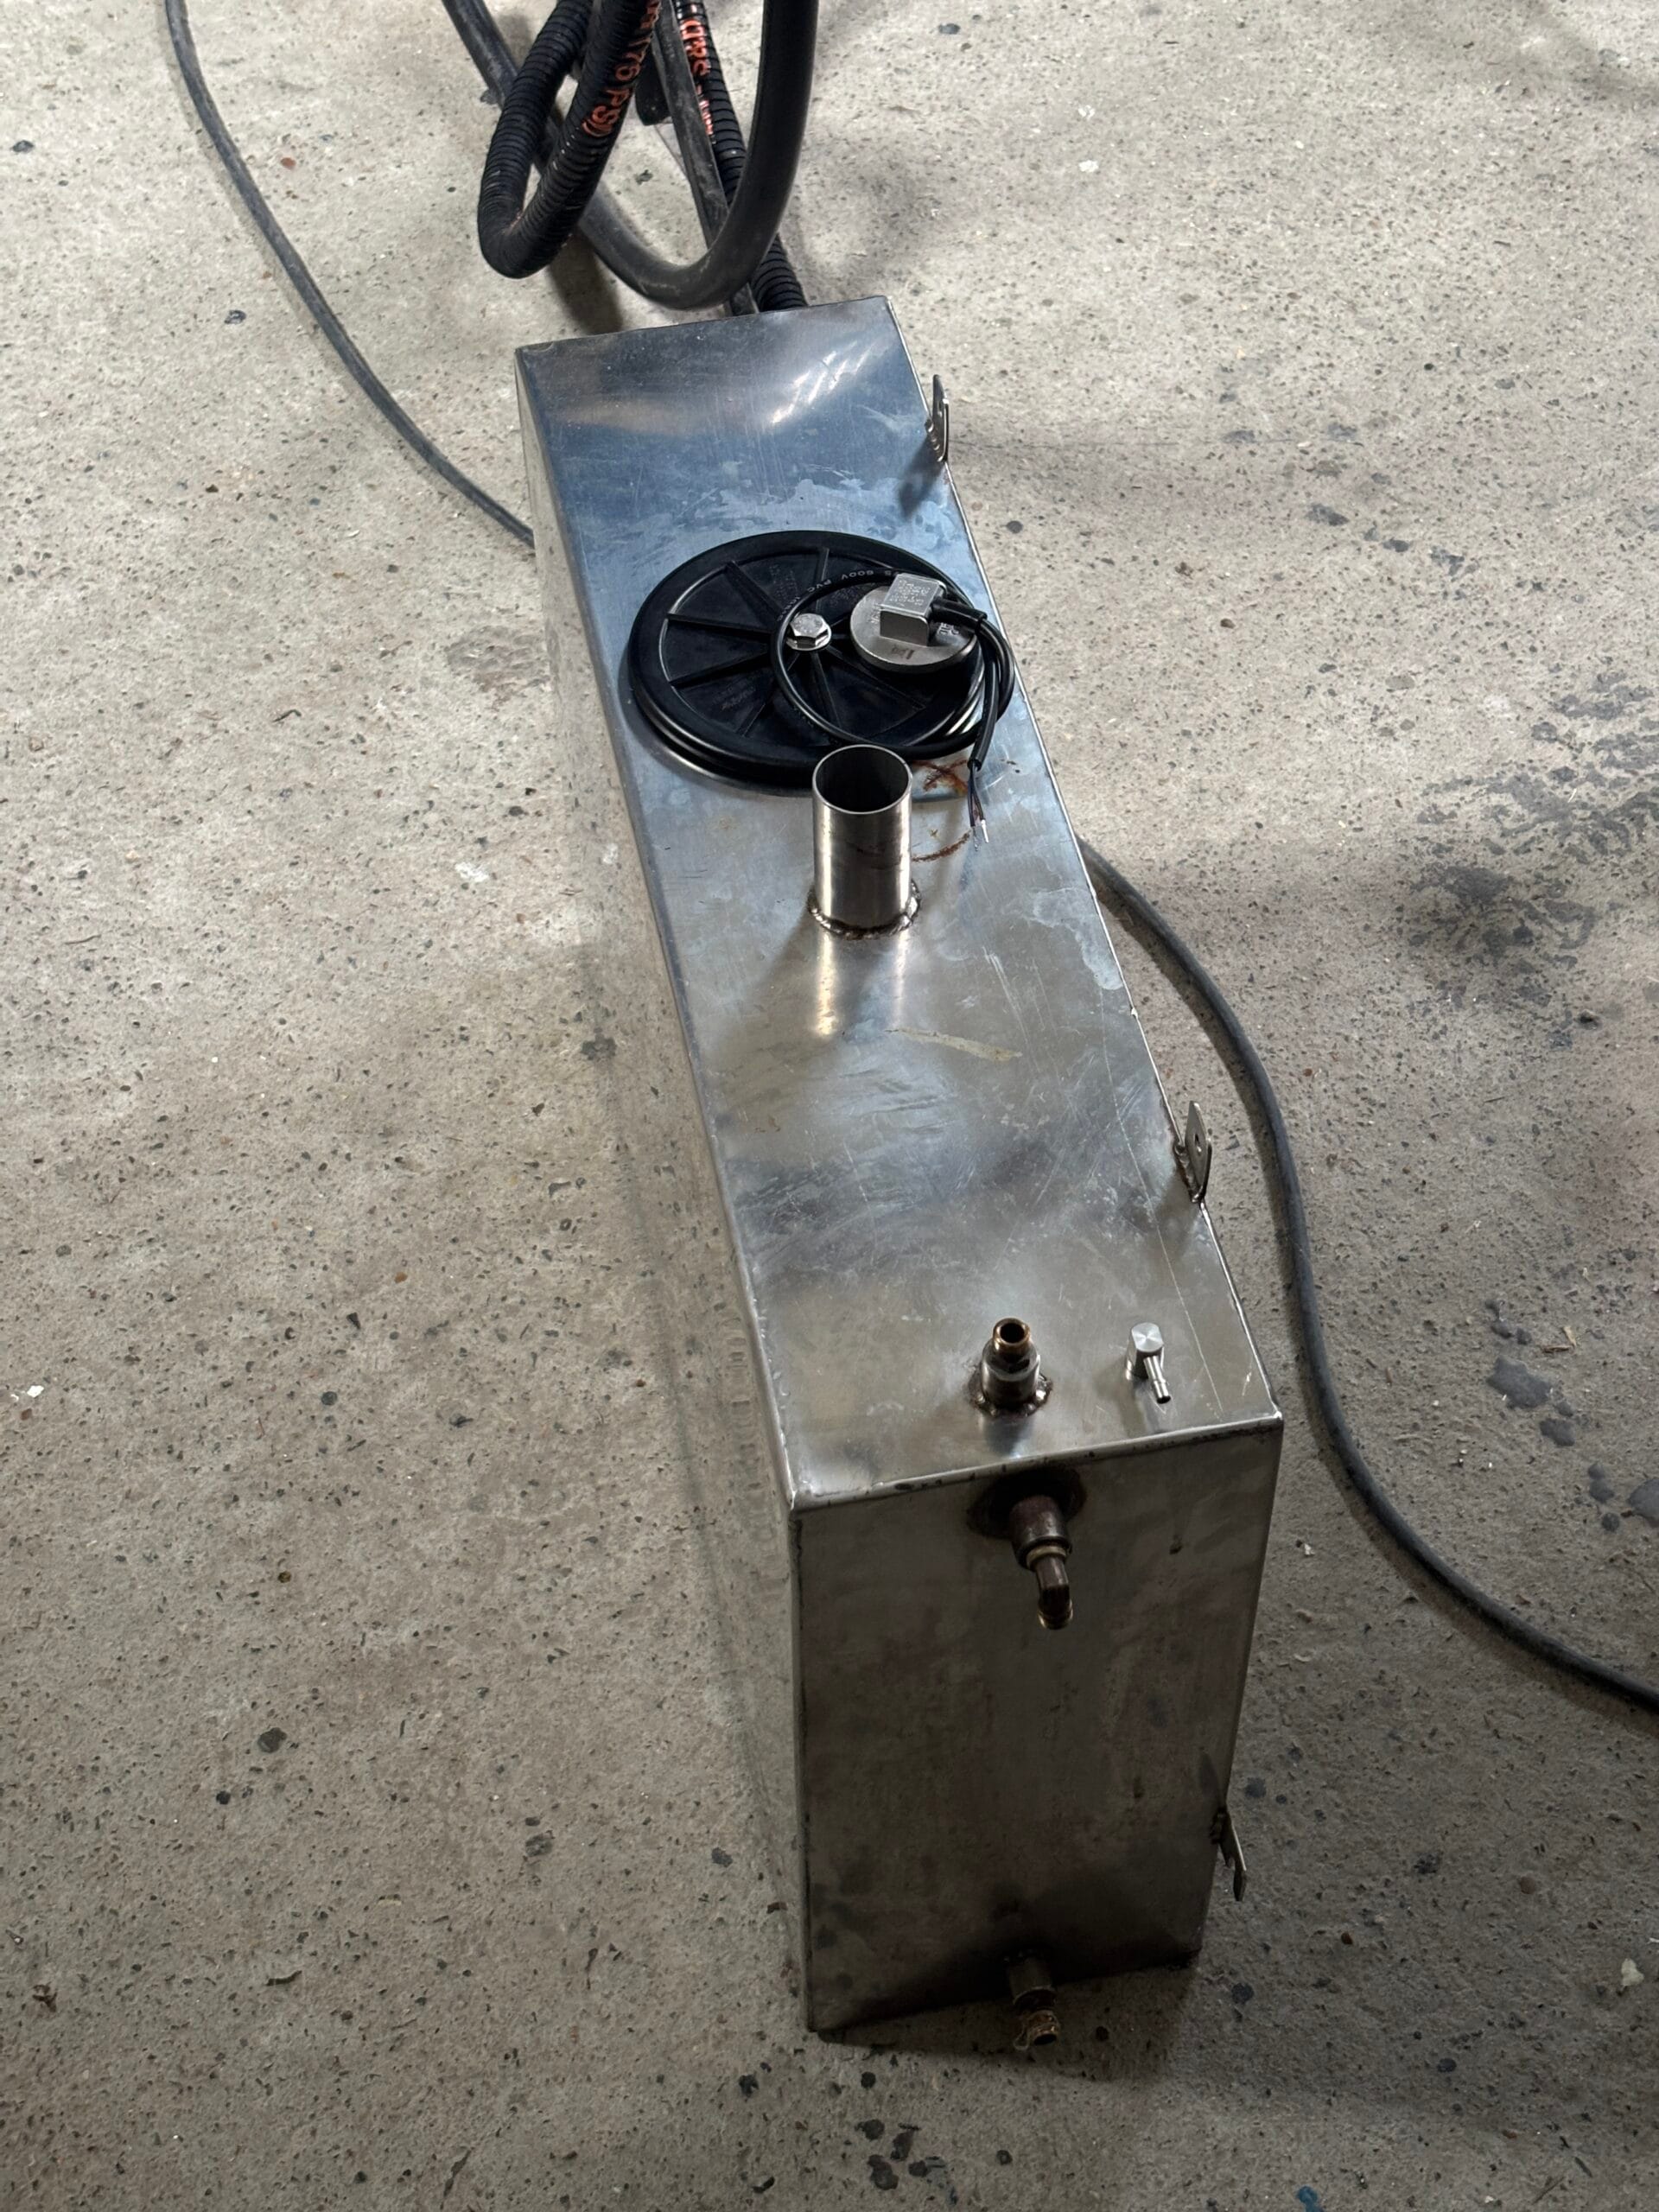
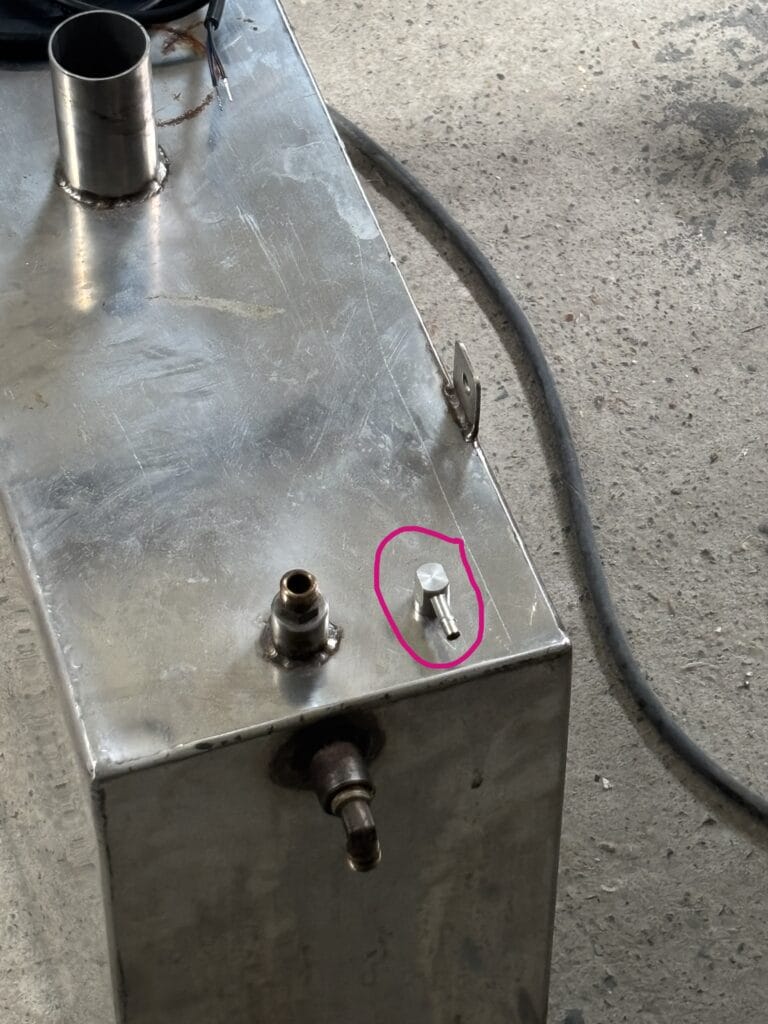
Installing a fueal pickup tube for the diesel heater
We also used the opportunity to install a separate pickup tube for our diesel heater. This way, it’s no longer connected directly into the engine fuel line with a plastic T-piece, which I never really liked for several reasons.
We intentionally cut the heater pickup tube shorter so that there will always be at least around 10L of diesel left in the tank. That way, even if the heater runs the tank low, we can still safely run the engine and move the boat.